11
OPENING THE SOFTWARE SELECTION SCREEN (FOR ALL SOFTWARE)
4
The "SOFTWARE LICENSE" window will appear. Make sure that you
understand the contents of the license agreement and then click the
[Yes] button.
5
Read the message in the "Welcome" window and then click the [Next]
button.
6
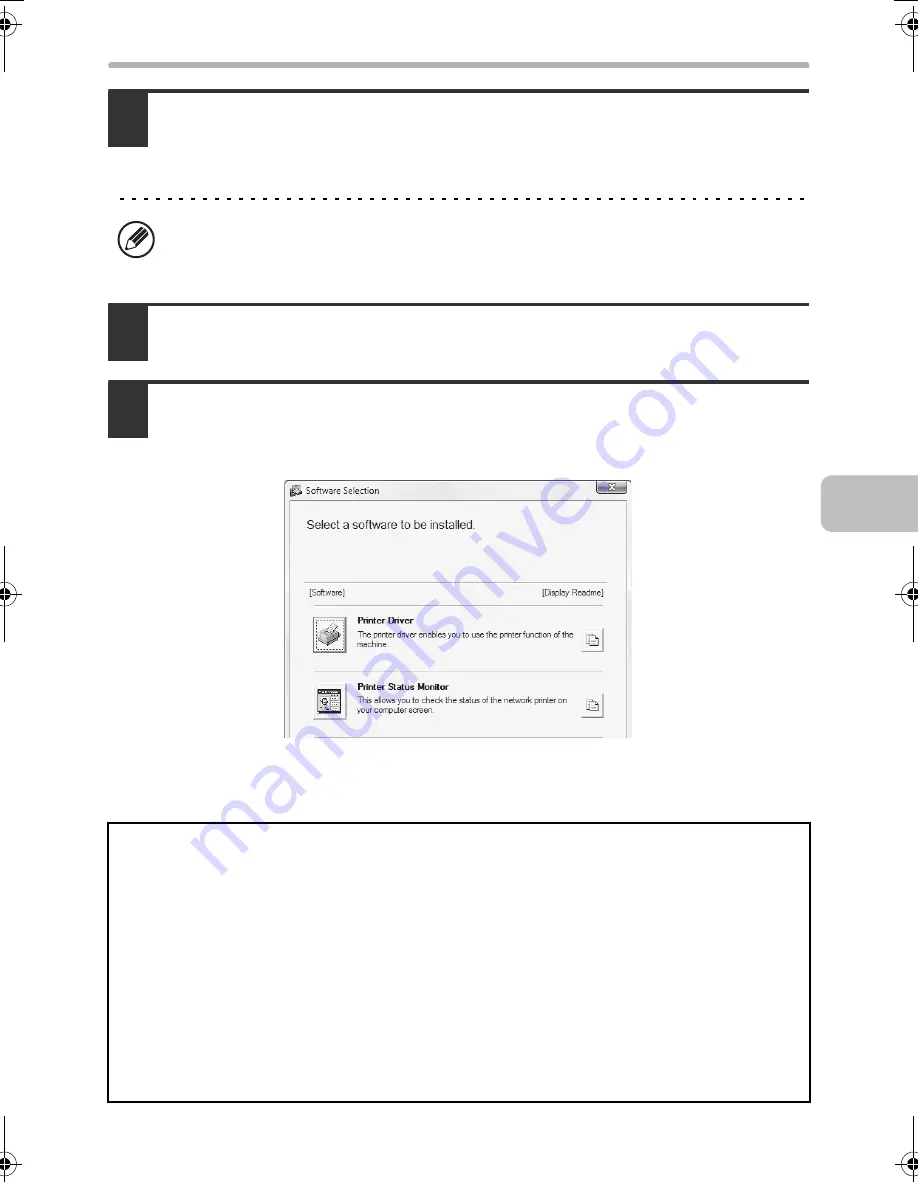
The software selection screen appears.
Before installing the software, be sure to click the [Display Readme] button and
view the detailed information on the software.
*The above screen appears when using the "Disc 1" CD-ROM.
For the steps that follow, see the appropriate page below for the software that
you are installing.
You can show the "SOFTWARE LICENSE" in a different language by selecting
the desired language from the language menu. To install the software in the
selected language, continue the installation with that language selected.
INSTALLING THE PRINTER DRIVER / PC-FAX DRIVER
•
WHEN THE MACHINE IS CONNECTED TO A NETWORK*
-
Standard installation: page 13
-
Installation by specifying the machine's address: page 17
-
Printing using the IPP function and the SSL function: page 21
•
WHEN THE MACHINE WILL BE CONNECTED WITH A USB CABLE: page 24
•
USING THE MACHINE AS A SHARED PRINTER: page 32
INSTALLING THE PRINTER STATUS MONITOR: page 42
INSTALLING THE SCANNER DRIVER: page 44
* If the machine is being used on an IPv6 network, see "Installation by specifying the
machine's address" (page 17).
!mxb401_us_ins.book 11 ページ 2009年1月7日 水曜日 午後3時42分
Содержание MX-B401
Страница 4: ...Reduce copy mistakes Print one set of copies for proofing ...
Страница 6: ...Make a copy on this type of paper Envelopes and other special media Transparency film ...
Страница 8: ...Assemble output into a pamphlet Create a pamphlet Staple output Create a blank margin for punching ...
Страница 11: ...Conserve Print on both sides of the paper Print multiple pages on one side of the paper ...
Страница 34: ...Search for a file abc Search for a file using a keyword Search by checking the contents of files ...
Страница 35: ...Organize my files Delete a file Delete all files Periodically delete files Change the folder ...
Страница 203: ...3 18 PRINTER Contents 4 Click the Print button Printing begins ...
Страница 209: ...3 24 PRINTER Contents 1 Select Printer Features 2 Select Advanced 3 Select the Print Mode Macintosh 1 2 3 ...
Страница 770: ...11 REPLACING SUPPLIES AND MAINTENANCE 1 Open the front cover 2 Pull the toner cartridge toward you ...
Страница 772: ...13 REPLACING SUPPLIES AND MAINTENANCE 5 Insert the new toner cartridge horizontally and push it firmly in ...
Страница 835: ......
Страница 836: ......


