6-12
DOCUMENT FILING
Contents
3
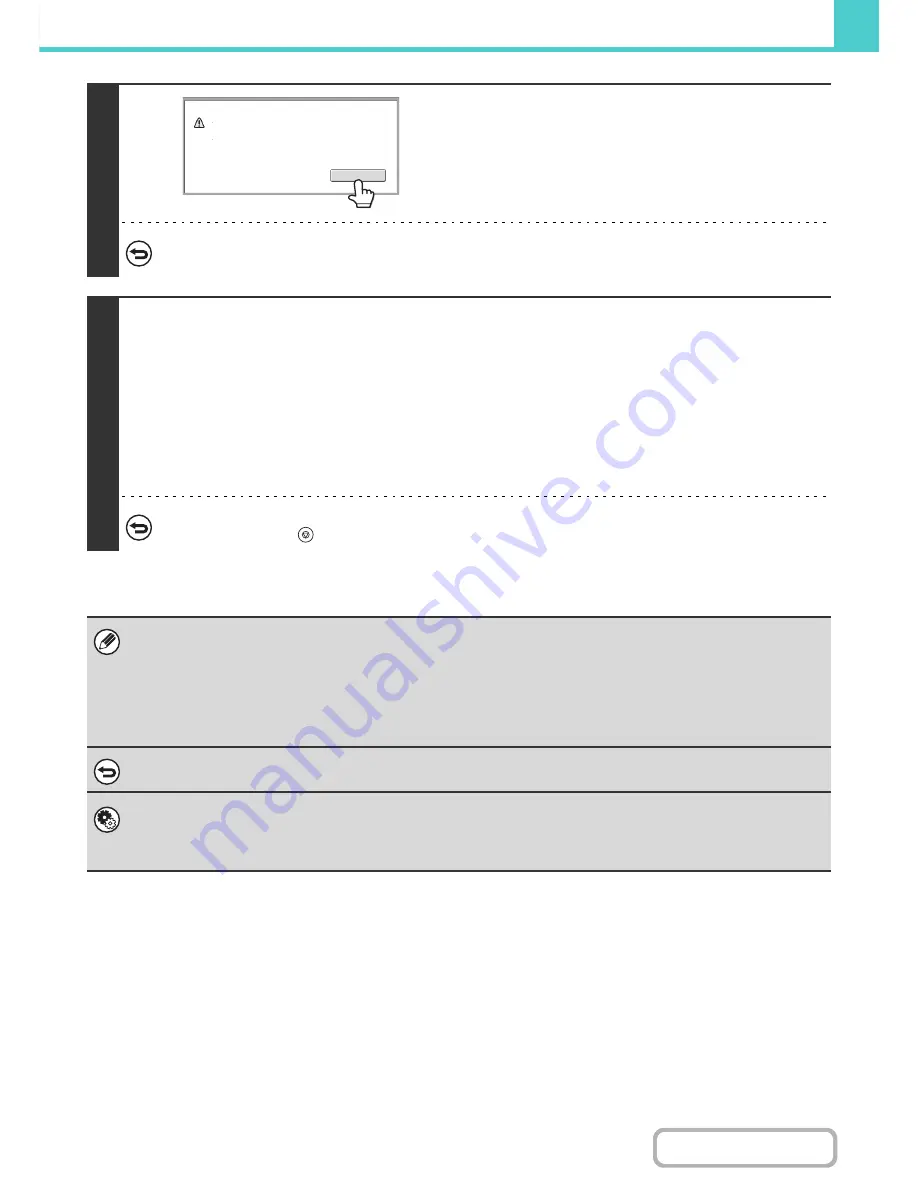
Touch the [OK] key.
You will return to the base screen of copy mode and the [Quick
File] key will be highlighted.
To cancel Quick File...
Touch the [Quick File] key in the screen of step 2 so that it is not highlighted after you touch the [OK] key.
4
Select copy settings and then press the [START] key.
• Copying begins and the scanned document image is saved to the hard drive.
The selected copy settings are also saved.
• To prevent accidental saving of the document, the message "The scanned data is stored in the quick file folder." appears
for 6 seconds (default setting) after the [START] key is pressed.
The message display time can be changed using "Message Time Setting" in the system settings (administrator).
• If you inserted the original pages in the document feeder tray, all pages are scanned.
• If you placed the original on the document glass, scan each page one page at a time.
When scanning of one page finishes, replace it with the next page and press the [START] key.
Repeat until all pages have been scanned and then press the [Read-End] key.
To cancel scanning...
Press the [STOP] key (
).
When a file is stored using Quick File, the following user name and file name are automatically assigned to the file.
User Name: User Unknown
File Name: Mode_Month-Day-Year_Hour-Minute-Second
(Example: Copy_04042010_112030AM)
Stored to:
Quick File Folder
When user authentication is used, the user name that was used for login is automatically selected.
Only the file name and location of a file stored in the Quick File Folder can be changed.
To cancel Quick File...
Touch the [Quick File] key in the screen of step 2 so that it is no longer highlighted.
System Settings (Administrator): Delete All Quick Files
With the exception of protected files, all files in the quick file folder can be deleted at once.
Settings can be configured to delete all files by key operation and to have all files automatically deleted when the power is
turned on.
OK
Scanned data is automatically stored
in the
q
uick file folder. Do not store
confidential data to the folder.
Содержание MX-B401
Страница 4: ...Reduce copy mistakes Print one set of copies for proofing ...
Страница 6: ...Make a copy on this type of paper Envelopes and other special media Transparency film ...
Страница 8: ...Assemble output into a pamphlet Create a pamphlet Staple output Create a blank margin for punching ...
Страница 11: ...Conserve Print on both sides of the paper Print multiple pages on one side of the paper ...
Страница 34: ...Search for a file abc Search for a file using a keyword Search by checking the contents of files ...
Страница 35: ...Organize my files Delete a file Delete all files Periodically delete files Change the folder ...
Страница 203: ...3 18 PRINTER Contents 4 Click the Print button Printing begins ...
Страница 209: ...3 24 PRINTER Contents 1 Select Printer Features 2 Select Advanced 3 Select the Print Mode Macintosh 1 2 3 ...
Страница 770: ...11 REPLACING SUPPLIES AND MAINTENANCE 1 Open the front cover 2 Pull the toner cartridge toward you ...
Страница 772: ...13 REPLACING SUPPLIES AND MAINTENANCE 5 Insert the new toner cartridge horizontally and push it firmly in ...
Страница 835: ......
Страница 836: ......


