5-60
SCANNER/INTERNET FAX
Contents
How to select the resolution
For normal text originals, 200X200dpi (200X100dpi in Internet fax mode) produces an image that is sufficiently legible.
For photos and illustrations, a high resolution setting (600X600dpi, etc.) will produce a sharp image. However, a high
resolution setting will result in a large file, and if the file is too large, transmission may not be possible. In this event,
reduce the number of pages scanned or take other measures to decrease the file size.
☞
CHANGING THE FILE FORMAT
Specifying the send size of the image
(page 5-55)
CHANGING THE FILE FORMAT
Changing the format
(Scan mode, USB memory mode and Data entry mode)
The file format (file type and compression mode/compression ratio) for sending a scanned image can be changed at the
time of transmission. In addition, if the scanned originals are divided into separate files, the number of pages per file can
be changed.
• When using the document glass to scan multiple original pages, the resolution setting can be changed each time you
change pages. When using the automatic document feeder, the resolution setting cannot be changed once scanning has
begun. (However, when "Job Build" is used in the special modes, the resolution can be changed each time a new set of
originals is inserted.)
• When [TIFF-S] is selected for the format in Internet fax mode, only [200X100dpi] or [200X200dpi] can be selected.
System Settings (Administrator): Initial Resolution Setting
This is used to change the default resolution setting.
The file format for sending a scanned image is specified when the destination is stored in a one-touch key; however, you can
change the format at the time of transmission.
1
Select the mode and display the image settings screen.
(1) Touch the tab of the mode that you wish to use.
(2) Touch the [File Format] key.
☞
IMAGE SETTINGS
(page 5-49)
2
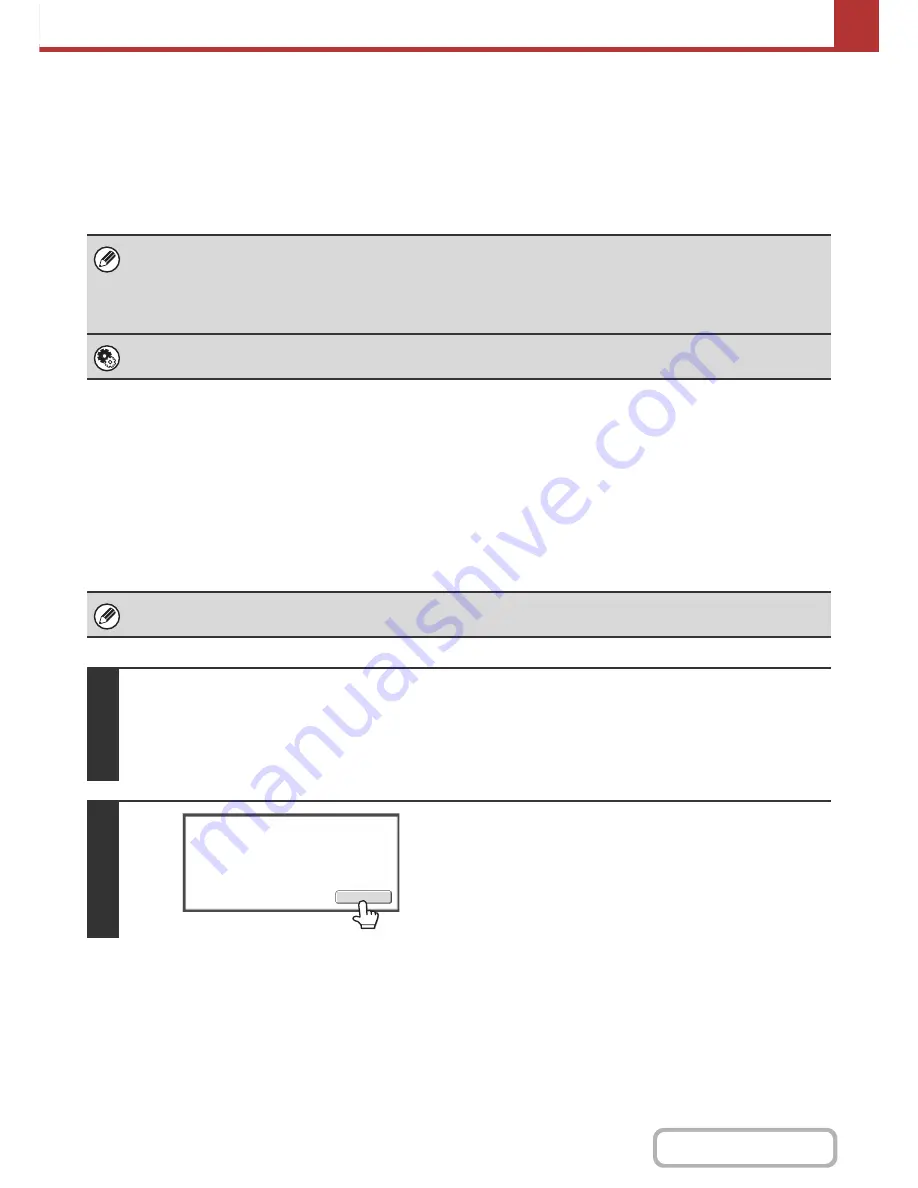
Read the displayed message and touch
the [OK] key.
The message does not appear in USB memory mode. Go to
the next step.
Select
a
file
format
to
apply
it
to
all
scan
destinations.
OK
Содержание MX-B401
Страница 4: ...Reduce copy mistakes Print one set of copies for proofing ...
Страница 6: ...Make a copy on this type of paper Envelopes and other special media Transparency film ...
Страница 8: ...Assemble output into a pamphlet Create a pamphlet Staple output Create a blank margin for punching ...
Страница 11: ...Conserve Print on both sides of the paper Print multiple pages on one side of the paper ...
Страница 34: ...Search for a file abc Search for a file using a keyword Search by checking the contents of files ...
Страница 35: ...Organize my files Delete a file Delete all files Periodically delete files Change the folder ...
Страница 203: ...3 18 PRINTER Contents 4 Click the Print button Printing begins ...
Страница 209: ...3 24 PRINTER Contents 1 Select Printer Features 2 Select Advanced 3 Select the Print Mode Macintosh 1 2 3 ...
Страница 770: ...11 REPLACING SUPPLIES AND MAINTENANCE 1 Open the front cover 2 Pull the toner cartridge toward you ...
Страница 772: ...13 REPLACING SUPPLIES AND MAINTENANCE 5 Insert the new toner cartridge horizontally and push it firmly in ...
Страница 835: ......
Страница 836: ......


