5-16
SCANNER/INTERNET FAX
Contents
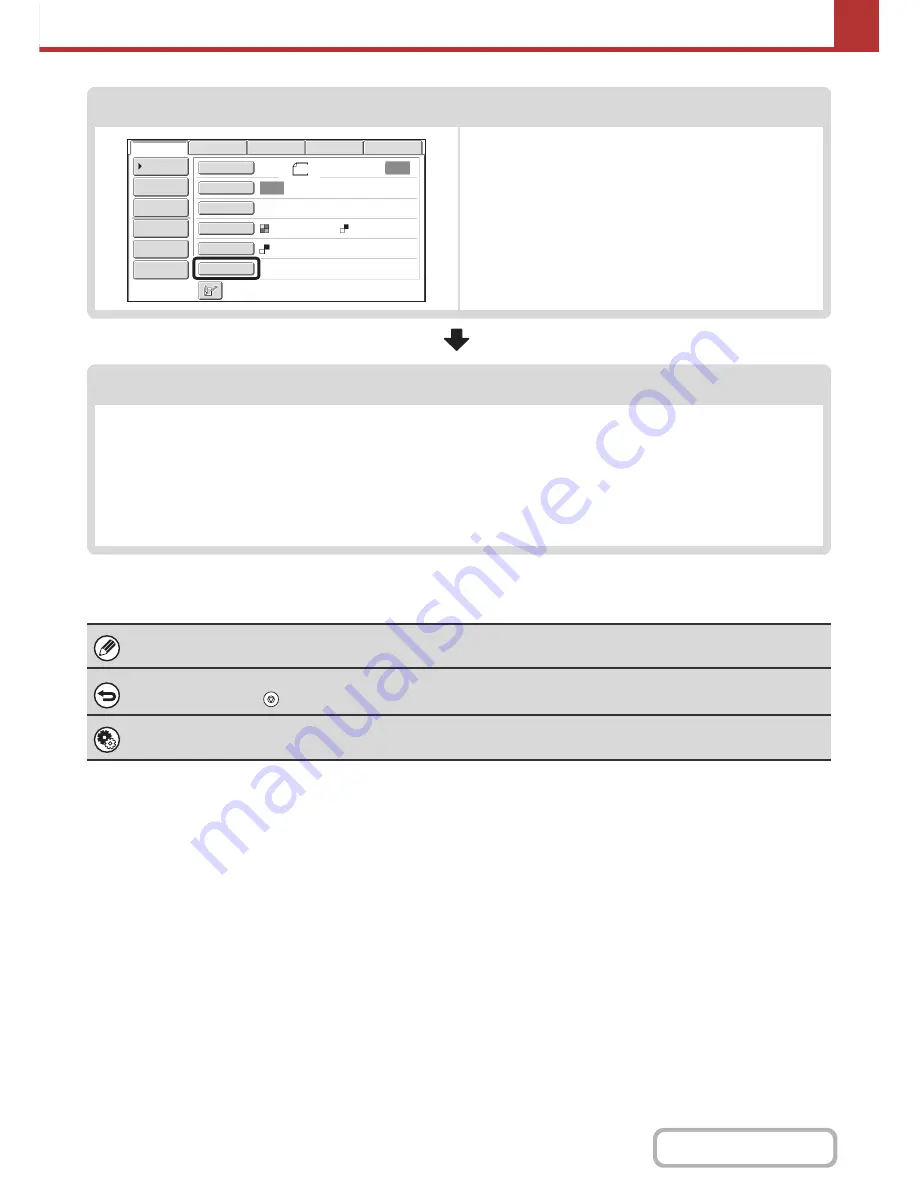
Special mode settings
Special modes can be selected.
☞
SPECIAL MODES
(page 5-65)
Start scanning and transmission
Start scanning and transmission.
If the original is placed on the document glass, follow these steps to start scanning and transmission:
(1) Press the [START] key.
(2) When scanning is finished, replace the original with the next original.
(3) Press the [START] key.
(4) Repeat (2) and (3) until all originals have been scanned.
(5) Touch the [Read-End] key.
After the original is scanned, the settings revert to the default settings.
To cancel scanning...
Press the [STOP] key (
) to cancel the operation.
System Settings (Administrator): Default Display Settings
The settings can be kept in effect a fixed period of time after scanning is completed.
Auto
Auto
File
Quick
File
Address
Re
v
iew
Send
Settings
Address
Entry
Address
Book
USB
Mem.
Scan
Fax
Internet
Fax
PC
Scan
Special
Modes
Color
Mode
File
Format
Resolution
Exposure
Original
Scan
:
Scan
Send
:
Text
200X200dpi
8
½
x11
Mono2
Содержание MX-B401
Страница 4: ...Reduce copy mistakes Print one set of copies for proofing ...
Страница 6: ...Make a copy on this type of paper Envelopes and other special media Transparency film ...
Страница 8: ...Assemble output into a pamphlet Create a pamphlet Staple output Create a blank margin for punching ...
Страница 11: ...Conserve Print on both sides of the paper Print multiple pages on one side of the paper ...
Страница 34: ...Search for a file abc Search for a file using a keyword Search by checking the contents of files ...
Страница 35: ...Organize my files Delete a file Delete all files Periodically delete files Change the folder ...
Страница 203: ...3 18 PRINTER Contents 4 Click the Print button Printing begins ...
Страница 209: ...3 24 PRINTER Contents 1 Select Printer Features 2 Select Advanced 3 Select the Print Mode Macintosh 1 2 3 ...
Страница 770: ...11 REPLACING SUPPLIES AND MAINTENANCE 1 Open the front cover 2 Pull the toner cartridge toward you ...
Страница 772: ...13 REPLACING SUPPLIES AND MAINTENANCE 5 Insert the new toner cartridge horizontally and push it firmly in ...
Страница 835: ......
Страница 836: ......


