8
CONNECTING THE MACHINE
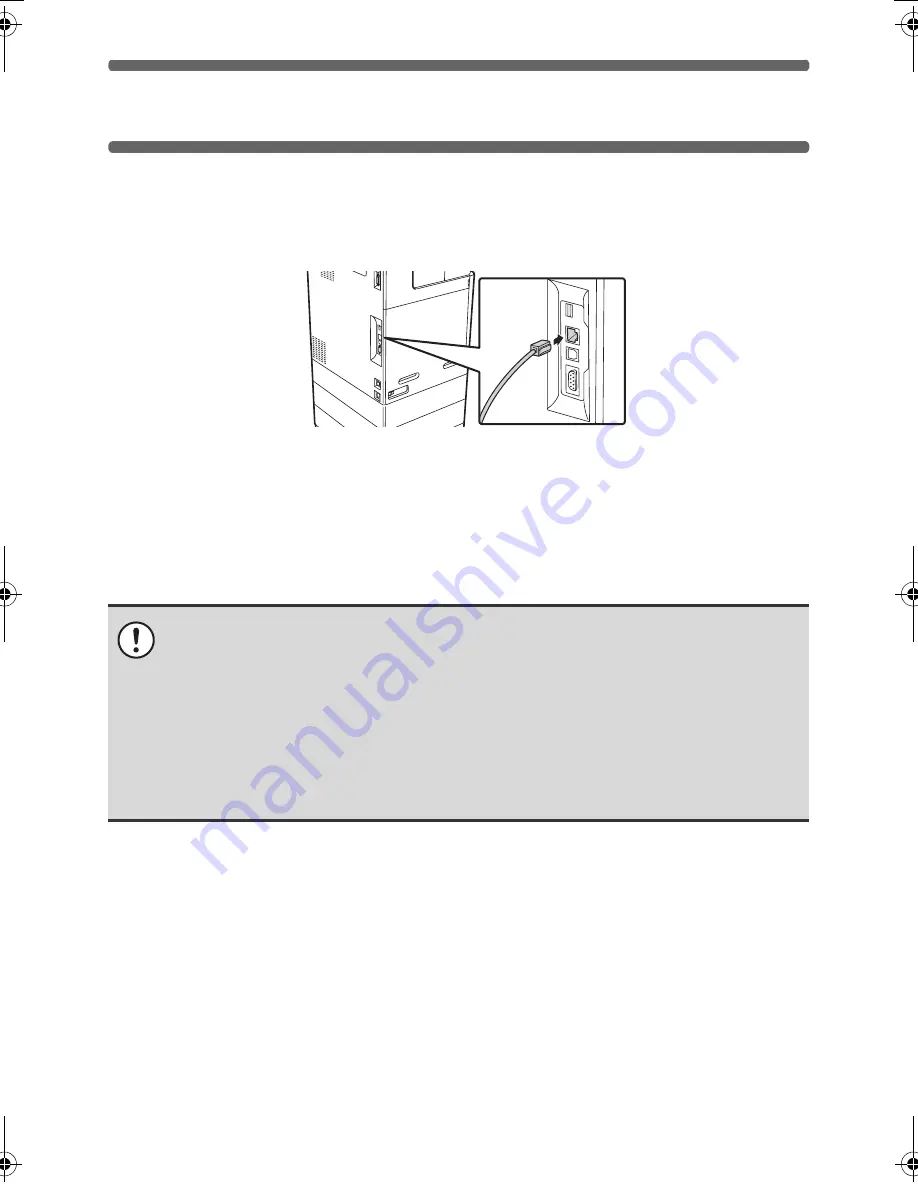
CONNECTING TO A NETWORK
To connect the machine to a network, connect the LAN cable to the machine's
network connector. Use a shielded LAN cable.
After connecting the machine to a network, be sure to configure the IP address
and other network settings before installing the software. (The factory default
setting for the IP address is to receive the IP address automatically when the
machine is used in a DHCP environment.)
Network settings can be configured using "Network Settings" in the system
settings (administrator) on the machine.
X
Checking the IP address of the machine
You can check the IP address of the machine by printing out the "All Custom
Setting List" in the system settings. Follow these steps to print out the "All
Custom Setting List".
Press the [SYSTEM SETTINGS] key, touch the [List Print (User)] key, and then
touch the [Print] key of "All Custom Setting List".
• If the machine is used in a DHCP environment, the IP address of the machine
may change. If this happens, printing will not be possible. This problem can
be avoided by using a WINS server or by assigning a permanent IP address
to the machine.
• This manual explains how to set up the software in a Windows network
environment and in a Macintosh network environment.
• To use the machine on an IPv6 network, the IPv6 setting must be enabled in
"Network Settings" in the system settings (administrator).
!mxb401_us_ins.book 8 ページ 2009年1月7日 水曜日 午後3時42分
Содержание MX-B401
Страница 4: ...Reduce copy mistakes Print one set of copies for proofing ...
Страница 6: ...Make a copy on this type of paper Envelopes and other special media Transparency film ...
Страница 8: ...Assemble output into a pamphlet Create a pamphlet Staple output Create a blank margin for punching ...
Страница 11: ...Conserve Print on both sides of the paper Print multiple pages on one side of the paper ...
Страница 34: ...Search for a file abc Search for a file using a keyword Search by checking the contents of files ...
Страница 35: ...Organize my files Delete a file Delete all files Periodically delete files Change the folder ...
Страница 203: ...3 18 PRINTER Contents 4 Click the Print button Printing begins ...
Страница 209: ...3 24 PRINTER Contents 1 Select Printer Features 2 Select Advanced 3 Select the Print Mode Macintosh 1 2 3 ...
Страница 770: ...11 REPLACING SUPPLIES AND MAINTENANCE 1 Open the front cover 2 Pull the toner cartridge toward you ...
Страница 772: ...13 REPLACING SUPPLIES AND MAINTENANCE 5 Insert the new toner cartridge horizontally and push it firmly in ...
Страница 835: ......
Страница 836: ......


