5-67
SCANNER/INTERNET FAX
Contents
STORING SCAN OPERATIONS (Programs)
A destination, original settings, and functions can be stored in a program. When you wish to use those settings to send
an image, they can be retrieved with ease.
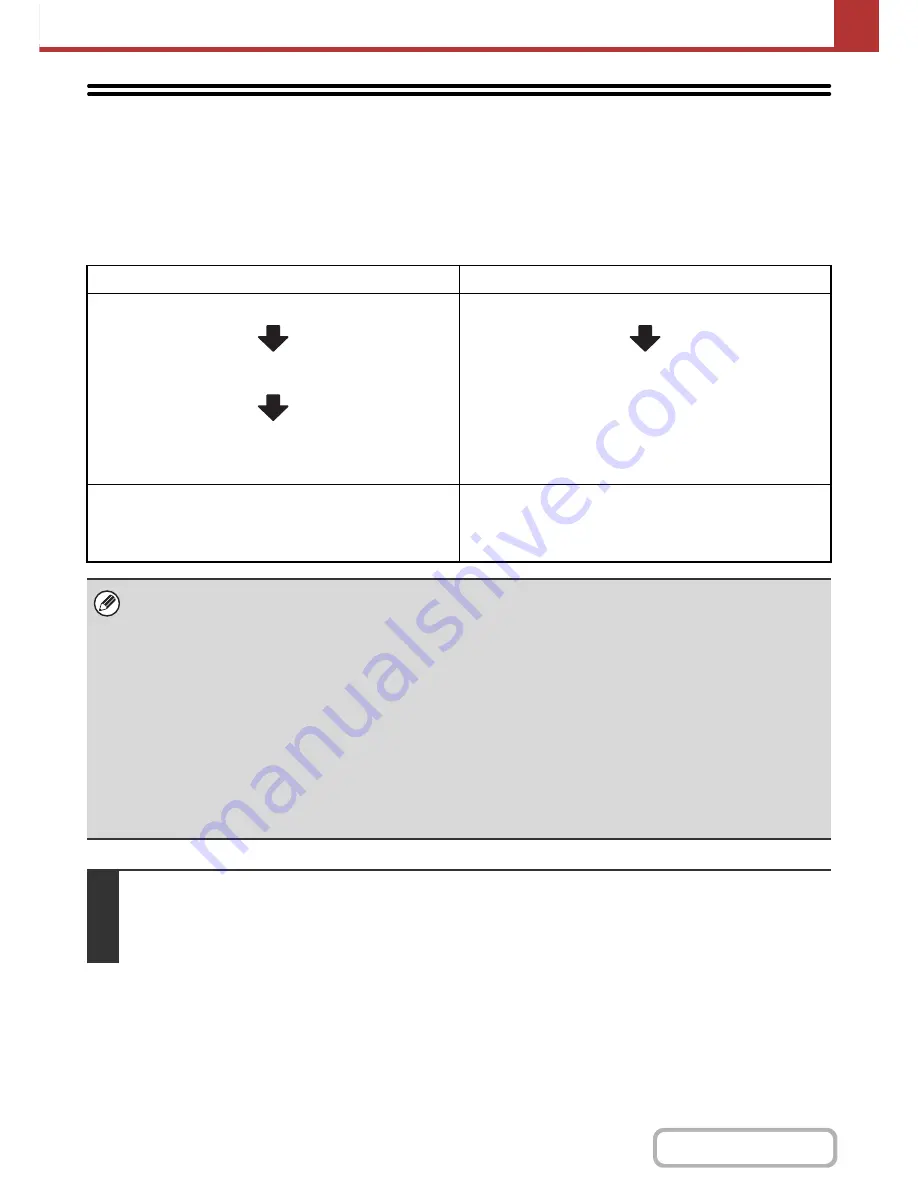
For example, suppose 8-1/2" x 11" (A4) size documents are scanned into a file and sent to each branch office once a month.
(1) The same documents are sent to each branch office
(2) Smudges on the edges of the documents are erased before transmission
When a job program is not stored
When a job program is stored
Enter the address of each branch office.
Select Erase settings.
Press the [START] key.
The originals are scanned and transmitted.
Touch a stored program key.
Press the [START] key.
The originals are scanned and transmitted.
Considerable time is required to send the documents each
month because the above settings must be selected.
In addition, mistakes may occasionally be made when
selecting the settings, so incorrect transmissions may occur.
When a program is used, settings are selected with ease by
simply pressing the stored key.
In addition, transmission takes place based on the stored
settings so there are no chances for mistakes.
•
Programs are stored, edited, and deleted using "Address Control" in the system settings. See "
Program
" (page
7-19) in "7. SYSTEM SETTINGS".
• Programs can also be stored in the Web pages. Click [Job Programs] and then [Image Send] in the Web page menu.
• The settings stored in a program will be retained even after the program is used for transmission. The same settings can
be used repeatedly for transmission.
• The following settings can be stored in programs.
• Image send mode: Scan, Internet fax
• Destinations
• Image settings: Original scan size, original orientation, duplex scanning, exposure, resolution
• Special modes: Erase, Suppress Background, Job Build, Slow Scan Mode, Business Card Scan
• Up to 48 programs can be stored.
• Up to 500 destinations can be stored in one program.
• This function cannot be used in USB memory mode or data entry mode.
1
Place the original.
Place the original in the document feeder tray or on the document glass as appropriate for the functions stored in the program.
When the original is a different size than the size setting, set the original size.
☞
SPECIFYING THE ORIGINAL SCAN SIZE AND SEND SIZE
(page 5-51)
Содержание MX-B401
Страница 4: ...Reduce copy mistakes Print one set of copies for proofing ...
Страница 6: ...Make a copy on this type of paper Envelopes and other special media Transparency film ...
Страница 8: ...Assemble output into a pamphlet Create a pamphlet Staple output Create a blank margin for punching ...
Страница 11: ...Conserve Print on both sides of the paper Print multiple pages on one side of the paper ...
Страница 34: ...Search for a file abc Search for a file using a keyword Search by checking the contents of files ...
Страница 35: ...Organize my files Delete a file Delete all files Periodically delete files Change the folder ...
Страница 203: ...3 18 PRINTER Contents 4 Click the Print button Printing begins ...
Страница 209: ...3 24 PRINTER Contents 1 Select Printer Features 2 Select Advanced 3 Select the Print Mode Macintosh 1 2 3 ...
Страница 770: ...11 REPLACING SUPPLIES AND MAINTENANCE 1 Open the front cover 2 Pull the toner cartridge toward you ...
Страница 772: ...13 REPLACING SUPPLIES AND MAINTENANCE 5 Insert the new toner cartridge horizontally and push it firmly in ...
Страница 835: ......
Страница 836: ......


