DREAMWEAVER CS3
User Guide
522
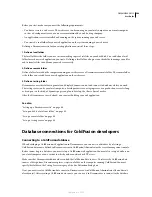
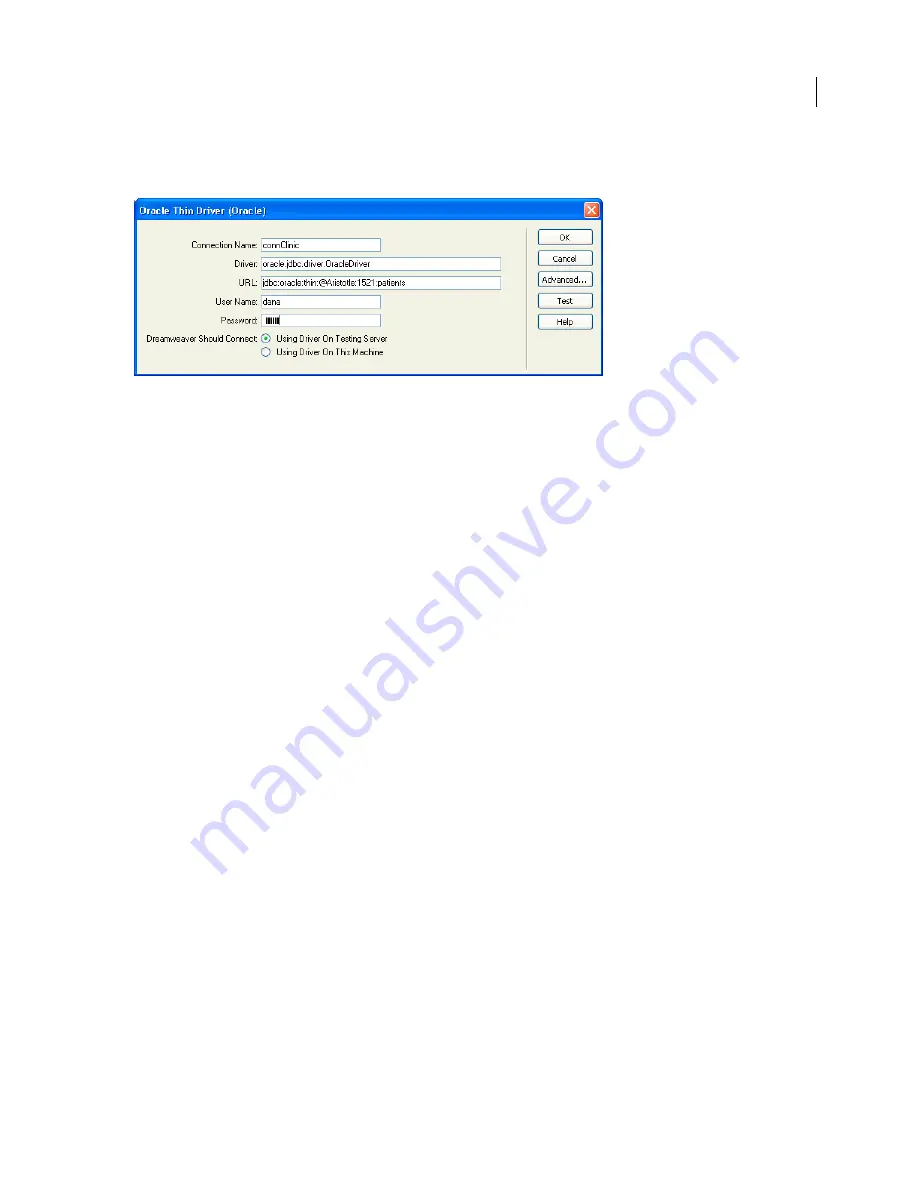
For instance, if your server is called Aristotle, the database port is 1521, and you defined a database SID called
patients
on that server, you would enter the following parameter values in Dreamweaver:
O
btaining a JDBC driver for your database
Make sure you have a JDBC driver for your database before you try to create a database connection. Some common
JDBC drivers include the Oracle Thin JDBC driver, the Oracle Java Driver, and the i-net JDBC drivers for Microsoft
SQL Server.
Database system vendors such as Oracle often include drivers with their systems. You can also purchase drivers from
third-party vendors. For example, you can obtain a JDBC driver for Microsoft SQL Server from i-net software at
www.inetsoftware.de/products/jdbc/
.
Sun also provides a searchable database of JDBC drivers and their vendors on its website at
http://devel-
opers.sun.com/product/jdbc/drivers
.
See also
“Installing the Sun JDBC-ODBC Bridge driver” on page 523
Create a JSP database connection
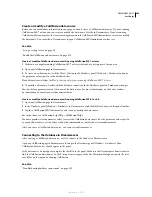
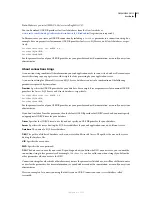
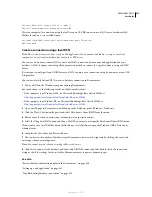
After installing an appropriate JDBC driver for your database on the computer running your application server, you
can create a database connection in Dreamweaver.
1
Open a JSP page in Dreamweaver, then open the Databases panel (Window > Databases).
2
Click the Plus (+) button and select your driver from the menu. (If your driver is not listed, select Custom JDBC
Connection.)
3
Enter the connection parameters in the dialog box.
4
Specify the location of the JDBC driver you want to use.
•
If your JDBC driver is installed on the same computer as Dreamweaver, select Using Driver On This Machine.
•
If your JDBC driver is not installed on the same computer as Dreamweaver, select Using Driver On Testing Server.
Note:
Macintosh users can ignore this step because all database connections use the application server.
5
If you want, restrict the number of database items Dreamweaver retrieves at design time by clicking Advanced and
entering a schema or catalog name.
Note:
You cannot create a schema or catalog in Microsoft Access.
6
Click Test, and then click OK.
September 4, 2007

