DREAMWEAVER CS3
User Guide
363
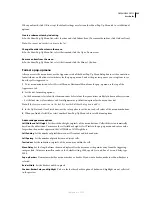
Position a pop-up menu in a document
Use position options to specify where the pop-up menu appears relative to the triggering image or link. You can also
specify whether the menu disappears when the user moves the pointer away from the trigger.
1
In the Show Pop-Up Menu dialog box, click the Position tab.
2
Set the location of the pop-up menu in one of these ways:
•
Select one of the preset options.
•
Specify a location by typing vertical and horizontal coordinates in the X and Y boxes, respectively. The coordinate
origin is the upper-left corner of the menu.
3
To hide the pop-up menu when the pointer is not over it, select Hide Menu
onMouseOut
Event. Otherwise, the
menu stays in view.
4
Click OK.
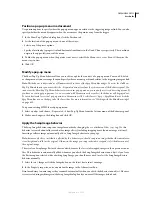
Modify a pop-up menu
The Show Pop-Up Menu behavior allows you to edit or update the contents of a pop-up menu. You can add, delete,
or change menu items, rearrange them, and specify where a menu is positioned relative to the triggering image or link.
Note:
This behavior is deprecated as of Dreamweaver 9 in favor of the Spry Menu Bar widget. To access the old Show
Pop-Up Menu behavior, you must select the ~Deprecated menu item from the Actions menu of the Behaviors panel. You
cannot use the Show Pop-Up Menu behavior to create new pop-up menus; you can only use it to edit existing menus. If
you have no existing pop-up menus (i.e., ones created with Dreamweaver 8 or earlier), the behavior will be grayed out.
To insert horizontal or vertical pop-up menus in Dreamweaver CS3, select Insert > Spry > Spry Menu Bar or click the
Spry Menu Bar icon on the Spry tab of the Insert bar. For more information, see “Working with the Menu Bar widget”
on page 453.
To open an existing HTML-based pop-up menu:
1
Select an object and choose ~Deprecated > Show Pop-Up Menu from the Actions menu of the Behaviors panel.
2
Make your changes in the dialog box and click OK.
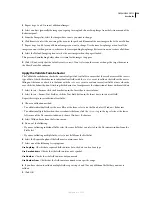
Apply the Swap Image behavior
The Swap Image behavior swaps one image for another by changing the
src
attribute of the
<img>
tag. Use this
behavior to create button rollovers and other image effects (including swapping more than one image at a time).
Inserting a rollover image automatically adds a Swap Image behavior to your page.
Note:
Because only the
src
attribute is affected by this behavior, you should swap in an image that has the same dimen-
sions (height and width) as the original. Otherwise, the image you swap in shrinks or expands to fit the dimensions of
the original image.
There is also a Swap Image Restore behavior, which restores the last set of swapped images to their previous source
files. This behavior is automatically added whenever you attach the Swap Image behavior to an object; if you leave
the Restore option selected while attaching Swap Image, you should never need to select the Swap Image Restore
behavior manually.
1
Select Insert > Image or click the Image button on the Insert bar to insert an image.
2
In the Property inspector, enter a name for the image in the leftmost text box.
It isn’t mandatory to name images; they’re named automatically when you attach the behavior to an object. However,
it is easier to distinguish images in the Swap Image dialog box if you name all the images beforehand.
September 4, 2007

