DREAMWEAVER CS3
User Guide
187
Add and remove rows and columns
To add and remove rows and columns, use the Modify > Table or column header menu.
Pressing Tab in the last cell of a table automatically adds another row to the table.
Add a single row or column
❖
Click in a cell and do one of the following:
•
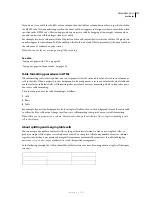
Select Modify > Table > Insert Row or Modify > Table > Insert Column.
A row appears above the insertion point or a column appears to the left of the insertion point.
•
Click the column header menu, and then select Insert Column Left or Insert Column Right.
Add multiple rows or columns
1
Click in a cell.
2
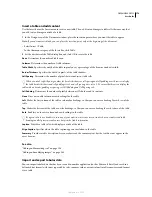
Select Modify > Table > Insert Rows Or Columns, complete the dialog box, and click OK.
Insert
Indicates whether to insert rows or columns.
Number of Rows
or Number Of Columns
The number of rows or columns to insert.
Where
Specifies whether the new rows or columns should appear before or after the row or column of the selected cell.
Delete a row or column
❖
Do one of the following:
•
Click in a cell within the row or column you want to delete, then select Modify > Table > Delete Row, or Modify >
Table > Delete Column.
•
Select a complete row or column, then select Edit > Clear or press Delete.
Add or delete rows or columns using the Property inspector
1
Select the table.
2
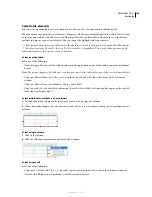
In the Property inspector (Windows > Properties), do one of the following:
•
To add or delete rows, increase or decrease the Rows value.
•
To add or delete columns, increase or decrease the Cols value.
Note:
Dreamweaver does not warn you if you are deleting rows and columns that contain data.
Split and merge cells
Use the Property inspector or the commands in the Modify > Table submenu to split or merge cells.
As an alternative approach to merging and splitting cells, Dreamweaver also provides tools for increasing and
decreasing the number of rows or columns spanned by a cell.
September 4, 2007

