DREAMWEAVER CS3
User Guide
445
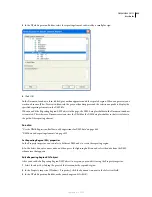
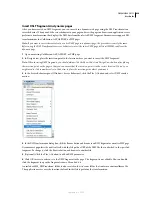
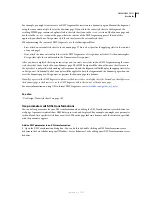
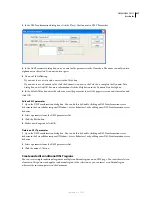
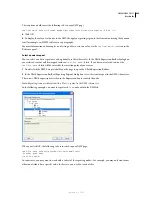
The general workflow for performing client-side XSL transformations is as follows (each step is described in other
topics):
1. Set up a Dreamweaver site.
2. Create an XSLT page or convert an HTML page to XSLT.
•
In your Dreamweaver site, create an entire XSLT page.
•
Convert an existing HTML page to an entire XSLT page.
3. Attach an XML data source to the page (if you haven’t already done so).
The XML file that you attach must reside in the same directory as the XSLT page.
4. Bind your XML data to the XSLT page.
5. Display XML data by binding the data to the entire XSLT page.
6. If appropriate, add a Repeating Region XSLT object to the table or table row that contains the XML data
placeholder(s).
7. Attach the XSLT page to the XML page.
8. Post both the XML page and the linked XSLT page to your web server.
9. View the XML page in a browser.
When you do so, the browser transforms the XML data, formats it with the XSLT page, and displays the styled page
in the browser.
See also
“Setting up a Dreamweaver site” on page 40
“Choosing your application server” on page 502
“Link an XSLT page to an XML page” on page 446
“Using XML and XSL with web pages” on page 420
“Client-side XSL transformations” on page 423
“Server-side XSL transformations” on page 421
Creating entire XSLT pages and displaying data
You must use an entire XSLT page for client-side transformations. (XSLT fragments don’t work for this type of trans-
formation.) Follow these general steps for creating, binding XML data to, and formatting XSLT pages for client-side
transformations:
September 4, 2007


