DREAMWEAVER CS3
User Guide
199
Make Widths Consistent
Resets the width specified in the HTML for each cell in the table to match the width of the
content within that cell, if you have fixed-width cells in your layout.
Remove All Spacers
Removes spacer images (transparent images that are used to control the spacing in your layout)
from your layout table.
Note:
Removing spacer images might cause some columns of your table to become very narrow. You should generally
leave spacer images in place unless each column contains other content that will keep the column at the desired width.
Remove Nesting
Removes a layout table that’s nested inside another layout table, without losing any of its contents.
The inner layout table disappears; the layout cells that it contained become part of the outer table.
Set column width
You can set a column to a specific width or make it stretch to fill as much of a browser window as possible
(autostretch). You can also specify a minimum width for a column using a spacer image.
The first time you insert a spacer image, you set up a spacer image for the site. You can set preferences for spacer
images.
Making a column autostretch before your layout is complete might have unexpected effects on table layout. To
prevent columns from growing wider or narrower, create your complete layout before making a column autostretch,
and use spacer images when making a column autostretch. (However, if each column contains other content that will
keep the column at the desired width, you don’t need spacer images.)
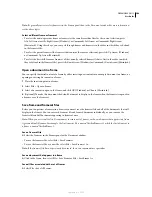
If you see two numbers for a column’s width, then the column width set in the HTML code does not match the
column’s apparent width on the screen. You can make the width specified in the code match the visual width.
Note:
You need to be in Layout mode to use these options. Also note that sometimes the column menu is at the bottom
edge of the columns.
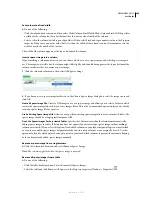
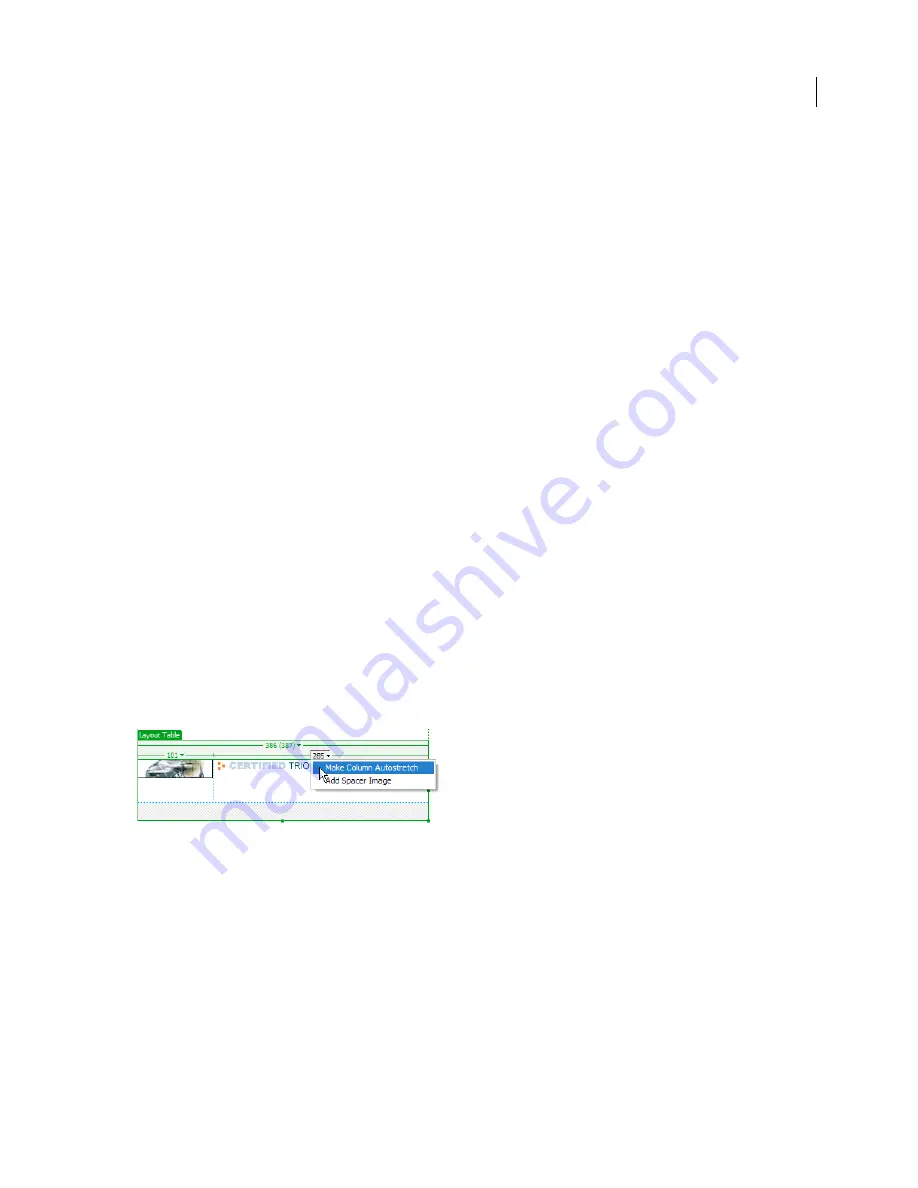
Make a column autostretch
1
Do one of the following:
•
Click the column header menu and select Make Column Autostretch.
•
Select a cell in the column by clicking an edge of the cell, and select Autostretch in the Property inspector.
Note:
You can make only one column in a given table autostretch.
2
(Optional) If you have not set a spacer image for this site, the Choose Spacer Image dialog box appears and you
can set which image to use, and click OK.
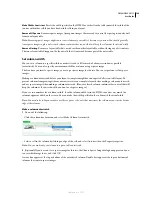
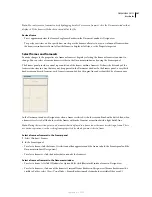
A wavy line appears at the top or bottom of the autostretch column. Double bars appear at the tops or bottoms of
columns that contain spacer images.
September 4, 2007

