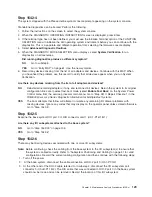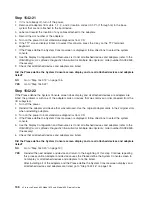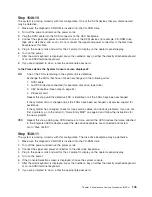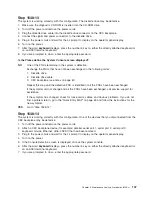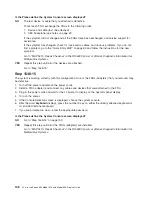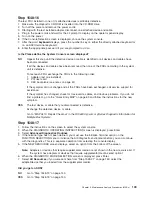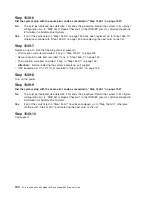
Step 1548-7
No failure was detected with this configuration.
1. Turn off the power and remove the power cords.
2. Reinstall processor card #2.
3. Plug in the power cords and wait for the
OK
prompt to display on the operator panel display.
4. Turn on the power.
Does the system stop with code E1F2, E1F3, STBY or 20EE000B, 4BA00830 displayed on the
operator panel?
NO
One of the FRUs remaining in the system unit is defective.
Exchange the FRUs that have not been exchanged, in the following order:
1. Memory DIMMs, if present on processor card #2, exchange one at a time with new or
previously removed memory DIMMs.
2. Processor card #2 (last one installed)
3. CEC backplane (see notes on page 61)
Repeat this step until the defective FRU is identified or all the FRUs have been exchanged.
If the symptom did not change and all the FRUs have been exchanged, call your service support
person for assistance.
If the symptom changed, check for loose cards and obvious problems. If you do not find a
problem, go to the “Quick Entry MAP” on page 63 and follow the instructions for the new symptom.
YES
Go to “Step 1548-8”.
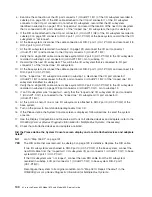
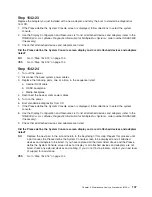
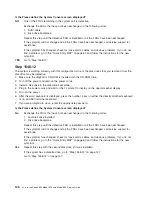
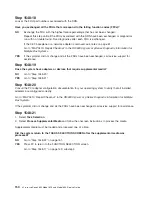
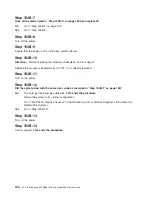
Step 1548-8
1. Turn off the power.
2. Reconnect the system console.
Notes:
a. If an HMC has been defined as the firmware console, attach the HMC cable to the HMC1
connector on the rear of the system unit.
b. If an ASCII terminal has been defined as the system console, attach the ASCII terminal cable to
the S1 connector on the rear of the system unit.
c. If a display attached to a display adapter has been defined as the system console, install the
display adapter and connect the display to the adapter. Plug the keyboard into the keyboard
connector on the rear of the system unit.
3. Turn on the power.
4. If the ASCII terminal or graphics display (including display adapter) is connected differently than it was
before, the Console Selection screen appears and requires that a new console be selected.
5. When the word
keyboard
is displayed, press the number 1 key on the directly attached keyboard, an
ASCII terminal or HMC. This activates the system management services (SMS).
6. If you are prompted to do so, enter the appropriate password.
Chapter 3. Maintenance Analysis Procedures (MAPs)
143
Summary of Contents for @Server pSeries 630 6C4
Page 1: ...pSeries 630 Model 6C4 and Model 6E4 Service Guide SA38 0604 03 ERserver...
Page 2: ......
Page 3: ...pSeries 630 Model 6C4 and Model 6E4 Service Guide SA38 0604 03 ERserver...
Page 16: ...xiv Eserver pSeries 630 Model 6C4 and Model 6E4 Service Guide...
Page 18: ...xvi Eserver pSeries 630 Model 6C4 and Model 6E4 Service Guide...
Page 382: ...362 Eserver pSeries 630 Model 6C4 and Model 6E4 Service Guide...
Page 440: ...420 Eserver pSeries 630 Model 6C4 and Model 6E4 Service Guide...
Page 538: ...System Parts continued 518 Eserver pSeries 630 Model 6C4 and Model 6E4 Service Guide...
Page 541: ...Chapter 10 Parts Information 521...
Page 562: ...542 Eserver pSeries 630 Model 6C4 and Model 6E4 Service Guide...
Page 568: ...548 Eserver pSeries 630 Model 6C4 and Model 6E4 Service Guide...
Page 576: ...556 Eserver pSeries 630 Model 6C4 and Model 6E4 Service Guide...
Page 580: ...560 Eserver pSeries 630 Model 6C4 and Model 6E4 Service Guide...
Page 616: ...596 Eserver pSeries 630 Model 6C4 and Model 6E4 Service Guide...
Page 646: ...626 Eserver pSeries 630 Model 6C4 and Model 6E4 Service Guide...
Page 649: ......

