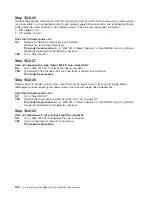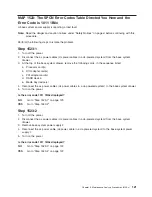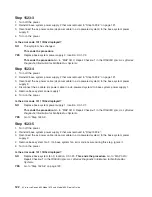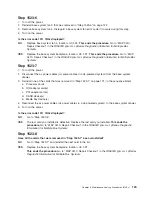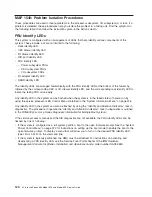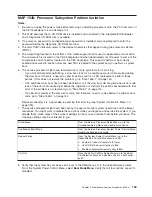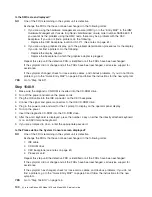
4. Examine the connection at the I/O port connector 1 (U0.
dd
-P1.1/Q1) of the I/O subsytem recorded in
substep 3 on page 129. If the RIO cable attached to the I/O port connector 1 of the I/O subsytem
connects to the I/O port connector 0 of another I/O subsystem, record that the I/O subsystem
identified in substep 3 on page 129 is
″
looped one
″
and record the location of the next I/O subsystem
that is connected to I/O port connector 1 of the
″
looped one
″
I/O subsystem, then go to substep 9.
5. If the RIO cable attached to the I/O port connector 1 (U0.
dd
-P1.1/Q2) of the I/O subsytem recorded in
substep 3 on page 129 connects to RIO-2 port 1 (U0.1-P1/Q3) of the base system, record that the I/O
subsystem is
″
not looped
″
.
6. At the base system, disconnect the cable connection at RIO-2 port 1 (U0.1-P1/Q3) and reconnect it to
RIO-2 port 0 (U0.1-P1/Q2).
7. At the I/O subsystem recorded in substep 3 on page 129, disconnect the I/O port connector 1
(U0.
dd
-P1.1/Q1) and reconnect to the I/O port connector 0 (U0.
dd
-P1.1/Q2).
8. Verify that a single RIO cable connects base system RIO-2 port 0 (U0.1-P1/Q2) to the I/O subsystem
recorded in substep 4 port connector 0 (U0.
dd
-P1.1/Q2). Go to substep 13.
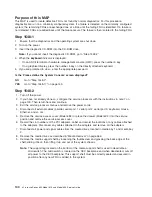
9. Record that the next I/O subsystem. This will be the I/O subsystem that is connected to I/O port
connector 1 of the
″
looped one
″
I/O subsystem.
10. At the base system, disconnect the cable connection at RIO-2 port 1 (U0.1-P1/Q3) and reconnect it to
RIO-2 port 0 (U0.1-P1/Q2).
11. At the
″
looped two
″
I/O subsystem recorded in substep 14, disconnect the I/O port connector 1
(U0.
dd
-P1.1/Q1) and reconnect to the I/O port connector 0 (U0.
dd
-P1.1/Q2) of the
″
looped one
″
I/O
subsystem identified in substep 4.
12. Verify that a single RIO cable connects base system RIO-2 port 0 (U0.1-P1/Q2) to the I/O subsystem
recorded in substep 3 on page 129 port connector 0 (U0.
dd
-P1.1/Q1). Go to substep 13.
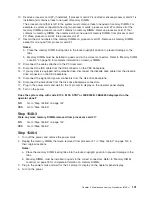
13. If an I/O subsystem was
″
looped two
″
, verify that the
″
looped one
″
I/O subsystem I/O port connector
1 (U0.
dd
-P1.1/Q1) is connected to the
″
looped two
″
I/O subsystem I/O port connector 0
(U0.
dd
-P1.1/Q2).
14. At this point, a chain of one or two I/O subsystems is attached to RIO-2 port 0 (U0.1-P1/Q2) of the
base system.
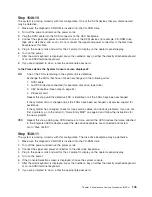
15. Turn on the power to boot standalone diagnostics from CD.
16. If the Please define the System Console screen is displayed, follow directions to select the system
console.
17. Use the Display Configuration and Resource List to list all attached devices and adapters (refer to the
RS/6000
Eserver
pSeries Diagnostic Information for Multiple Bus Systems
, if necessary).
18. Check that all attached devices and adapters are listed.
Did the Please define the System Console screen display and are all attached devices and adapters
listed?
NO
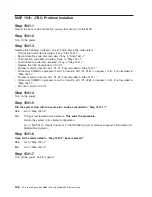
Go to “Step 1542-7” on page 131.
YES
The RIO cable that was removed in substep 3 on page 129 is defective. Replace the RIO cable.
If two I/O subsystems are chained to RIO-2 port 0 (U0.1-P1/Q2) of the base system, connect the
new RIO cable from the
″
looped two
″
I/O subsystem I/O port connector 1 (U0.
dd
-P1.1/Q1) to base
system RIO-2 port 1 (U0.1-P1/Q1).
If the I/O subsystem was
″
not looped
″
, connect the new RIO cable from the I/O subsystem
recorded in substep 4 I/O port connector 1 (U0.
dd
-P1.1/Q1) to base system RIO-2 port 1
(U0.1-P1/Q3).
Reconfigure the system to its original condition. Go to “Map 0410: Repair Checkout” in the
RS/6000
Eserver
pSeries Diagnostic Information for Multiple Bus Systems
.
130
Eserver
pSeries 630 Model 6C4 and Model 6E4 Service Guide
Summary of Contents for @Server pSeries 630 6C4
Page 1: ...pSeries 630 Model 6C4 and Model 6E4 Service Guide SA38 0604 03 ERserver...
Page 2: ......
Page 3: ...pSeries 630 Model 6C4 and Model 6E4 Service Guide SA38 0604 03 ERserver...
Page 16: ...xiv Eserver pSeries 630 Model 6C4 and Model 6E4 Service Guide...
Page 18: ...xvi Eserver pSeries 630 Model 6C4 and Model 6E4 Service Guide...
Page 382: ...362 Eserver pSeries 630 Model 6C4 and Model 6E4 Service Guide...
Page 440: ...420 Eserver pSeries 630 Model 6C4 and Model 6E4 Service Guide...
Page 538: ...System Parts continued 518 Eserver pSeries 630 Model 6C4 and Model 6E4 Service Guide...
Page 541: ...Chapter 10 Parts Information 521...
Page 562: ...542 Eserver pSeries 630 Model 6C4 and Model 6E4 Service Guide...
Page 568: ...548 Eserver pSeries 630 Model 6C4 and Model 6E4 Service Guide...
Page 576: ...556 Eserver pSeries 630 Model 6C4 and Model 6E4 Service Guide...
Page 580: ...560 Eserver pSeries 630 Model 6C4 and Model 6E4 Service Guide...
Page 616: ...596 Eserver pSeries 630 Model 6C4 and Model 6E4 Service Guide...
Page 646: ...626 Eserver pSeries 630 Model 6C4 and Model 6E4 Service Guide...
Page 649: ......

