Chapter 6: I/O Setup
69
Deleting Paths
Path definitions can be deleted from the current
session to reflect changes to your hardware
setup, or to clean up track selector menus by re-
moving unwanted or unnecessary path defini-
tions. After deleting a path, any tracks or send
assignments to that path are reset to No Output.
To delete a main path or sub-path:
1
In the I/O Setup dialog, select the path you
want to delete.
2
Click
Delete Path
.
3
Click
OK
to save changes and close the I/O
Setup dialog.
To delete all paths:
1
Alt-click (Windows) or Option-click (Mac) any
path name.
2
Click
Delete Path
.
3
Click
OK
to save changes and close the I/O
Setup dialog.
Making Paths Active or Inactive
Pro Tools paths can be Active (on) or Inactive
(off, or unavailable). Paths can be globally acti-
vated or deactivated in the I/O Setup dialog.
Making a signal path inactive will turn off the
signal path on any and all tracks currently as-
signed to it.
Pro Tools also sets unavailable paths to inactive.
Paths can be unavailable when hardware or
other system resources are unavailable, such as
when opening a session saved on a different
system.
Tracks can also be made active or inactive. For
information, see “Making Track Inputs and Out-
puts Inactive from the Edit or Mix Window” on
page 181.
To globally activate or deactivate a path:
1
Choose
Setup > I/O
.
2
Select a path type using the tabs at the top of
the window.
3
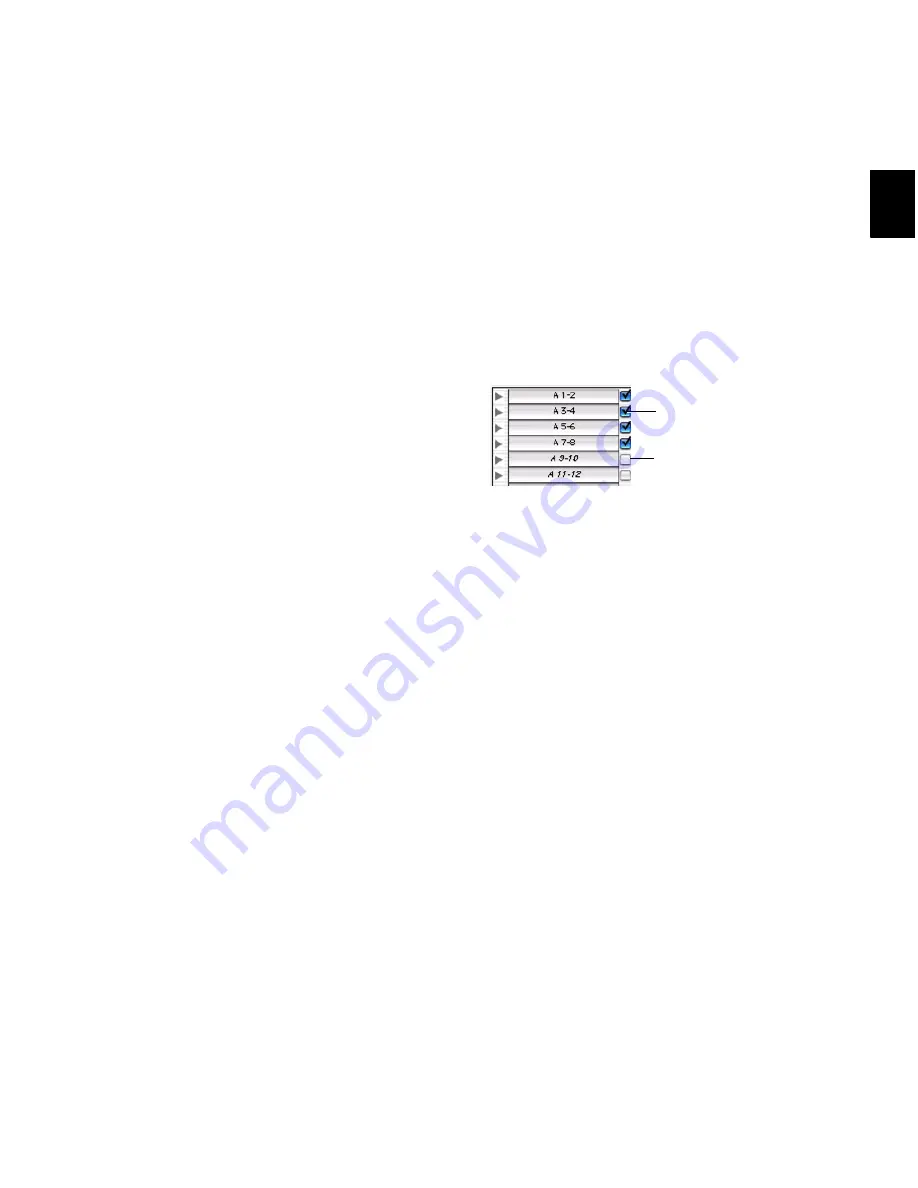
Set the Active/Inactive control for the path.
Inactive tracks that were assigned to the path
display in italics in the track path selectors.
4
Click
OK
to save changes and close the I/O
Setup dialog.
Display of Active and Inactive Paths in I/O
Setup
Unhighlighted (Italics)
Indicates the path is
inactive.
Highlighted (Non-Italics)
Indicates the path is
active.
Highlighted (Italics)
Indicates the path is active,
but there are not enough system resources avail-
able.
Active and inactive path settings in I/O Setup
Inactive
Active
Summary of Contents for Digidesign Pro Tools 8.0
Page 1: ...Reference Guide Pro Tools 8 0 ...
Page 18: ...Pro Tools Reference Guide xviii ...
Page 19: ...1 Part I Introduction ...
Page 20: ...2 ...
Page 24: ...Pro Tools Reference Guide 6 ...
Page 40: ...Pro Tools Reference Guide 22 ...
Page 45: ...27 Part II System Configuration ...
Page 46: ...28 ...
Page 58: ...Pro Tools Reference Guide 40 ...
Page 76: ...Pro Tools Reference Guide 58 ...
Page 118: ...Pro Tools Reference Guide 100 ...
Page 127: ...109 Part III Sessions Tracks ...
Page 128: ...110 ...
Page 144: ...Pro Tools Reference Guide 126 ...
Page 170: ...Pro Tools Reference Guide 152 ...
Page 228: ...Pro Tools Reference Guide 210 ...
Page 292: ...Pro Tools Reference Guide 274 ...
Page 343: ...325 Part IV Playback and Recording ...
Page 344: ...326 ...
Page 386: ...Pro Tools Reference Guide 368 ...
Page 442: ...Pro Tools Reference Guide 424 ...
Page 443: ...425 Part V Editing ...
Page 444: ...426 ...
Page 490: ...Pro Tools Reference Guide 472 ...
Page 528: ...Pro Tools Reference Guide 510 ...
Page 566: ...Pro Tools Reference Guide 548 ...
Page 590: ...Pro Tools Reference Guide 572 ...
Page 591: ...573 Part VI MIDI ...
Page 592: ...574 ...
Page 648: ...Pro Tools Reference Guide 630 ...
Page 670: ...Pro Tools Reference Guide 652 ...
Page 679: ...661 Part VII Arranging ...
Page 680: ...662 ...
Page 756: ...Pro Tools Reference Guide 738 ...
Page 769: ...751 Part VIII Processing ...
Page 770: ...752 ...
Page 780: ...Pro Tools Reference Guide 762 ...
Page 786: ...Pro Tools Reference Guide 768 Figure 3 Quantized audio events Warp markers in Warp view ...
Page 814: ...Pro Tools Reference Guide 796 ...
Page 842: ...Pro Tools Reference Guide 824 ...
Page 843: ...825 Part IX Mixing ...
Page 844: ...826 ...
Page 976: ...Pro Tools Reference Guide 958 ...
Page 991: ...973 Part X Surround ...
Page 992: ...974 ...
Page 1000: ...Pro Tools Reference Guide 982 ...
Page 1025: ...1007 Part XI Sync and Video ...
Page 1026: ...1008 ...
Page 1080: ...Pro Tools Reference Guide 1062 ...
Page 1111: ......


