Chapter 29: MIDI Editing
585
Trimming Note Start and End Times
Like regions, start and end points for MIDI notes
can be adjusted with the Trimmer tool. If several
notes are selected when performing the trim,
each note is changed.
To change the start or end points for a group of
MIDI notes:
1
Set the MIDI or Instrument track to Notes
view.
2
Using the Pencil tool or any Grabber tool,
Shift-click each note you want to trim.
3
Do one of the following:
• Select the Trimmer tool.
– or –
• Use the Pencil tool.
4
Move the cursor near the beginning of any of
the highlighted notes, so the Trimmer tool ap-
pears. Drag right to shorten the notes, or drag
left to lengthen them.
If the Edit mode is set to Grid, the dragged start
or end point snaps to the nearest Grid bound-
ary. If the Edit mode is set to Spot, the Spot dia-
log opens, where you can enter the new location
for the note’s start or end point.
Notes can also be trimmed with the
Trim Region
to Selection
command (see “Trim to Selection
Command” on page 500) and the
Trim To Inser-
tion
command (see “Trimming with Nudge” on
page 502).
The placement of MIDI notes can also be
adjusted with Shift (see “Shift Command”
on page 730) or Nudge (see “Nudging Re-
gions” on page 502).
The Trimmer tool can also be used on MIDI
regions. For more informations, see “Time
Compression/Expansion Trimmer Tool
Functionality on MIDI Regions” on
page 591.
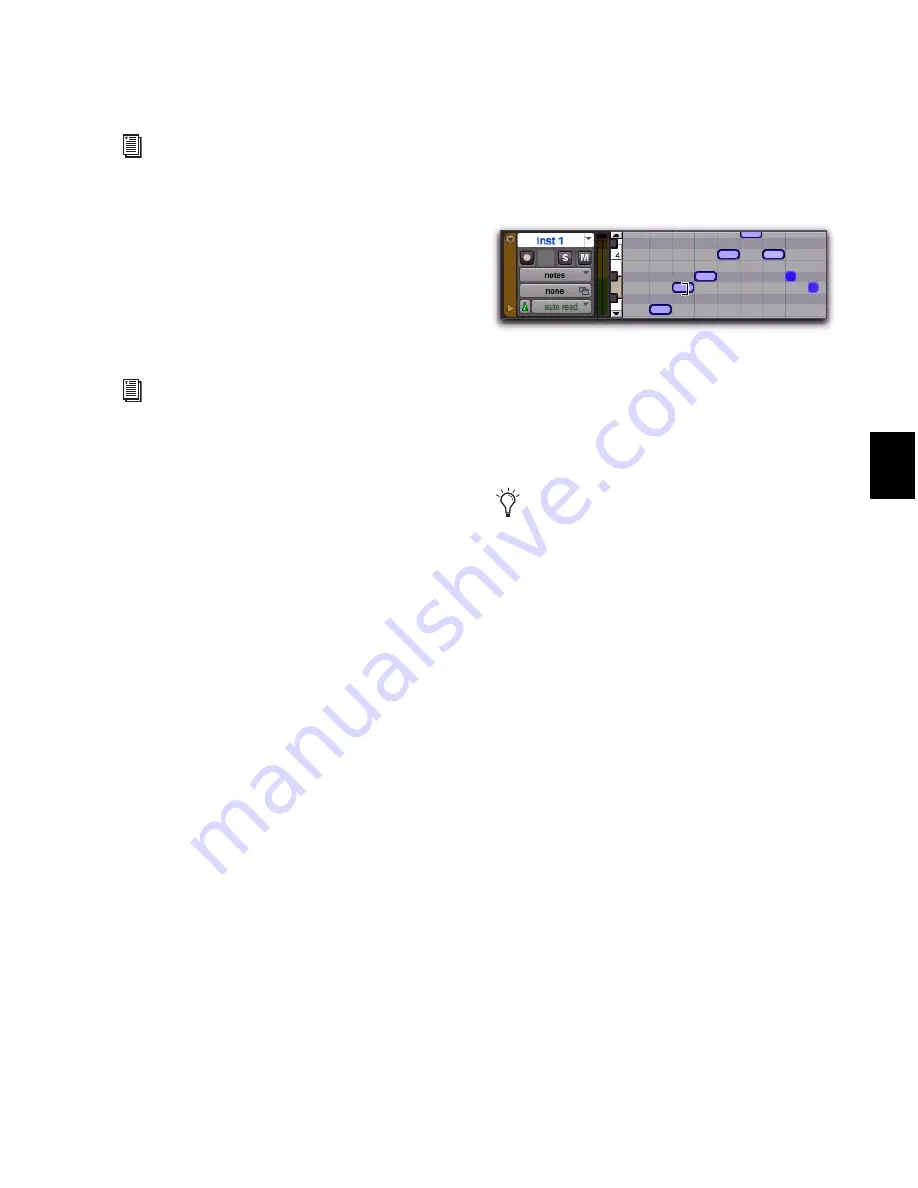
Changing note end times with the Trimmer tool
When in Grid mode, use the Control key
(Windows) or the Command key (Mac) to
temporarily disable Grid mode.
Summary of Contents for Digidesign Pro Tools 8.0
Page 1: ...Reference Guide Pro Tools 8 0 ...
Page 18: ...Pro Tools Reference Guide xviii ...
Page 19: ...1 Part I Introduction ...
Page 20: ...2 ...
Page 24: ...Pro Tools Reference Guide 6 ...
Page 40: ...Pro Tools Reference Guide 22 ...
Page 45: ...27 Part II System Configuration ...
Page 46: ...28 ...
Page 58: ...Pro Tools Reference Guide 40 ...
Page 76: ...Pro Tools Reference Guide 58 ...
Page 118: ...Pro Tools Reference Guide 100 ...
Page 127: ...109 Part III Sessions Tracks ...
Page 128: ...110 ...
Page 144: ...Pro Tools Reference Guide 126 ...
Page 170: ...Pro Tools Reference Guide 152 ...
Page 228: ...Pro Tools Reference Guide 210 ...
Page 292: ...Pro Tools Reference Guide 274 ...
Page 343: ...325 Part IV Playback and Recording ...
Page 344: ...326 ...
Page 386: ...Pro Tools Reference Guide 368 ...
Page 442: ...Pro Tools Reference Guide 424 ...
Page 443: ...425 Part V Editing ...
Page 444: ...426 ...
Page 490: ...Pro Tools Reference Guide 472 ...
Page 528: ...Pro Tools Reference Guide 510 ...
Page 566: ...Pro Tools Reference Guide 548 ...
Page 590: ...Pro Tools Reference Guide 572 ...
Page 591: ...573 Part VI MIDI ...
Page 592: ...574 ...
Page 648: ...Pro Tools Reference Guide 630 ...
Page 670: ...Pro Tools Reference Guide 652 ...
Page 679: ...661 Part VII Arranging ...
Page 680: ...662 ...
Page 756: ...Pro Tools Reference Guide 738 ...
Page 769: ...751 Part VIII Processing ...
Page 770: ...752 ...
Page 780: ...Pro Tools Reference Guide 762 ...
Page 786: ...Pro Tools Reference Guide 768 Figure 3 Quantized audio events Warp markers in Warp view ...
Page 814: ...Pro Tools Reference Guide 796 ...
Page 842: ...Pro Tools Reference Guide 824 ...
Page 843: ...825 Part IX Mixing ...
Page 844: ...826 ...
Page 976: ...Pro Tools Reference Guide 958 ...
Page 991: ...973 Part X Surround ...
Page 992: ...974 ...
Page 1000: ...Pro Tools Reference Guide 982 ...
Page 1025: ...1007 Part XI Sync and Video ...
Page 1026: ...1008 ...
Page 1080: ...Pro Tools Reference Guide 1062 ...
Page 1111: ......


