Pro Tools Reference Guide
446
To lock out Shuffle Mode:
While in any Edit mode other than Shuffle
mode, Control-click (Windows) or Command-
click (Mac) the Shuffle button on-screen. A lock
icon appears in the Shuffle button.
To unlock Shuffle Mode:
Control-click (Windows) or Command-click
(Mac) the locked Shuffle button on-screen.
Slip
In Slip mode, regions can be moved freely
within a track or to other tracks. In this mode, it
is possible to place a region so that there is space
between it and other regions in a track. When
the track is played back, this space is silent. It is
also possible to move a region so that it overlaps
or completely covers another region.
Use Slip mode when you want the Trim, Selec-
tor, Grabber, and Pencil tools to work without
any restrictions to placement in time.
Spot
Use Spot mode to place regions at precise loca-
tions. In Spot mode you can specify a frame lo-
cation (or a location based on any of the other
time formats), capture an incoming Time Code
address, or use a region’s time stamps as refer-
ence points for spotting. This can be particularly
useful when performing post production tasks
around SMPTE frame locations.
When Spot mode is enabled, Pro Tools asks you
to specify a destination location when a region
is dragged from the Region List, a DigiBase
browser, Windows Explorer, or the Mac Finder.
Grid
In Grid mode, regions and MIDI notes that are
moved, trimmed or inserted “snap” to the cur-
rently selected Grid value, or to precise incre-
ments on a user-definable time grid.
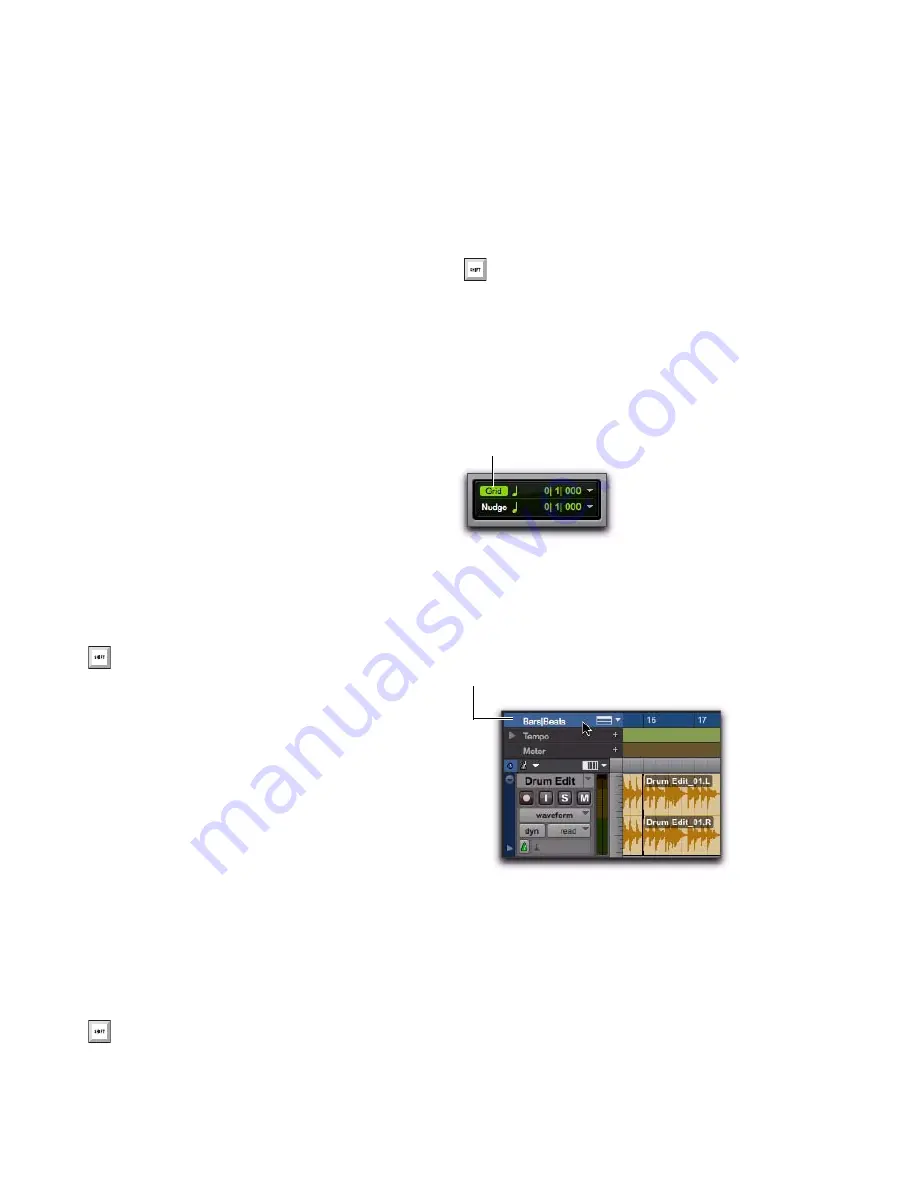
Displaying Grid Lines
To show (or hide) the Grid lines in the Edit window
or in a MIDI Editor window, do one of the following:
Select (or deselect) the Grid button.
– or –
Click the Name of the currently selected
Timebase ruler.
Press F2 to enable Slip mode.
Press F3 to enable Spot mode.
Press F4 to enable Grid mode.
Grid button selected in the Edit window
Turning on Grid lines from a Timebase ruler
Grid button
Click to show or hide Grid lines
Summary of Contents for Digidesign Pro Tools 8.0
Page 1: ...Reference Guide Pro Tools 8 0 ...
Page 18: ...Pro Tools Reference Guide xviii ...
Page 19: ...1 Part I Introduction ...
Page 20: ...2 ...
Page 24: ...Pro Tools Reference Guide 6 ...
Page 40: ...Pro Tools Reference Guide 22 ...
Page 45: ...27 Part II System Configuration ...
Page 46: ...28 ...
Page 58: ...Pro Tools Reference Guide 40 ...
Page 76: ...Pro Tools Reference Guide 58 ...
Page 118: ...Pro Tools Reference Guide 100 ...
Page 127: ...109 Part III Sessions Tracks ...
Page 128: ...110 ...
Page 144: ...Pro Tools Reference Guide 126 ...
Page 170: ...Pro Tools Reference Guide 152 ...
Page 228: ...Pro Tools Reference Guide 210 ...
Page 292: ...Pro Tools Reference Guide 274 ...
Page 343: ...325 Part IV Playback and Recording ...
Page 344: ...326 ...
Page 386: ...Pro Tools Reference Guide 368 ...
Page 442: ...Pro Tools Reference Guide 424 ...
Page 443: ...425 Part V Editing ...
Page 444: ...426 ...
Page 490: ...Pro Tools Reference Guide 472 ...
Page 528: ...Pro Tools Reference Guide 510 ...
Page 566: ...Pro Tools Reference Guide 548 ...
Page 590: ...Pro Tools Reference Guide 572 ...
Page 591: ...573 Part VI MIDI ...
Page 592: ...574 ...
Page 648: ...Pro Tools Reference Guide 630 ...
Page 670: ...Pro Tools Reference Guide 652 ...
Page 679: ...661 Part VII Arranging ...
Page 680: ...662 ...
Page 756: ...Pro Tools Reference Guide 738 ...
Page 769: ...751 Part VIII Processing ...
Page 770: ...752 ...
Page 780: ...Pro Tools Reference Guide 762 ...
Page 786: ...Pro Tools Reference Guide 768 Figure 3 Quantized audio events Warp markers in Warp view ...
Page 814: ...Pro Tools Reference Guide 796 ...
Page 842: ...Pro Tools Reference Guide 824 ...
Page 843: ...825 Part IX Mixing ...
Page 844: ...826 ...
Page 976: ...Pro Tools Reference Guide 958 ...
Page 991: ...973 Part X Surround ...
Page 992: ...974 ...
Page 1000: ...Pro Tools Reference Guide 982 ...
Page 1025: ...1007 Part XI Sync and Video ...
Page 1026: ...1008 ...
Page 1080: ...Pro Tools Reference Guide 1062 ...
Page 1111: ......


