Chapter 24: Making Selections
483
Other Useful Selection Techniques
Following are some additional selection tech-
niques.
To position the edit cursor precisely at a region
start, end, or sync point:
1
Make sure the Tab to Transients button is not
enabled. (See “Tabbing to Transients” on
page 484.)
2
Click with the Selector tool in the track.
3
Do one of the following:
• Press Tab to move the cursor to the next re-
gion or region group start, end, or sync
point.
– or –
• Press Tab (Windows) or Op-
tion+Tab (Mac) to move the cursor to the
previous region or region group start, end,
or sync point.
To make a selection with the Scrubber:
1
Choose Setup > Preferences and click the
Operation tab.
2
Select the option for “Edit Insertion Follows
Scrub/Shuttle,” then click OK.
3
Scrub with the Scrubber to find an appropriate
start point for the selection, then release.
4
While pressing Shift, scrub to an appropriate
end point for the selection, then release. The
range between the initial and final scrub be-
comes selected.
To move a selection to an adjacent region on the
same track:
1
Select a region with the Time Grabber.
2
Do one of the following:
• Press Start+Tab (Windows) or Tab
(Mac) to move the selection to the next re-
gion.
– or –
• Press Start+Tab (Windows) or Op-
tion+Tab (Mac) to move the selec-
tion to the previous region.
In either instance, the original region becomes
deselected.
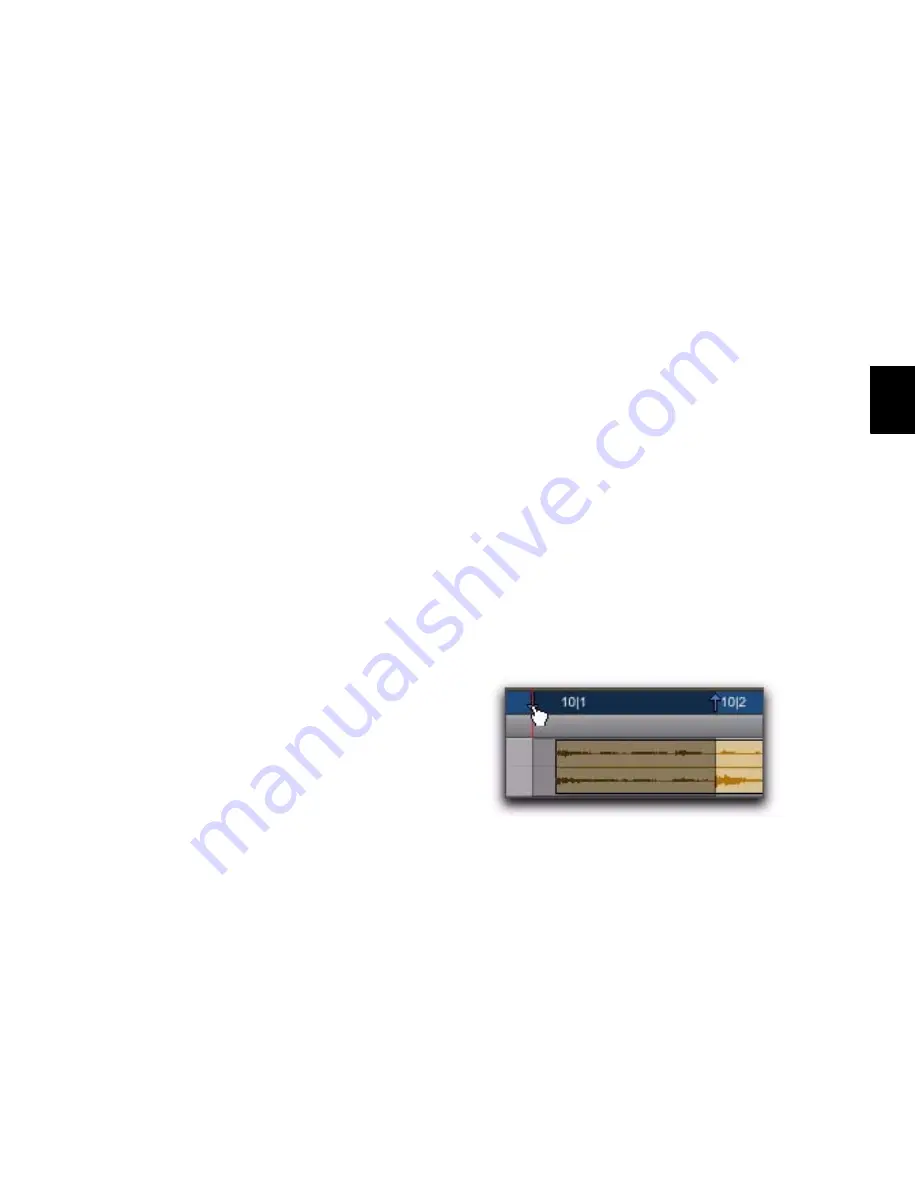
To slide an Edit selection in the Main Timebase
ruler:
1
With the Selector or Time Grabber tool, make
a selection.
2
While pressing Alt (Windows) or Option
(Mac), move the cursor over either of the Time-
line Selection Markers in the ruler (the Time
Grabber appears).
3
Drag left or right to move the Edit selection
back or forward in time while preserving its
length.
If Link Timeline and Edit Selection is disabled
(
Options > Link Timeline and Edit Selection
), Alt-
drag (Windows) or Option-drag (Mac) the Edit
Markers instead.
Sliding an Edit selection in the Main Timebase ruler
Summary of Contents for Digidesign Pro Tools 8.0
Page 1: ...Reference Guide Pro Tools 8 0 ...
Page 18: ...Pro Tools Reference Guide xviii ...
Page 19: ...1 Part I Introduction ...
Page 20: ...2 ...
Page 24: ...Pro Tools Reference Guide 6 ...
Page 40: ...Pro Tools Reference Guide 22 ...
Page 45: ...27 Part II System Configuration ...
Page 46: ...28 ...
Page 58: ...Pro Tools Reference Guide 40 ...
Page 76: ...Pro Tools Reference Guide 58 ...
Page 118: ...Pro Tools Reference Guide 100 ...
Page 127: ...109 Part III Sessions Tracks ...
Page 128: ...110 ...
Page 144: ...Pro Tools Reference Guide 126 ...
Page 170: ...Pro Tools Reference Guide 152 ...
Page 228: ...Pro Tools Reference Guide 210 ...
Page 292: ...Pro Tools Reference Guide 274 ...
Page 343: ...325 Part IV Playback and Recording ...
Page 344: ...326 ...
Page 386: ...Pro Tools Reference Guide 368 ...
Page 442: ...Pro Tools Reference Guide 424 ...
Page 443: ...425 Part V Editing ...
Page 444: ...426 ...
Page 490: ...Pro Tools Reference Guide 472 ...
Page 528: ...Pro Tools Reference Guide 510 ...
Page 566: ...Pro Tools Reference Guide 548 ...
Page 590: ...Pro Tools Reference Guide 572 ...
Page 591: ...573 Part VI MIDI ...
Page 592: ...574 ...
Page 648: ...Pro Tools Reference Guide 630 ...
Page 670: ...Pro Tools Reference Guide 652 ...
Page 679: ...661 Part VII Arranging ...
Page 680: ...662 ...
Page 756: ...Pro Tools Reference Guide 738 ...
Page 769: ...751 Part VIII Processing ...
Page 770: ...752 ...
Page 780: ...Pro Tools Reference Guide 762 ...
Page 786: ...Pro Tools Reference Guide 768 Figure 3 Quantized audio events Warp markers in Warp view ...
Page 814: ...Pro Tools Reference Guide 796 ...
Page 842: ...Pro Tools Reference Guide 824 ...
Page 843: ...825 Part IX Mixing ...
Page 844: ...826 ...
Page 976: ...Pro Tools Reference Guide 958 ...
Page 991: ...973 Part X Surround ...
Page 992: ...974 ...
Page 1000: ...Pro Tools Reference Guide 982 ...
Page 1025: ...1007 Part XI Sync and Video ...
Page 1026: ...1008 ...
Page 1080: ...Pro Tools Reference Guide 1062 ...
Page 1111: ......


