Chapter 47: Working with Synchronization
1023
To generate time code using a SYNC peripheral:
1
Connect the SYNC peripheral LTC Out to the
SMPTE in connector on the devices you are slav-
ing. If you are slaving a device that recognizes
MTC, connect the MTC OUT connector of the
SYNC peripheral to the MIDI IN connector of
the slaved device.
2
Make sure your SYNC peripheral is powered
on.
3
In Pro Tools, choose
Setup > Peripherals
and
click the
Synchronization
tab.
4
In the Digidesign Synchronization Device sec-
tion of the Synchronization page, select
Enable
SYNC Peripheral
.
5
Click
OK
to close the Peripherals dialog.
6
Choose
Setup > Session
, and choose the ap-
propriate frame rate for the
Time Code Rate
set-
ting.
7
In the SYNC Setup section of the Session Setup
window, choose a clock reference from the
Clock Reference selector. Not all clock choices
are available at all sample rates. See “External
Clock Sources” on page 1012.)
8
From the Transport Window menu (or the
Edit Window menu), select
Synchronization
.
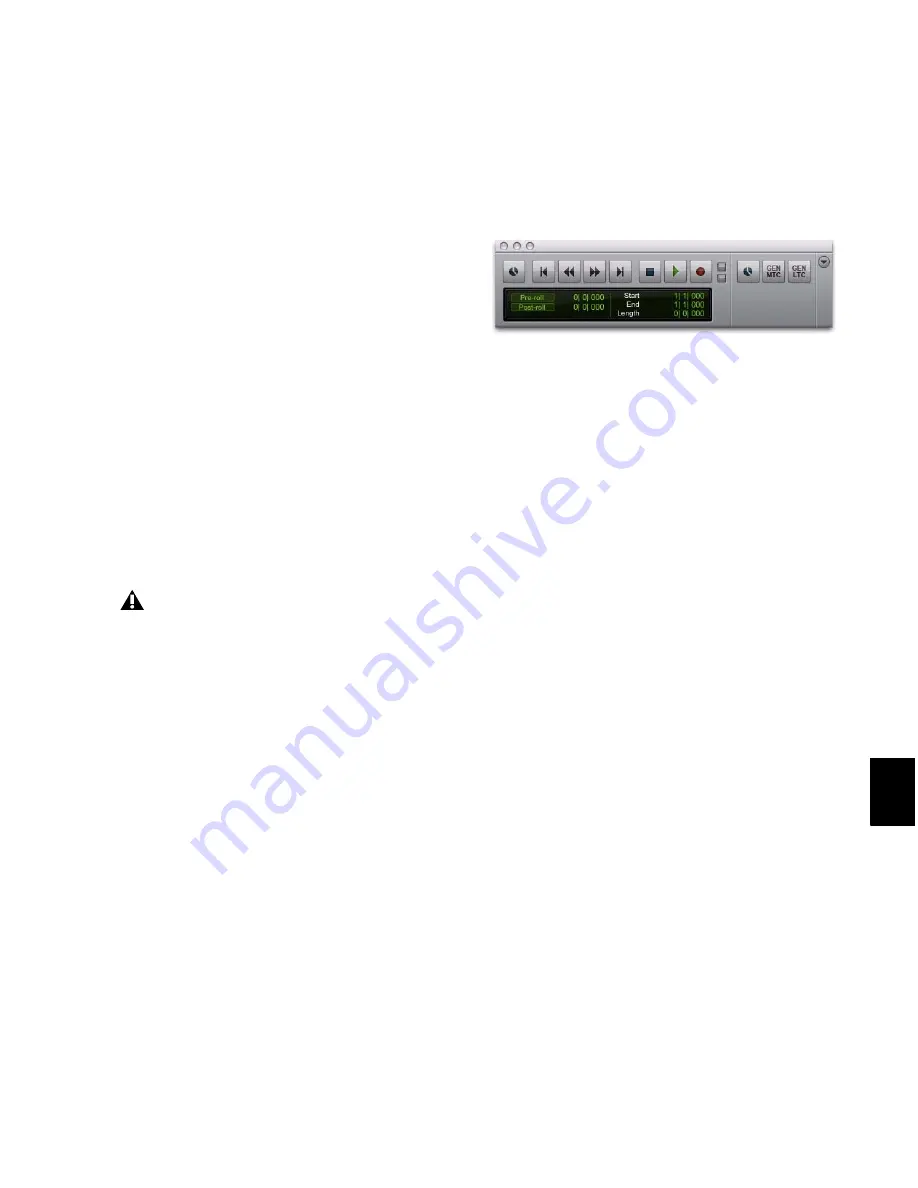
9
Select one of the following:
•
Gen MTC
to generate MIDI Time Code.
– or –
•
Gen LTC
to generate Linear Time Code.
10
Start playback.
Pro Tools generates and outputs time code from
the SYNC peripheral.
Limitations for SYNC Peripherals Locked to
Video Input or Video Reference
A SYNC peripheral cannot generate 30 fps,
24 fps, or 23.976 fps time code while it is locked
to a video clock signal. If you set Pro Tools to
generate 30 fps time code while the SYNC pe-
ripheral is locked to a video clock signal, the
SYNC peripheral will actually generate at the
NTSC color standard 29.97 fps. Pro Tools can
generate time code at non-NTSC frame rates if
you use the internal clock or external word clock
on the SYNC peripheral as a synchronization
source.
If you change time code rates in the middle
of a session, many SMPTE-to-MIDI Time
Code converters need to be turned off and
turned on again to be able to recognize the
new frame rate.
Transport window, Synchronization options shown
Summary of Contents for Digidesign Pro Tools 8.0
Page 1: ...Reference Guide Pro Tools 8 0 ...
Page 18: ...Pro Tools Reference Guide xviii ...
Page 19: ...1 Part I Introduction ...
Page 20: ...2 ...
Page 24: ...Pro Tools Reference Guide 6 ...
Page 40: ...Pro Tools Reference Guide 22 ...
Page 45: ...27 Part II System Configuration ...
Page 46: ...28 ...
Page 58: ...Pro Tools Reference Guide 40 ...
Page 76: ...Pro Tools Reference Guide 58 ...
Page 118: ...Pro Tools Reference Guide 100 ...
Page 127: ...109 Part III Sessions Tracks ...
Page 128: ...110 ...
Page 144: ...Pro Tools Reference Guide 126 ...
Page 170: ...Pro Tools Reference Guide 152 ...
Page 228: ...Pro Tools Reference Guide 210 ...
Page 292: ...Pro Tools Reference Guide 274 ...
Page 343: ...325 Part IV Playback and Recording ...
Page 344: ...326 ...
Page 386: ...Pro Tools Reference Guide 368 ...
Page 442: ...Pro Tools Reference Guide 424 ...
Page 443: ...425 Part V Editing ...
Page 444: ...426 ...
Page 490: ...Pro Tools Reference Guide 472 ...
Page 528: ...Pro Tools Reference Guide 510 ...
Page 566: ...Pro Tools Reference Guide 548 ...
Page 590: ...Pro Tools Reference Guide 572 ...
Page 591: ...573 Part VI MIDI ...
Page 592: ...574 ...
Page 648: ...Pro Tools Reference Guide 630 ...
Page 670: ...Pro Tools Reference Guide 652 ...
Page 679: ...661 Part VII Arranging ...
Page 680: ...662 ...
Page 756: ...Pro Tools Reference Guide 738 ...
Page 769: ...751 Part VIII Processing ...
Page 770: ...752 ...
Page 780: ...Pro Tools Reference Guide 762 ...
Page 786: ...Pro Tools Reference Guide 768 Figure 3 Quantized audio events Warp markers in Warp view ...
Page 814: ...Pro Tools Reference Guide 796 ...
Page 842: ...Pro Tools Reference Guide 824 ...
Page 843: ...825 Part IX Mixing ...
Page 844: ...826 ...
Page 976: ...Pro Tools Reference Guide 958 ...
Page 991: ...973 Part X Surround ...
Page 992: ...974 ...
Page 1000: ...Pro Tools Reference Guide 982 ...
Page 1025: ...1007 Part XI Sync and Video ...
Page 1026: ...1008 ...
Page 1080: ...Pro Tools Reference Guide 1062 ...
Page 1111: ......


