373
•
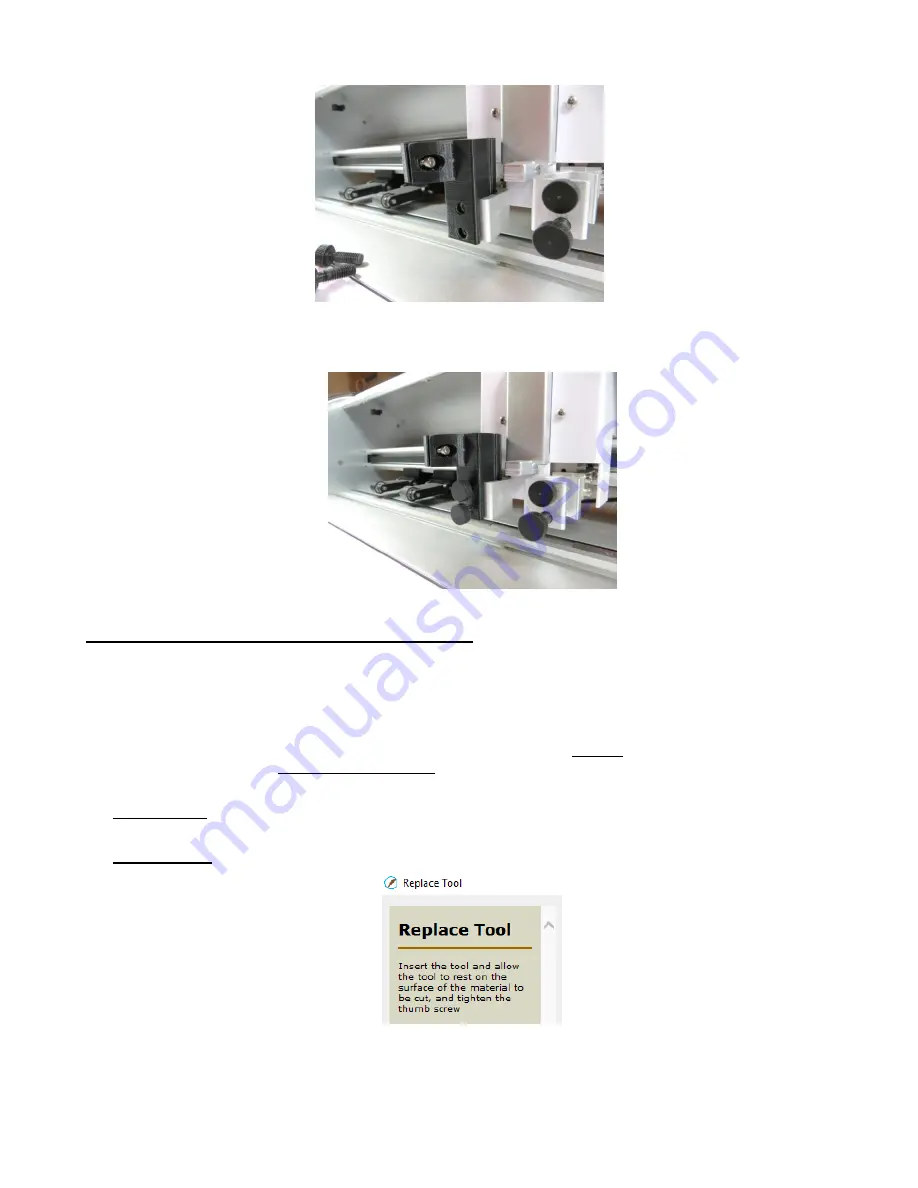
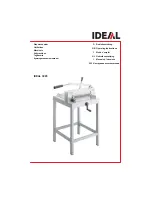
Reinsert the two front screws so that they pass through the adaptor and through the blade holder seat.
Hand tighten those screws:
13.07.2 Inserting the Rotary Tool into the Adaptor
•
Place the material to be cut
or engraved onto the cutting mat. It’s usually a good idea to tape down
materials along the outside edges with masking tape to prevent slippage. While it is not shown in the
following photos, it is highly recommended that a material such as a sheet of chipboard be taped over the
mat to provide a protective layer, as mentioned in the Pen test (
Section 13.05
).
•
Click on
Replace Tool
. At this point, you should only have the rotary adaptor installed on the left side. Click
on
Continue
so that the left side will move down. The distance it drops is based on the
Surface Height
entered.
•
IMPORTANT!
At this point, do NOT use the arrow keys to move the head to a new location because the
head will raise up. It MUST be in the down position before inserting the pen.
•
IMPORTANT!
Verify that the screen in SCAL
is now showing it’s time to insert the tool:
•
Insert the rotary tool with the shaft lock pointing forward so that it can slide through the small opening on the
front.
Summary of Contents for KNK Force
Page 306: ...306...


