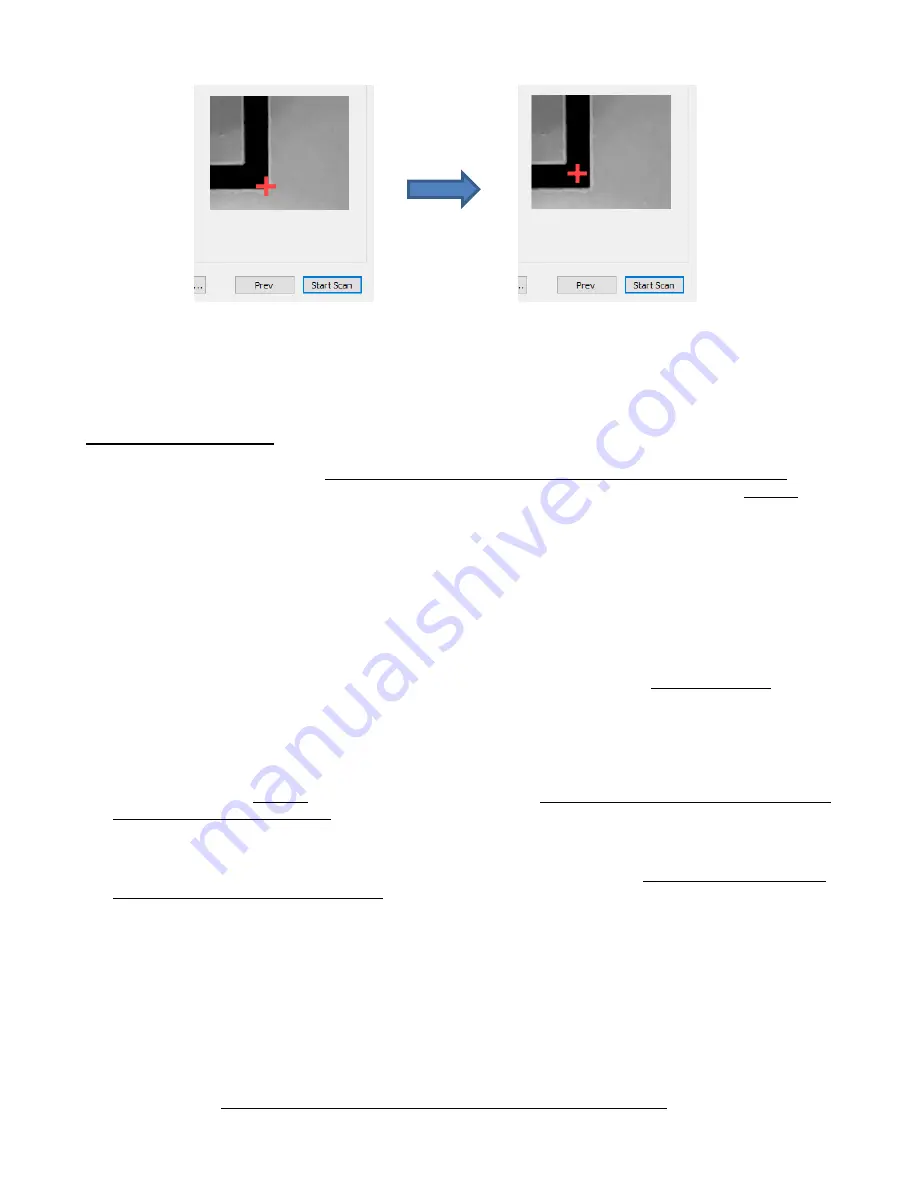
352
(11) The camera will now identify the lower mark, then the upper right mark, and finally the upper left mark
and then cut out the shapes.
11.06 Print and Cut Tips
•
When tracing imported images, the trace lines will not necessarily be perfectly aligned with the image. This
can result in tiny bits of white appearing in certain spots, suggesting the PNC wasn’t accurate. Zoom in
close on the image so that you can see the trace line following the outline of the image. Look at the same
spots where the cut didn’t follow the image perfectly. This could be the cause of the inaccurate PNC. There
are three ways of handling this situation:
Retrace the imported image, using a lower
Contrast
and/or
Smooth
setting to get a tighter fit of the
trace line to the original graphic (refer to
Section 7.03
).
Use
Path Editing
to move the trace lines to more closely fit the original graphic (refer to
Section 8.10.2.
Create an inset line to use for cutting instead of the original trace line (refer to
Section 8.05
).
•
If a PNC is not precise and the cause is not the alignment of the trace lines, then check the settings
you’re
using. Cutting too deeply into the cutting mat can cause a certain amount of drag on the mat, leading to
errors, especially in applications with many shapes to cut. Also, make sure the pinch wheels, underside of
the cutting mat, and the grit shafts are clean and free of any adhesive.
•
If you wish to use
Landscape
mode for your print and cut applications, then change the
Orientation
on the
Document
Panel
and under
File>Print Setup
to
Landscape
and orient the printout the correct way on the
cutting mat. There is no need to modify the camera calibrations. Currently,
however,
Landscape
mode does
NOT work for PNC on the Force.
•
Faster
Cut and Up Speeds
can be used when cutting thinner materials. For example, you should be able to
use 30 and 30 with simple designs on thin paper. For regular cardstock, you might be able to use 25 and
25. For thicker cardstock, stick with 20 and 20. It also depends on the design. Very precise cutting around
a printed image will need slower speeds than a large contour cut, such as the tag around the cow shown in
Section 17.01. On the other hand, if the mat is moving numerous times, in and out of the cutter, a slight
shifting can occur, especially at higher speeds. So, print and cuts with lots of images will need slower
Cut
and
Up
Speeds
.
•
If you are using PNC in your business and need faster cutting, Francisco Ulloa developed a method
whereby he aligns the mat with the right-side endcap on the Force and designs his files so that all shapes
cut counter-clockwise. This causes the skewing force on the mat to be countered by the presence of the
endcap, keeping the mat straight. He has been able to use maximum
CS
for many of his PNC applications.
Thank you, Francisco! (Note: To change the path direction on an SVG file in C3, refer to
Section 2.02.10
.
To change the path direction within the original design program, refer to
Sections 4.02.1-4.02.5
and the
Quick Guide
table in
Section 4.04.3
).
•
Remember that the calibration of the
Offset
is specific to the particular blade holder and blade type being
used. Thus, if you change, the calibration should be checked and tweaked, as needed.
Summary of Contents for KNK Force
Page 306: ...306...


