


726
Chapter 66:
Using GSP Tray
Viewing Gerber installed devices
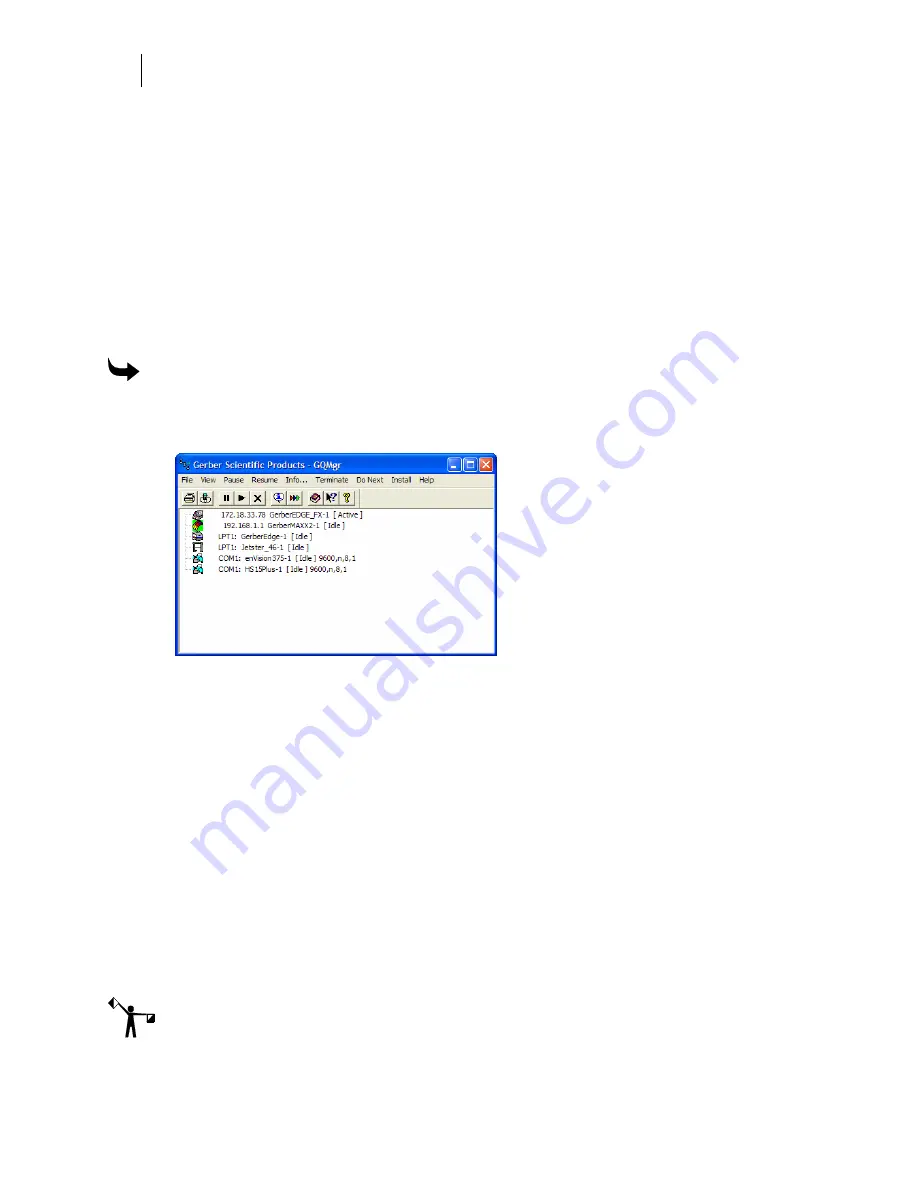
Clicking Gerber Installed Devices opens the GQMgr (Gerber Queue Manager), which is a
holding area for jobs sent to an output device. In addition, spool (SPL) files may be printed or
plotted directly from the GQMgr. The program serves four purposes:
♦
Printing or cutting jobs while other jobs are being arranged in GSPPlot
♦
Printing or cutting multiple plot files in sequence
♦
Controlling the order of plot files being cut
♦
Printing or cutting directly from the program to a thermal printer or plotter.
To open the Gerber Queue Manager
1
Right-click the GSP Tray to open the GSP Tray menu.
2
Click Gerber Installed Devices to open the GQMgr workspace.
The Queue Manager shows all devices installed in OMEGA. For detailed information on the
Queue Manager, refer to “Queue Manager.”
Installing a vinyl printer, plotter, router, or inkjet
printer
Using GSP Tray, you can install thermal printers, plotters and routers. You can also install
them during installation or in GSPPlot. (Use the control panel to install paper printers.) The
installation can be:
♦
Local
– the device is physically connected to your computer.
♦
Remote
– the device is physically connected to a networked computer to which your
computer has access.
♦
Network
– for GERBER MAXX, EDGE FX, or other device wired directly through the
network, with no direct connection to a computer necessary
Note: If you want to share the Gerber devices installed on your system, make sure your
C:\Queue folder is a shared folder. For further information on sharing the Queue folder, refer
to “Networking.”
Summary of Contents for OMEGA CP
Page 16: ......
Page 20: ......
Page 36: ......
Page 42: ...28 Chapter 4 Saving Files...
Page 44: ......
Page 68: ......
Page 92: ......
Page 96: ...82 Chapter 7 Selecting Elements of the Design...
Page 98: ......
Page 132: ......
Page 146: ......
Page 154: ......
Page 162: ......
Page 182: ......
Page 188: ......
Page 204: ......
Page 234: ......
Page 238: ......
Page 244: ......
Page 254: ...240 Chapter 22 Strokes Adding Print Thickness to the Outline of Objects...
Page 256: ......
Page 282: ......
Page 320: ......
Page 346: ......
Page 358: ......
Page 380: ......
Page 386: ......
Page 418: ......
Page 422: ......
Page 452: ......
Page 462: ......
Page 476: ......
Page 512: ...498 Chapter 44 Creating Special Effects...
Page 514: ......
Page 520: ......
Page 530: ......
Page 540: ......
Page 552: ......
Page 564: ......
Page 606: ......
Page 614: ...600 Chapter 51 Sending the Job to a Plotter or Printer...
Page 694: ......
Page 700: ......
Page 734: ......
Page 748: ......
Page 760: ...746...
Page 776: ......
Page 786: ......
Page 790: ......


