


34
Chapter 5:
Setting Up Composer's Work Surface
To add a reference frame
1
Click Tools > Options > View.
2
Turn on Reference Frame and then click Apply.
3
Click the Layout tab.
4
In the Default Frame for New group box, enter the X and Y coordinates for the lower
left corner.
5
Turn on Enter Size as Height and Length.
6
Enter the length and height of the sign in inches (for example, 120" for a 10' sign).
Tip: Normally, you will want to work on the largest work surface possible. To have Composer
open with the window at maximum size, click Tools > Options > File and turn on the Maximize
Work Area at Startup check box.
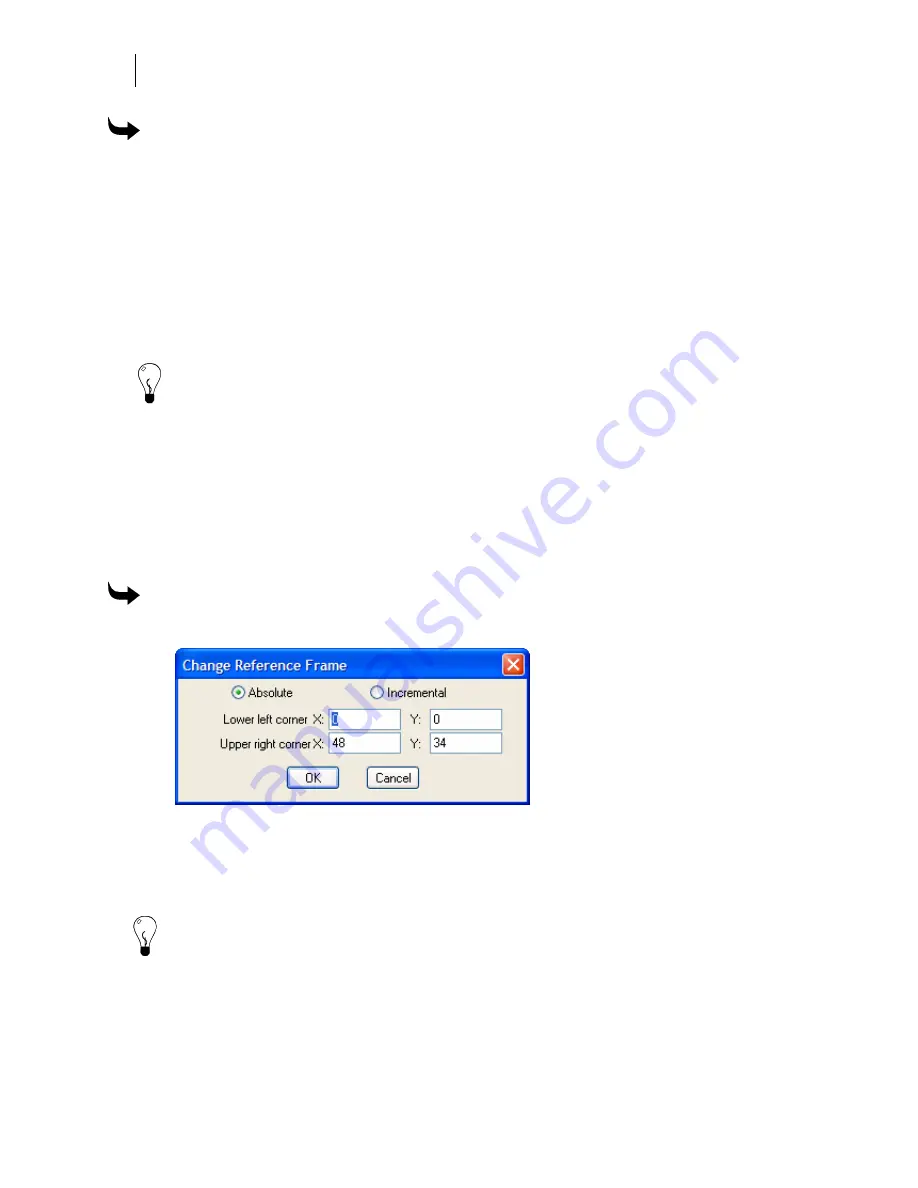
Changing the size of the frame
Use the Change Reference Frame dialog box to change the size of an existing reference frame
on the work surface. Choose the Absolute option and enter the lower left and upper right
corner coordinates. To add space to the size of the working area, choose the Incremental
option. The coordinate boxes are reset to .000. Enter the amount that you want to add to the
existing work surface size.
To change the size of the frame
1
Click Edit > Change Frame to open the Change Reference Frame dialog box.
2
Choose Absolute or Incremental sizing.
3
Enter the corner coordinates.
4
Click OK.
Tip: As you move shapes and text on the work surface, if you click Tools > Options > View,
then turn on Enable Autoscrolling, the work surface automatically scrolls so that you can
continue to see it if it “moves” beyond the work surface border. If you turn this check box off,
you can move the shape off the work surface and it is hidden under the border of the work
surface.
Summary of Contents for OMEGA CP
Page 16: ......
Page 20: ......
Page 36: ......
Page 42: ...28 Chapter 4 Saving Files...
Page 44: ......
Page 68: ......
Page 92: ......
Page 96: ...82 Chapter 7 Selecting Elements of the Design...
Page 98: ......
Page 132: ......
Page 146: ......
Page 154: ......
Page 162: ......
Page 182: ......
Page 188: ......
Page 204: ......
Page 234: ......
Page 238: ......
Page 244: ......
Page 254: ...240 Chapter 22 Strokes Adding Print Thickness to the Outline of Objects...
Page 256: ......
Page 282: ......
Page 320: ......
Page 346: ......
Page 358: ......
Page 380: ......
Page 386: ......
Page 418: ......
Page 422: ......
Page 452: ......
Page 462: ......
Page 476: ......
Page 512: ...498 Chapter 44 Creating Special Effects...
Page 514: ......
Page 520: ......
Page 530: ......
Page 540: ......
Page 552: ......
Page 564: ......
Page 606: ......
Page 614: ...600 Chapter 51 Sending the Job to a Plotter or Printer...
Page 694: ......
Page 700: ......
Page 734: ......
Page 748: ......
Page 760: ...746...
Page 776: ......
Page 786: ......
Page 790: ......


