97
3
Choose F3 or F4 for horizontal or vertical alignments and click the alignment choice.
Use the preview box on the right of the dialog box to see the effect of choices.
4
Click F11, then enter the text in the Text box. The text does not appear with the
selected justification as you type it in. You will see the effect of justification when you
return to the work surface.
5
Click F11 to return to the Composer work surface.
Tip: To change the justification if the text is already entered, double-click the text to Smart
Edit it and return to the Enter/Edit Text dialog box to make justification changes in the
Layout dialog box.
To justify Small Text
1
In the Enter/Edit Small Text dialog box, click one of the justification buttons.
2
Enter the text. The text does not appear with the selected justification as you type it in.
You will see the effect of justification when you return to the work surface.
3
Click OK to return to the Composer work surface.
Tip: To change the justification if the text is already entered, select all the text, and then click
one of the justification buttons. You can also click select all the text, click Text > Justification,
and then choose left, center, or right justification.
Entering connected fonts
You can only enter connected (script) fonts in the Enter/Edit Text dialog box; you can not use
TOWS. There are several ways to join connected fonts:
♦
OMEGA automated connection (OMEGA 2.1 or higher).
♦
Enter the ASCII code for connected font character symbols.
♦
Enter the connected font character symbols found in Enter/Edit Text dialog box > Font
> Font Select dialog box > View Font.
Using OMEGA automated connection
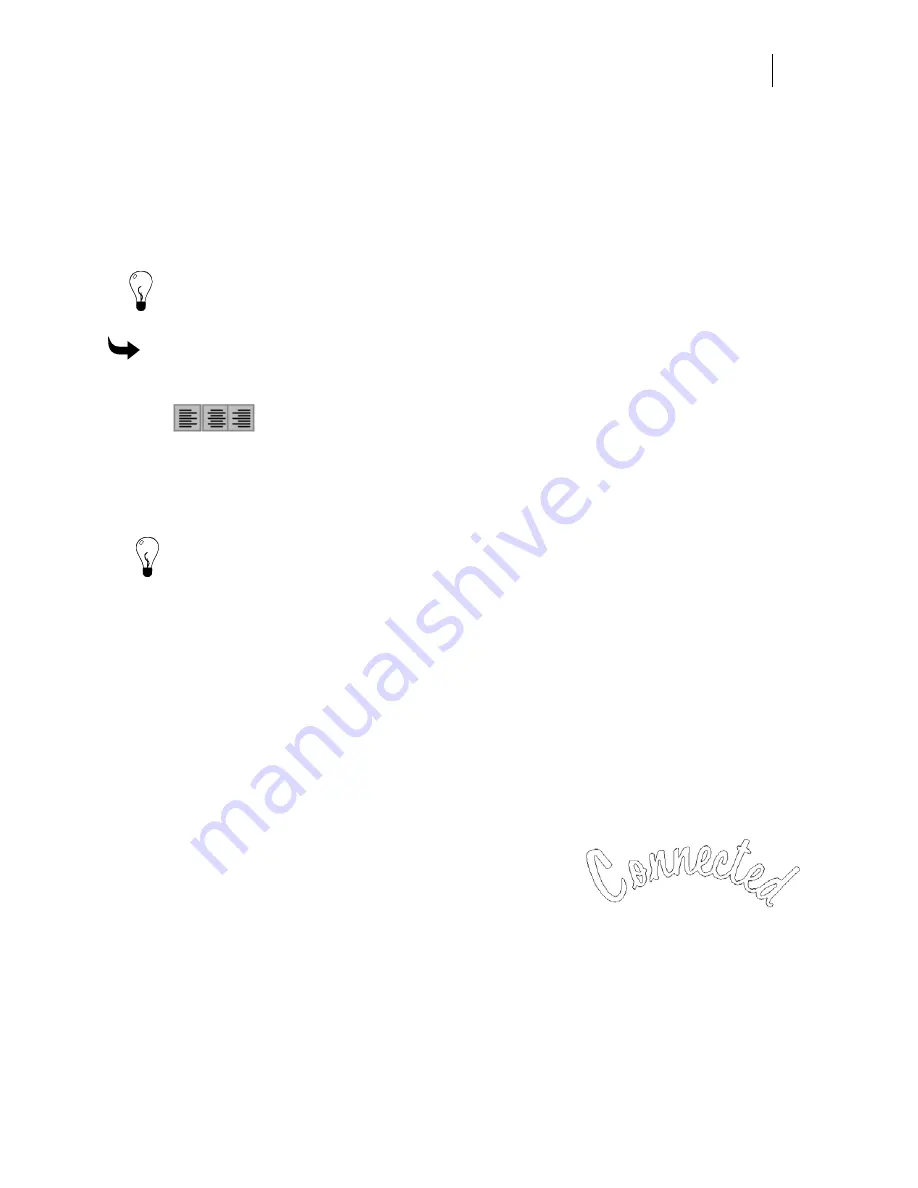
In OMEGA 2.1 or higher connected script fonts are
automatically joined whenever possible by pressing the Shift
key when exiting the Enter/Edit Text dialog box. (Not all
fonts join perfectly every time.) Auto-connected fonts can now
be placed on an arc line as shown in the illustration.
The user has three options for connection of script fonts:
♦
Normal mode:
Type the text in the Enter/Edit Text dialog box without using
connected font character symbols and press the F11/Composer button. No automated
connection is attempted as shown in the following illustration. You must use the
connected font character symbols in the Enter/Edit Text dialog box to close the text.
Summary of Contents for OMEGA CP
Page 16: ......
Page 20: ......
Page 36: ......
Page 42: ...28 Chapter 4 Saving Files...
Page 44: ......
Page 68: ......
Page 92: ......
Page 96: ...82 Chapter 7 Selecting Elements of the Design...
Page 98: ......
Page 132: ......
Page 146: ......
Page 154: ......
Page 162: ......
Page 182: ......
Page 188: ......
Page 204: ......
Page 234: ......
Page 238: ......
Page 244: ......
Page 254: ...240 Chapter 22 Strokes Adding Print Thickness to the Outline of Objects...
Page 256: ......
Page 282: ......
Page 320: ......
Page 346: ......
Page 358: ......
Page 380: ......
Page 386: ......
Page 418: ......
Page 422: ......
Page 452: ......
Page 462: ......
Page 476: ......
Page 512: ...498 Chapter 44 Creating Special Effects...
Page 514: ......
Page 520: ......
Page 530: ......
Page 540: ......
Page 552: ......
Page 564: ......
Page 606: ......
Page 614: ...600 Chapter 51 Sending the Job to a Plotter or Printer...
Page 694: ......
Page 700: ......
Page 734: ......
Page 748: ......
Page 760: ...746...
Page 776: ......
Page 786: ......
Page 790: ......


