491
When cutting the design in vinyl only, each layer is cut as one piece from its assigned vinyl
colors. The original shape is also cut in another color and placed on top of the first composite
layer so that only part of the layer remains showing. These pieces are then placed on the next
composite layer in the same manner, and so on until the layered effect is complete.
When printing the design on a thermal printer, the original and subsequent layers are printed
with separate foil colors on the same piece of vinyl. You can use the Cut Off tool to control how
selected shapes are cut.
Partials
separate the layer from the original shape.
When cutting the design in vinyl only, the original shape and layers are cut separately from
different colored vinyls and placed next to each other as in a jigsaw puzzle. Each layer contains
only the parts that are visible (not covered by an upper layer).
When printing the design on a thermal printer, the original and subsequent layers are printed
with separate foil colors on the same piece of vinyl. You can use the Cut Off tool to control how
selected shapes are cut.
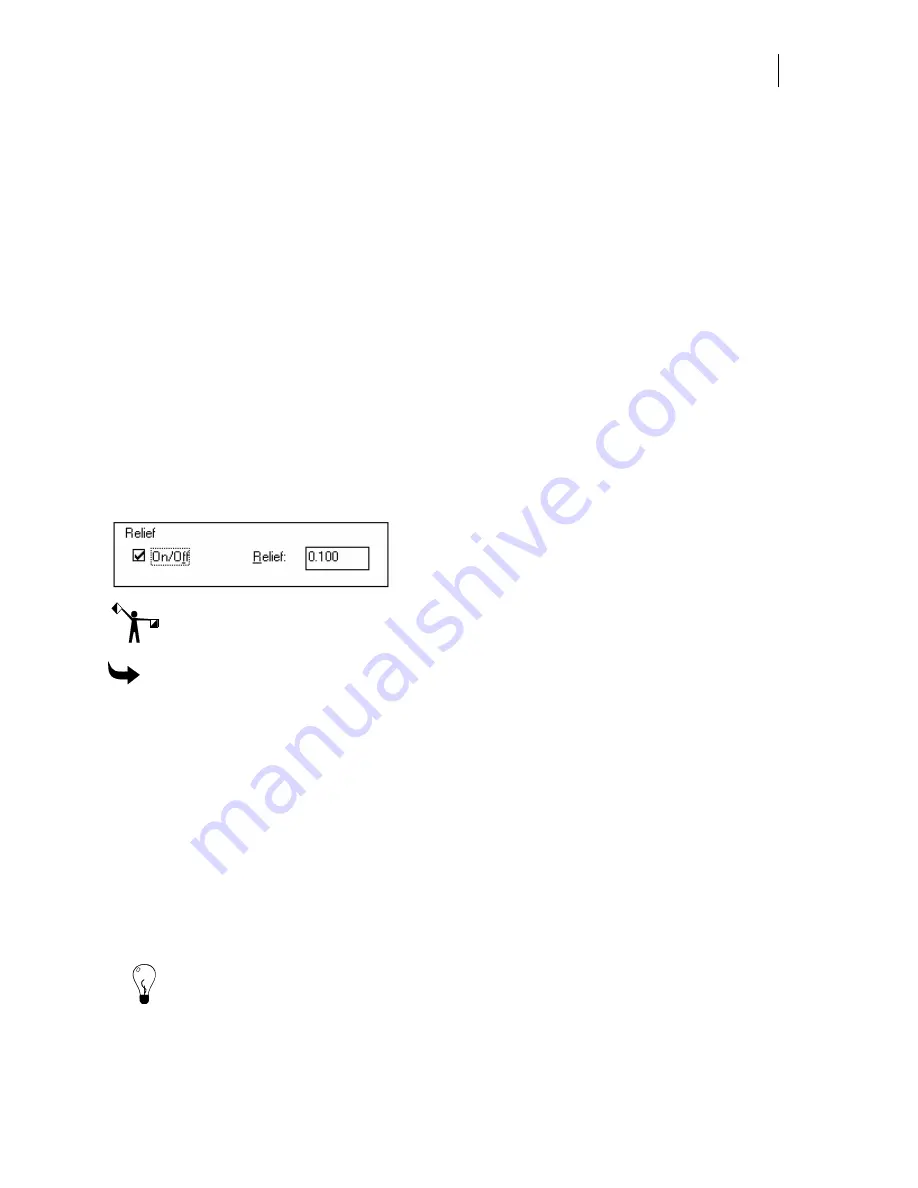
Relief
Relief creates a space between each layer. The Relief group box lets you turn on Relief and
specify the distance between each layer. Small values, such as .1 or -.1, work best.
Note: Relief group box is only available when using Partials. It is not available with
Composite.
To create Layers with Partials and Relief
1
Select two objects or groups.
2
Click Tools > Effects to open the Effects dialog box.
3
Click Layers to open the Layers dialog box.
4
Enter desired Number of Layers in the Info group box.
5
Enter values for Depth and Angle or turn on Distance and enter values for X and Y in
the Spacing group box.
6
Choose Partials in the Application group box.
7
Turn on Relief. Enter the amount of distance between layers.
8
Click Continue.
Tip: Smart edit the design by double clicking on it. Change any of the settings then click
Continue to view new results. To remove a Layer, smart edit the design and click Layers off.
Summary of Contents for OMEGA CP
Page 16: ......
Page 20: ......
Page 36: ......
Page 42: ...28 Chapter 4 Saving Files...
Page 44: ......
Page 68: ......
Page 92: ......
Page 96: ...82 Chapter 7 Selecting Elements of the Design...
Page 98: ......
Page 132: ......
Page 146: ......
Page 154: ......
Page 162: ......
Page 182: ......
Page 188: ......
Page 204: ......
Page 234: ......
Page 238: ......
Page 244: ......
Page 254: ...240 Chapter 22 Strokes Adding Print Thickness to the Outline of Objects...
Page 256: ......
Page 282: ......
Page 320: ......
Page 346: ......
Page 358: ......
Page 380: ......
Page 386: ......
Page 418: ......
Page 422: ......
Page 452: ......
Page 462: ......
Page 476: ......
Page 512: ...498 Chapter 44 Creating Special Effects...
Page 514: ......
Page 520: ......
Page 530: ......
Page 540: ......
Page 552: ......
Page 564: ......
Page 606: ......
Page 614: ...600 Chapter 51 Sending the Job to a Plotter or Printer...
Page 694: ......
Page 700: ......
Page 734: ......
Page 748: ......
Page 760: ...746...
Page 776: ......
Page 786: ......
Page 790: ......


