


459
3
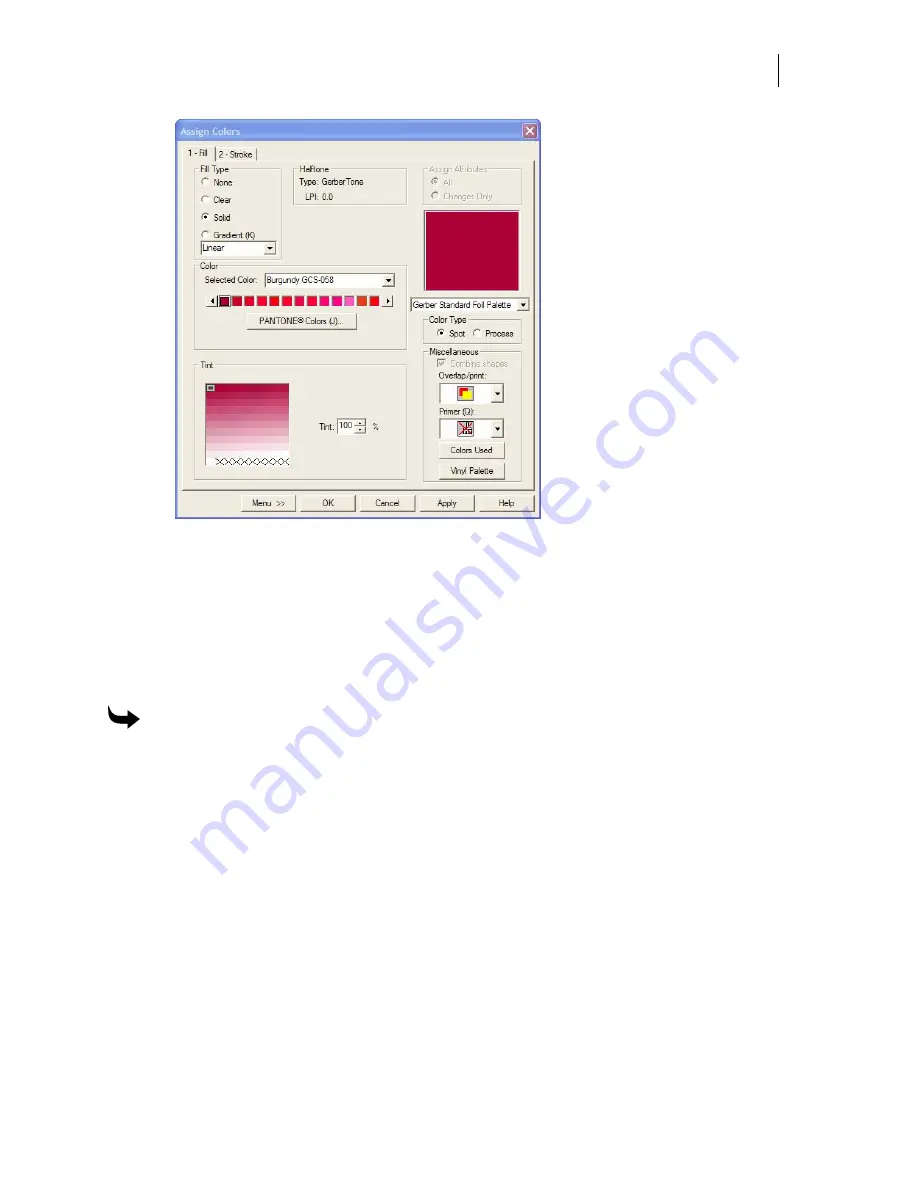
Click the Fill tab and choose Solid to activate the Color and Tint group boxes.
4
In the Color box choose Burgundy.
5
Enter a Tint of 100.
6
Click OK.
7
Use the Box tool to create a square of approximately two inches in height and width.
8
Deselect the box.
To select a fill and create the shadow
1
Click the Fill tool to reopen the Assign Colors dialog box.
2
Define the fill color for the shadow as:
♦
Fill Type = Solid
♦
Color = Cobalt Blue
♦
Tint = 100%.
3
Click OK.
4
Select the box with the Selection tool.
5
Click Tools > Shadow to open the Shadow dialog box.
6
In the Shadow dialog box choose Drop.
7
Turn on Distance.
8
Enter X and Y values, such as .250 (X) and .250 (Y).
9
Choose Partial.
Summary of Contents for OMEGA CP
Page 16: ......
Page 20: ......
Page 36: ......
Page 42: ...28 Chapter 4 Saving Files...
Page 44: ......
Page 68: ......
Page 92: ......
Page 96: ...82 Chapter 7 Selecting Elements of the Design...
Page 98: ......
Page 132: ......
Page 146: ......
Page 154: ......
Page 162: ......
Page 182: ......
Page 188: ......
Page 204: ......
Page 234: ......
Page 238: ......
Page 244: ......
Page 254: ...240 Chapter 22 Strokes Adding Print Thickness to the Outline of Objects...
Page 256: ......
Page 282: ......
Page 320: ......
Page 346: ......
Page 358: ......
Page 380: ......
Page 386: ......
Page 418: ......
Page 422: ......
Page 452: ......
Page 462: ......
Page 476: ......
Page 512: ...498 Chapter 44 Creating Special Effects...
Page 514: ......
Page 520: ......
Page 530: ......
Page 540: ......
Page 552: ......
Page 564: ......
Page 606: ......
Page 614: ...600 Chapter 51 Sending the Job to a Plotter or Printer...
Page 694: ......
Page 700: ......
Page 734: ......
Page 748: ......
Page 760: ...746...
Page 776: ......
Page 786: ......
Page 790: ......


