


187
Chapter 15:
Understanding Vinyl Colors
When you create objects, they are automatically assigned the vinyl color of the current style;
however, sometimes you want to change that color. This section explains how to change the
vinyl colors of your objects.
You can work in both the wireframe mode and the filled mode. If you want to see the
immediate effects of your color selections, click View > Filled to turn on the filled mode. Click
View > Toolbar and turn on the Color Select toolbar.
The OMEGA
default vinyl is white GSP220. If you want to change the default vinyl go to Tools
> Options > Vinyl tab, and choose a different vinyl color in the Default Vinyl Color group box.
Displaying a vinyl palette
Before assigning vinyl colors to your objects, choose a vinyl palette. There are many vinyl
palettes from which to choose, when chosen the palettes will be displayed at the bottom of the
work surface.
♦
Click View > Vinyl Palette > Show Palette to display the current palette.
♦
Click View > Vinyl Palette > Show Job Palette to show the Colors in Job Palette. The
job palette is created as you add vinyl colors to your job.
♦
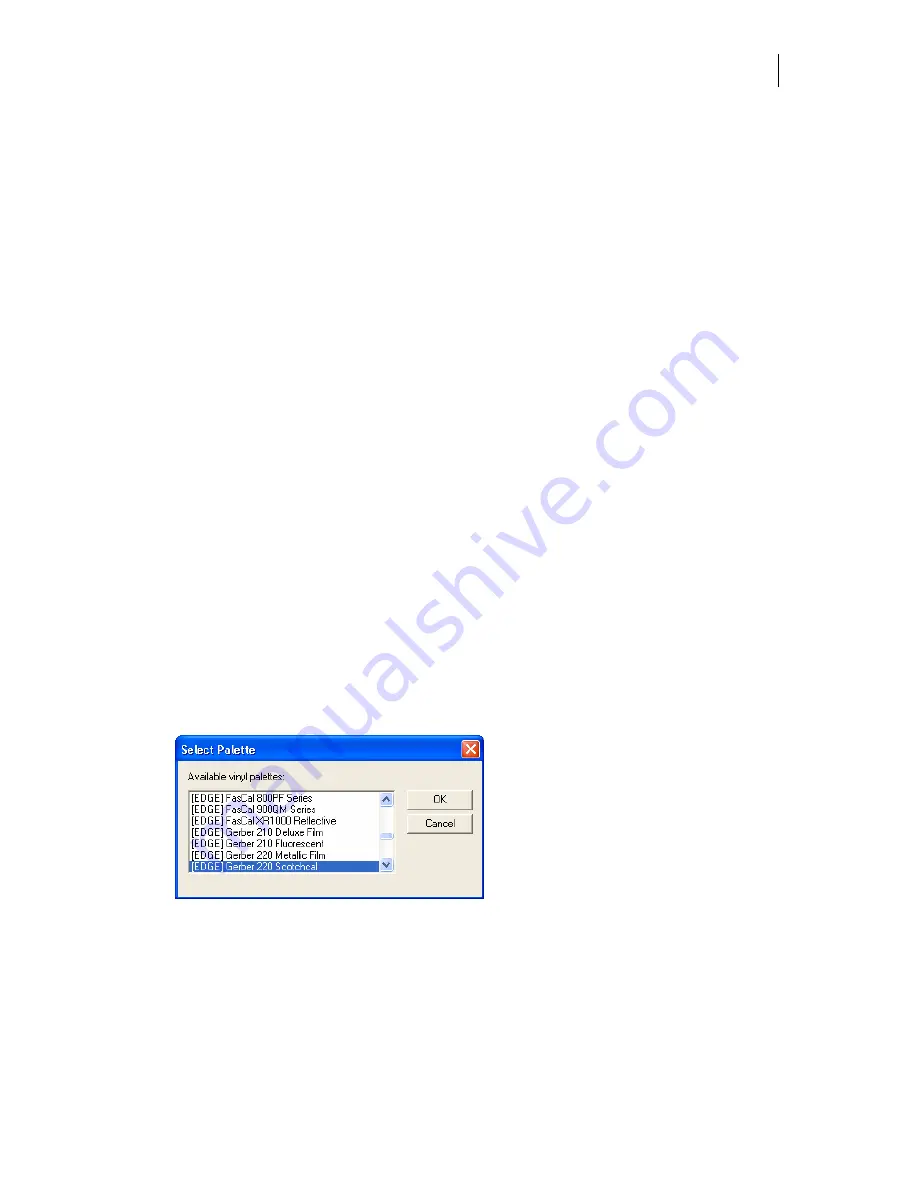
If you want to change the current palette, Click View > Vinyl Palette > Select Palette to
open the Select Palette dialog box. Choose a vinyl palette from the Available vinyl
palettes list.
Assigning vinyl colors to objects
There is more than one method of changing the color of your objects. You can assign a vinyl
color by:
♦
choosing a color directly from the current vinyl palette or the Job Palette
♦
using the click and drag method
♦
using the Image Fill dialog box to choose the vinyl colors on which an image is printed
Summary of Contents for OMEGA CP
Page 16: ......
Page 20: ......
Page 36: ......
Page 42: ...28 Chapter 4 Saving Files...
Page 44: ......
Page 68: ......
Page 92: ......
Page 96: ...82 Chapter 7 Selecting Elements of the Design...
Page 98: ......
Page 132: ......
Page 146: ......
Page 154: ......
Page 162: ......
Page 182: ......
Page 188: ......
Page 204: ......
Page 234: ......
Page 238: ......
Page 244: ......
Page 254: ...240 Chapter 22 Strokes Adding Print Thickness to the Outline of Objects...
Page 256: ......
Page 282: ......
Page 320: ......
Page 346: ......
Page 358: ......
Page 380: ......
Page 386: ......
Page 418: ......
Page 422: ......
Page 452: ......
Page 462: ......
Page 476: ......
Page 512: ...498 Chapter 44 Creating Special Effects...
Page 514: ......
Page 520: ......
Page 530: ......
Page 540: ......
Page 552: ......
Page 564: ......
Page 606: ......
Page 614: ...600 Chapter 51 Sending the Job to a Plotter or Printer...
Page 694: ......
Page 700: ......
Page 734: ......
Page 748: ......
Page 760: ...746...
Page 776: ......
Page 786: ......
Page 790: ......


