


126
Chapter 9:
Creating Shapes
Selecting polygons and stars
Polygons with an odd number of segments, and all polygons and stars without segments, are
selected in the usual way by clicking near them. (You must turn on Add Segments when
creating a polygon to have them appear in the shape.) Polygons with an even number of
segments, and all stars with segments, come into Composer with an automatic grouping that
makes them easier to fill. To select an entire grouped polygon or star, draw a rubber band box
around the entire shape to select it. Instructions for filling the shapes are given in the next
paragraph.
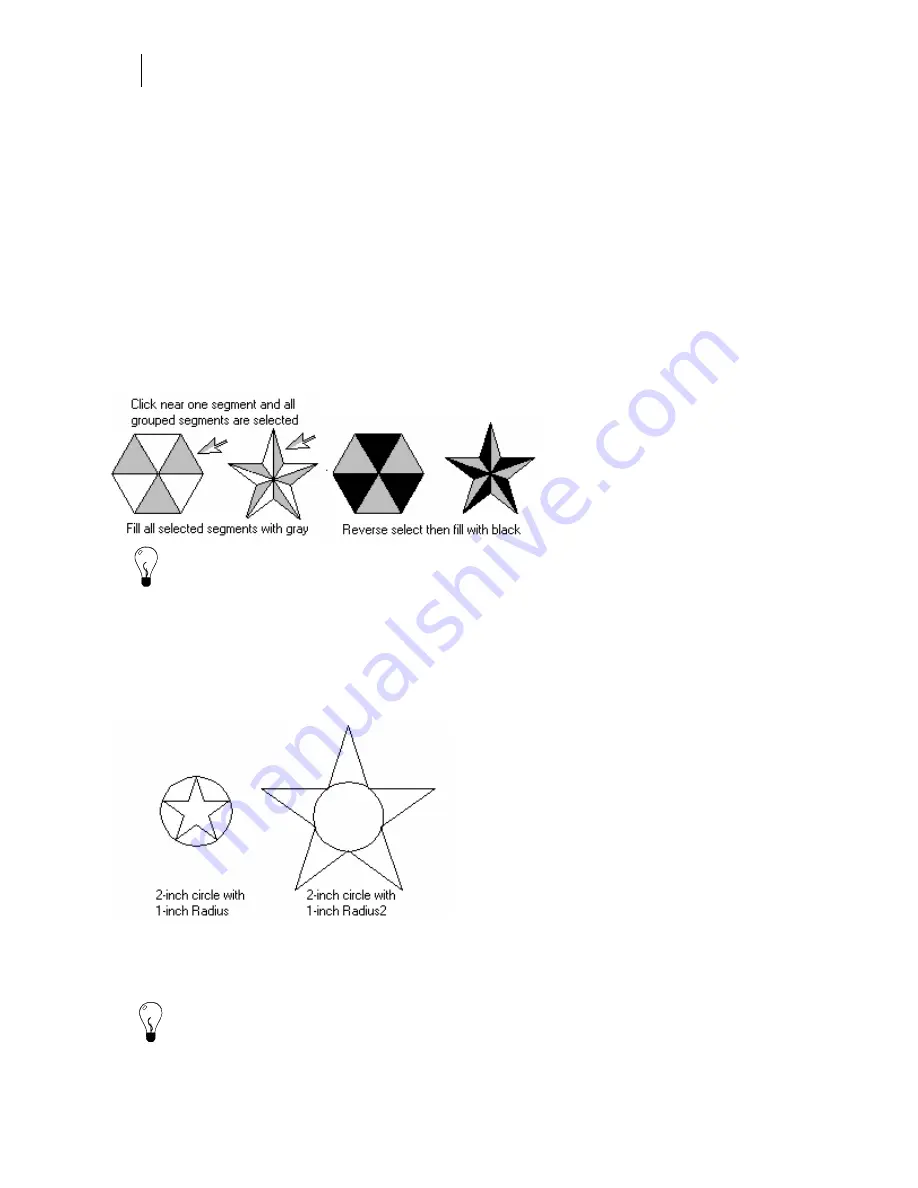
Filling polygons and stars
Polygons with an even number of segments, and all stars with segments, come into Composer
with multiple groups to make them easier to fill. The groups allow you to select every other
segment in the shape, as seen in the example.
Tip: If there are other shapes in the job then reverse select will select all the other shapes.
Use the Selection pointer to select a group, then click the Color Selection pointer to make the Fill
command available in the action ribbon. If you select with the Color Selection pointer first, you
select only the one segment nearest the pointer rather than a group.
Sizing shapes
The two examples below combine a five-point star with a 2-inch circle.
The easiest way to set the size of the shape you are combining with is to use the Absolute Size
command. The size of the polygon or star is established by setting Radius or Radius2
in the
Polygon dialog box.
Tip: It is easier to set an exact size for a polygon that you plan to combine with another shape
using Polygon-Radius rather than using Polygon-Side because you can more accurately control
the size of the polygon.
Summary of Contents for OMEGA CP
Page 16: ......
Page 20: ......
Page 36: ......
Page 42: ...28 Chapter 4 Saving Files...
Page 44: ......
Page 68: ......
Page 92: ......
Page 96: ...82 Chapter 7 Selecting Elements of the Design...
Page 98: ......
Page 132: ......
Page 146: ......
Page 154: ......
Page 162: ......
Page 182: ......
Page 188: ......
Page 204: ......
Page 234: ......
Page 238: ......
Page 244: ......
Page 254: ...240 Chapter 22 Strokes Adding Print Thickness to the Outline of Objects...
Page 256: ......
Page 282: ......
Page 320: ......
Page 346: ......
Page 358: ......
Page 380: ......
Page 386: ......
Page 418: ......
Page 422: ......
Page 452: ......
Page 462: ......
Page 476: ......
Page 512: ...498 Chapter 44 Creating Special Effects...
Page 514: ......
Page 520: ......
Page 530: ......
Page 540: ......
Page 552: ......
Page 564: ......
Page 606: ......
Page 614: ...600 Chapter 51 Sending the Job to a Plotter or Printer...
Page 694: ......
Page 700: ......
Page 734: ......
Page 748: ......
Page 760: ...746...
Page 776: ......
Page 786: ......
Page 790: ......


