


425
Slice and Dice Tool Property Bar
Click the Slice and Dice Tool to view the Property Bar.
Slice and Dice Snap
– when this button is turned on, and the slice line is within the
snap to distance of a point, then the slice line is snapped to the point.
Tip: Use the Zoom tool to enlarge the areas, making it easier to place the Slice and Dice knife
precisely so that the Slice and Dice Snap command snaps to the desired points.
Slice and Dice Copy
– when this button is turned on, then a copy is made of the shapes
being sliced and diced. Use this command if an outline of an original is needed. For
example, you could produce a stroke around the original shape, and use the resultant
pieces to create a fill effect.
Making the corners of an object rounded using the
Round Corner tool
The Round Corner tool on the Detail Edit tool bar applies a radius to a corner by clicking and
dragging over a corner or by single point clicking on a segment or node.
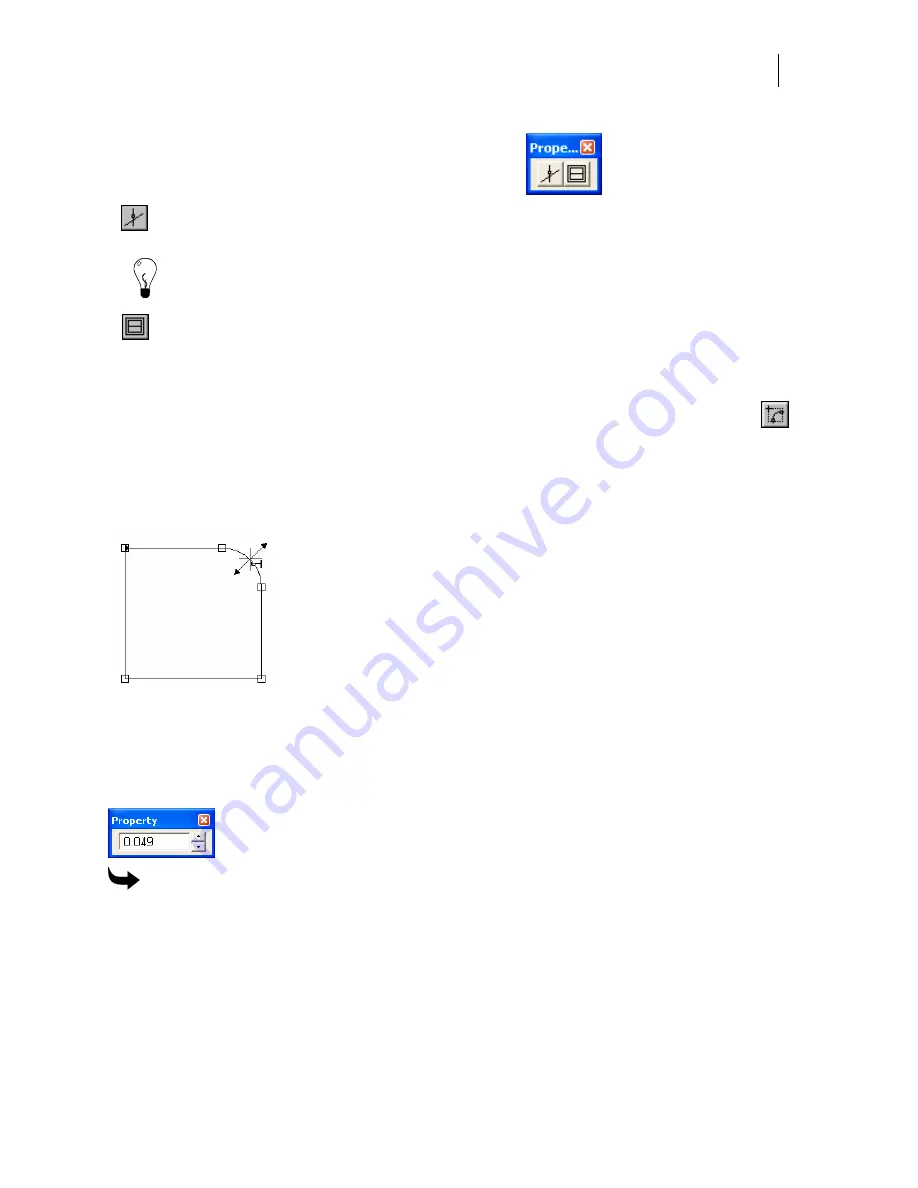
Once the round corner is created you can alter the radius using the mouse or by entering a new
value in the Corner Radius edit control on the Round Corner Property box. To modify the
radius of a corner using the mouse, move the cursor over the newly created corner until it
becomes a crosshair with a hook. Click and drag the cursor to reduce or increase the corner
radius.
To make round corners using the Round Corner tool
1
Select the objects with the corners to be rounded with the Selection pointer.
2
Click the Detail Edit tool to open the Detail Edit toolbar.
3
Click the Round Corner tool.
4
Click and drag around the corner to be rounded OR click on the corner to be rounded.
Adjust the radius by setting a radius value in the Property Bar OR by using the hook
crosshair tool that appears when you move the cursor over the two headed arrow that
appears at the round corner.
Summary of Contents for OMEGA CP
Page 16: ......
Page 20: ......
Page 36: ......
Page 42: ...28 Chapter 4 Saving Files...
Page 44: ......
Page 68: ......
Page 92: ......
Page 96: ...82 Chapter 7 Selecting Elements of the Design...
Page 98: ......
Page 132: ......
Page 146: ......
Page 154: ......
Page 162: ......
Page 182: ......
Page 188: ......
Page 204: ......
Page 234: ......
Page 238: ......
Page 244: ......
Page 254: ...240 Chapter 22 Strokes Adding Print Thickness to the Outline of Objects...
Page 256: ......
Page 282: ......
Page 320: ......
Page 346: ......
Page 358: ......
Page 380: ......
Page 386: ......
Page 418: ......
Page 422: ......
Page 452: ......
Page 462: ......
Page 476: ......
Page 512: ...498 Chapter 44 Creating Special Effects...
Page 514: ......
Page 520: ......
Page 530: ......
Page 540: ......
Page 552: ......
Page 564: ......
Page 606: ......
Page 614: ...600 Chapter 51 Sending the Job to a Plotter or Printer...
Page 694: ......
Page 700: ......
Page 734: ......
Page 748: ......
Page 760: ...746...
Page 776: ......
Page 786: ......
Page 790: ......


