Using Help
|
Contents
|
Index
Back
236
Adobe Photoshop Help
Painting
Using Help
|
Contents
|
Index
Back
236
Creating dual brushes (Photoshop)
A dual brush uses two tips to create brush marks. You set options for the primary tip in the
Brush Tip Shape section of the Brushes palette. You set options for the secondary tip in the
Dual Brush section of the Brushes palette.
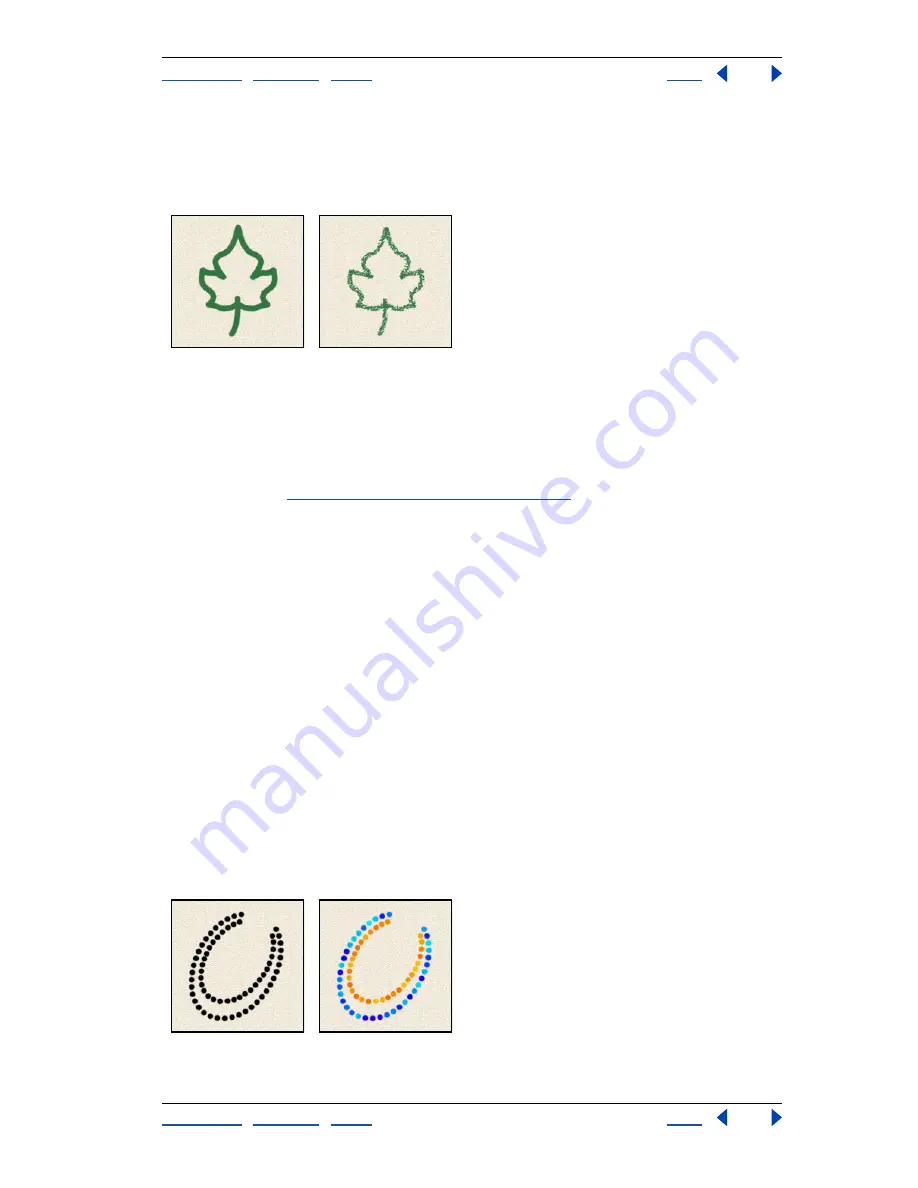
Brush strokes created with a single tip and with dual tips
To edit dual tip options for a brush:
1
In the Brushes palette, select Dual Brush on the left side of the palette. Be sure to click
the name, rather than the check box, to select the item.
2
Select a blending mode to use when combining brush marks from the primary tip and
the dual tip. (See
“Selecting a blending mode” on page 241
.)
3
Select a tip for the dual brush from the list below the Mode pop-up menu.
4
Set one or more of the following options:
Diameter
Controls the size of the dual tip. Enter a value in pixels, drag the slider, or click
Use Sample Size to use the original diameter of the brush tip. (The Use Sample Size option
is only available if the brush tip shape was created by sampling pixels in an image.)
Spacing
Controls the distance between the dual tip brush marks in a stroke. To change
the spacing, type a number, or use the slider to enter a value that is a percentage of the tip
diameter.
Scatter
Specifies how dual tip brush marks are distributed in a stroke. When Both Axis is
selected, dual tip brush marks are distributed in a radial direction. When Both Axis is
deselected, dual tip brush marks are distributed perpendicular to the stroke path. To
specify the maximum percentage of scattering, type a number or use the slider to enter a
value.
Count
Specifies the number of dual tip brush marks applied at each spacing interval.
Type a number, or use the slider to enter a value.
Specifying color dynamics (Photoshop)
Color dynamics determine how the color of paint changes over the course of a stroke.
Brush strokes without color dynamics and with color dynamics


