Using Help
|
Contents
|
Index
Back
125
Adobe Photoshop Help
Producing Consistent Color (Photoshop)
Using Help
|
Contents
|
Index
Back
125
•
Custom lets you adjust the black generation curve manually. Before choosing Custom,
first choose an option (Light, Medium, Heavy, or Maximum) that is closest to the type of
black generation you want. This gives you a black generation curve to use as a starting
point. Then choose Custom, position the pointer on the curve, and drag to adjust the
black curve. The curves for cyan, magenta, and yellow are adjusted automatically
relative to the new black curve and the total ink densities.
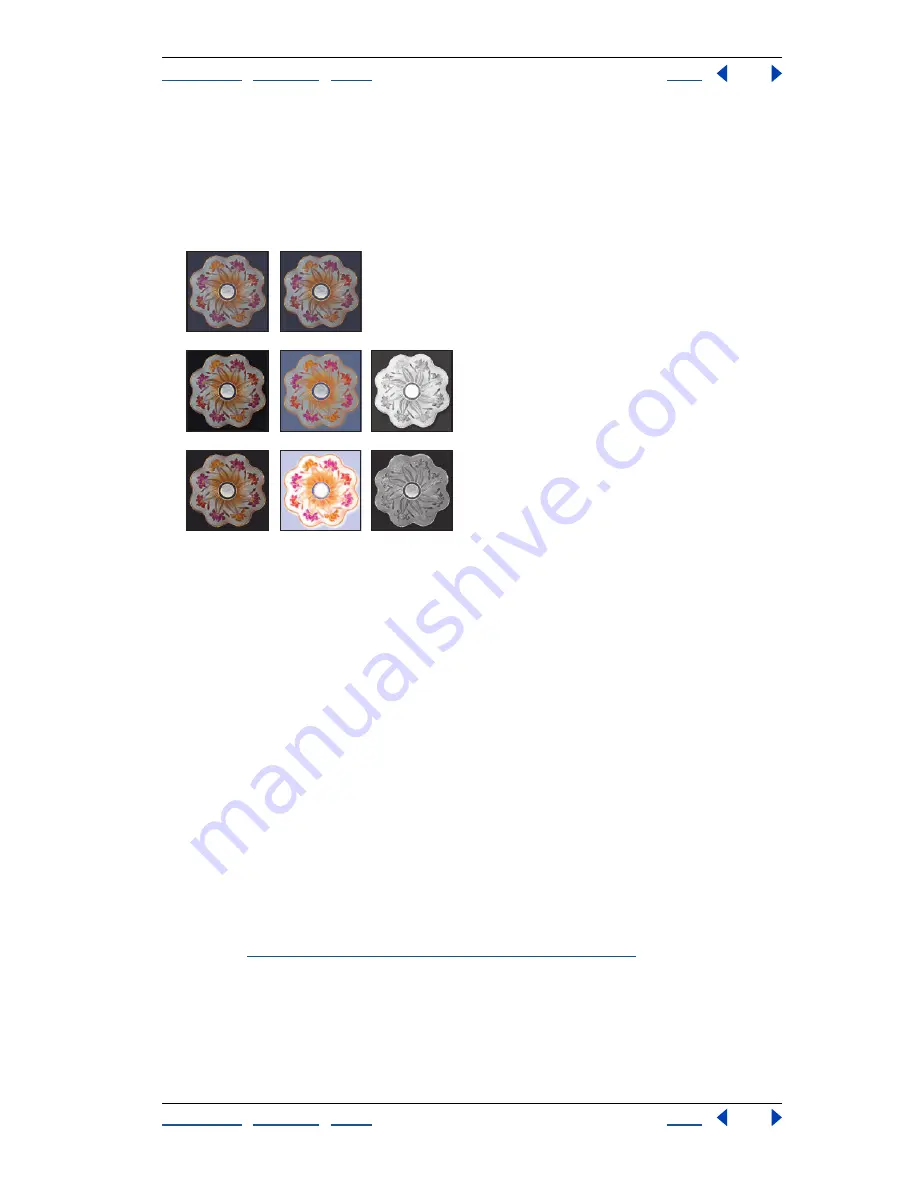
Black generation examples:
A.
No black generation (Composite image, CMY, K)
B.
Medium black generation (Composite image,
CMY, K)
C.
Maximum black generation (Composite image, CMY, K)
3
If needed, specify values for Black Ink Limit and Total Ink Limit (the maximum ink
density your press can support). Check with your print shop to see if you should adjust
these values.
In the Gray Ramp graph, these limits determine the cutoff points for the CMYK curves.
4
If you selected GCR as the separation type, specify an amount for undercolor addition
(UCA) to increase the amount of CMY added to shadow areas. Check with your print shop
for the preferred value. If you are unsure of this value, leave it at 0%.
UCA compensates for the loss of ink density in neutral shadow areas. This additional ink
produces rich, dark shadows in areas that might appear flat if printed with only black ink.
UCA can also prevent posterization in subtle detail in the shadows.
Creating custom grayscale and spot-color profiles
You can create a custom grayscale or spot-color profile based on the specific dot-gain or
gamma characteristics of your output device. You can also load a CMYK profile into the
Gray working space menu to generate a custom grayscale profile based on the CMYK
space. (See
“Saving and loading working space profiles” on page 119
.)
A
B
C


