Using Help
|
Contents
|
Index
Back
138
Adobe Photoshop Help
Making Color and Tonal Adjustments
Using Help
|
Contents
|
Index
Back
138
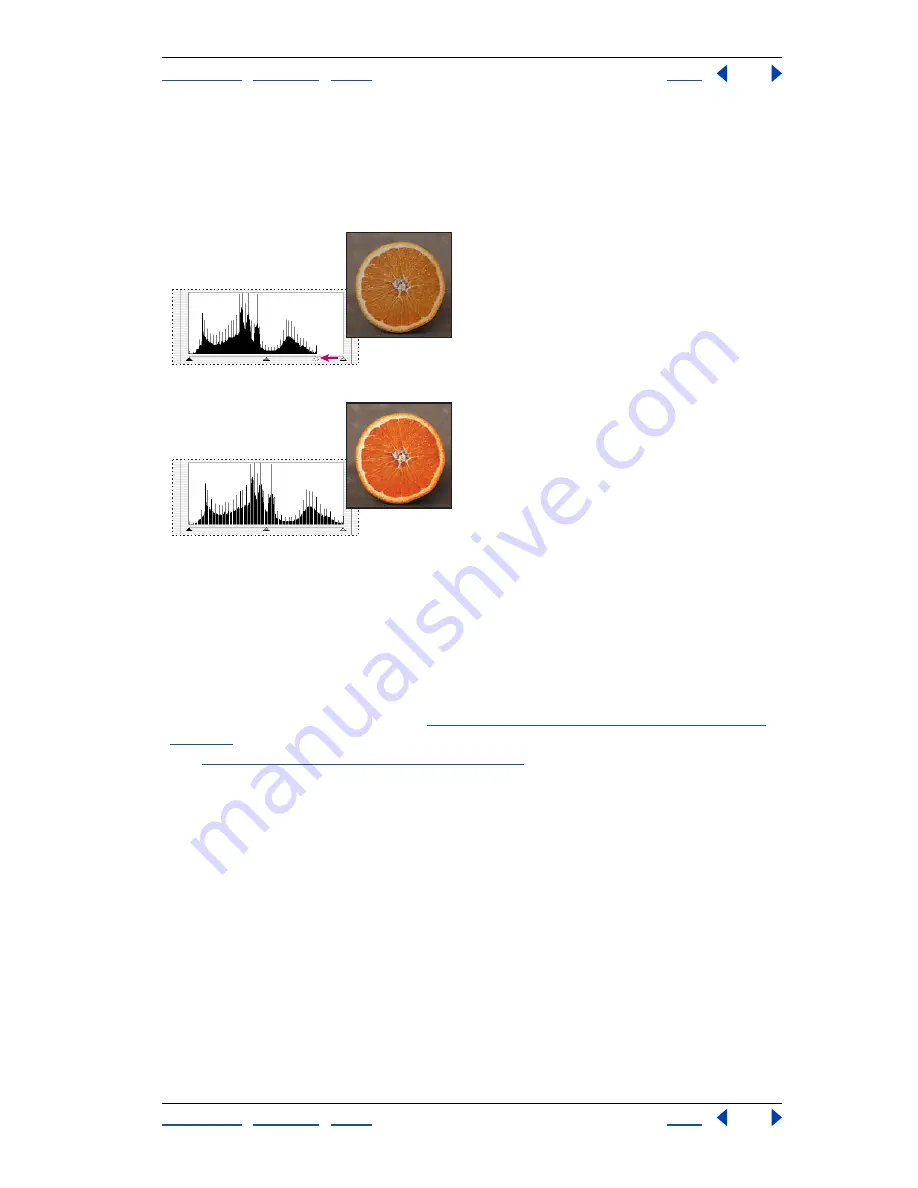
For example, suppose you want to increase the contrast in an image with pixels that
currently cover a range of only 0–233. If you drag the Input Levels white triangle to 233,
pixels with intensity values of 233 and higher (in each channel of the image) are mapped
to 255; pixels with lower intensity values are mapped to corresponding lighter values. This
remapping lightens the image, increasing the contrast in highlight areas.
Original
Resulting histogram and image
Suppose instead you want to decrease the contrast in the image. If you drag the Output
Levels white triangle to 220, pixels with intensity values of 255 are remapped to 220, and
pixels with lower intensity values are mapped to corresponding darker values. This
darkens the image, decreasing the contrast in highlight areas.
4
To adjust the shadows and highlights automatically, click Auto.
In Photoshop, clicking Auto applies settings specified in the Auto Correction Options
dialog box. For more information, see
“Setting auto correction options (Photoshop)” on
page 144
. In ImageReady, clicking Auto is the same as using the Auto Levels command.
(See
“Using the Auto Levels command” on page 150
.)
5
If your image needs midtone corrections, use the gray Input Levels slider. Drag the
slider to the right to darken the midtones; drag it to the left to lighten the midtones. You
can also enter values directly in the middle Input Levels text box.
6
Click OK.
7
To view the adjusted histogram, reopen the Levels dialog box.
The gaps in the adjusted histogram do not indicate a perceptible problem in the image
unless they are large or accompanied by a low pixel count.


