GE Healthcare
Senographe DS
Revision 1
Service Information and Procedures Class A 2385072-16-8EN
Job Card CAL A011 - Calibration of kV Scale Factor
Page no. 1671
Chapter 9
JC-CAL-A-011.fm
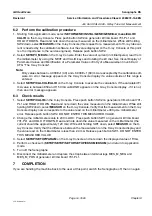
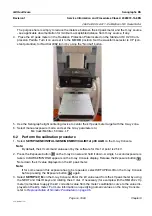
6. Select
SETUP/1st pt/CALIB
on the X-ray Console.
7. Press the Exposure button
on the X-ray Console and hold it down. A single 1-second exposure is
taken.”CALIBRATION END” appears on the X-ray Console display. Release the Exposure button
. Note down the kV value displayed on the kV peak meter. DO NOT ENTER THIS MEASURED
VALUE.
8. The kV value read on the kV peak meter should be 25 kV ± 0.3 kV.
Note:
The generator kVp accuracy is ±1% (one per cent) when measured just after a calibration.
9. Select
SETUP/SETUP/2nd pt/CALIB
on the X-ray Console.
! Notice:
Before proceeding to make exposures, be sure that the detector has been protected from exces-
sive X–ray doses as instructed (by placing a protective sheet on the top of the image receptor).
10. Press the Exposure button
on the X-ray Console and hold it down. A single 1-second exposure is
taken. The message
CALIBRATION END
appears on the X-ray Console display. Release the Expo-
sure button
. Note down the kV value displayed on the kV peak meter. DO NOT ENTER THIS
MEASURED VALUE.
11. The kV value read on the RMI kV peak meter should be 40 kV ± 0.4 kV.
Note:
The generator kVp accuracy is ±1% (one per cent) when measured just after a calibration.
Note:
If the need should arise to check this point in application mode, it is not possible to do so because
exposures at 40 kV are prohibited with the Mo filter in application mode.
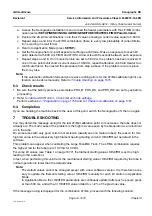
12. Select
SETUP/SETUP/SETUP/PARAM
on the X-ray Console. Note down the displayed values of G
and VOF by rotating the kV dial.
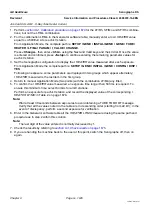
13. Perform a checksum (
SETUP/SETUP/SETUP/SETUP/CKSUM/CKSUM
) and return to Application
mode.
7
COMPLETION
If you are handing the machine back to the user at this point, switch the Senographe off, then on again.

