Using Help
|
Contents
|
Index
Back
263
Adobe InDesign Help
Arranging and Combining Objects
Using Help
|
Contents
|
Index
Back
263
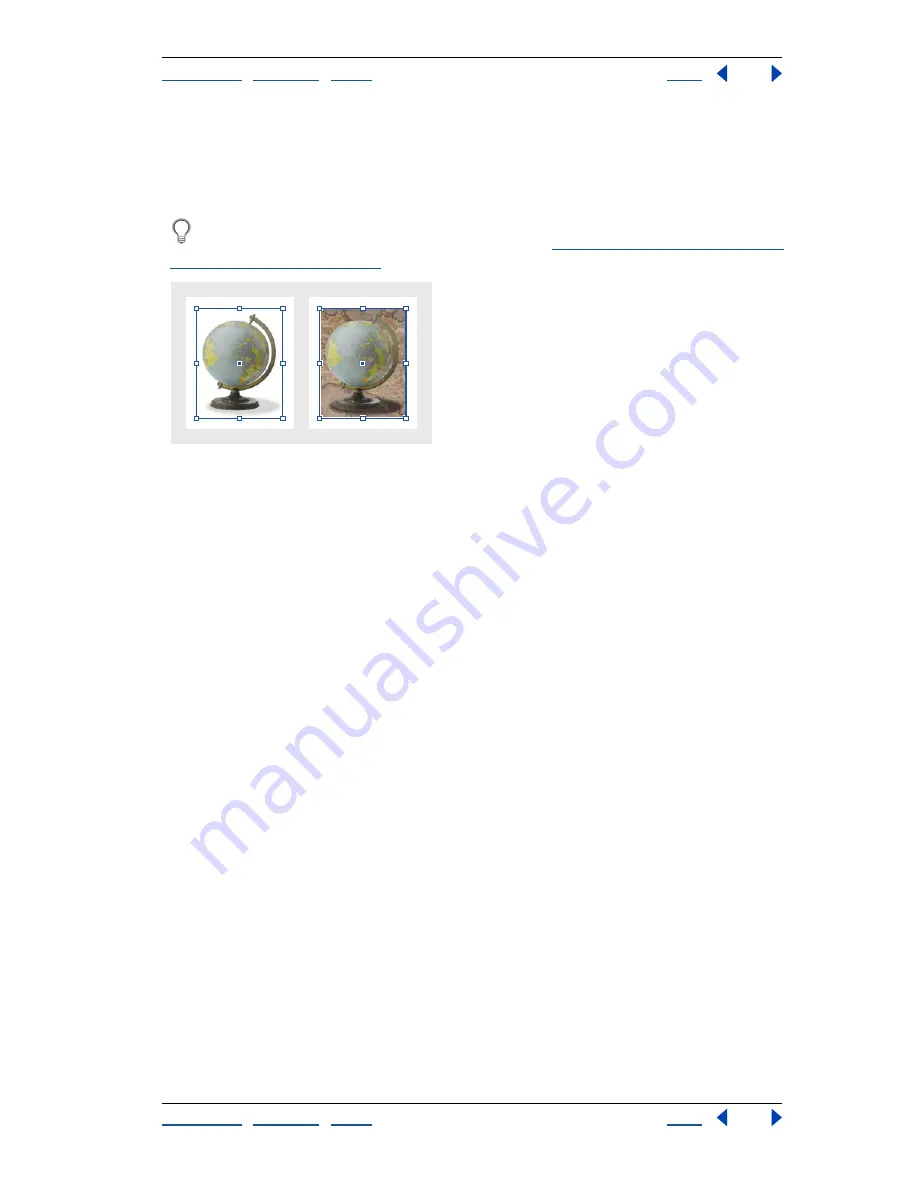
If you want to remove the background from a graphic that wasn’t saved with a clipping
path, you can do it automatically using the Detect Edges option in the Clipping Path
command dialog box. The Detect Edges option hides the lightest or darkest areas of a
graphic, so it works best when the subject is set against a solid white or black background.
If you don’t want InDesign to use the clipping paths saved with graphics, you can turn
off the Create Frame from Clipping Path option; see
“Understanding graphics formats
and their options” on page 224
.
Good (left) and bad (right) candidates for automatic clipping path
To create a clipping path using imported alpha channels or automatic edge
detection:
1
Select an imported graphic, and choose Object > Clipping Path.
2
Choose one of the following options in the Type menu:
•
To create a clipping path that hides either the lightest or the darkest tones in the image,
choose Detect Edges. By default, the lightest tones are excluded; to exclude the darkest
tones, also select the Invert option.
•
To create a clipping path from an alpha channel saved with a graphic, choose Alpha
Channel, and then choose the channel you want to use in the Alpha menu. If the Alpha
menu is not available, no alpha channels were saved with the graphic. InDesign
automatically recognizes Photoshop’s default transparency (the checkerboard
background) as an alpha channel; if the graphic has an opaque background, you must
use Photoshop to remove the background, or create and save one or more alpha
channels with the graphic.
3
Specify the following options, and click OK:


