


Using Help
|
Contents
|
Index
Back
133
Adobe InDesign Help
Setting Type
Using Help
|
Contents
|
Index
Back
133
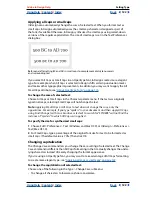
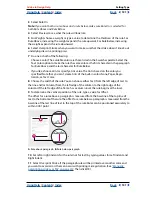
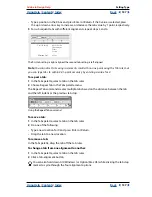
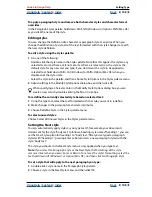
Specifying Optical Margin Alignment
Optical Margin Alignment
controls whether punctuation marks (such as periods, commas,
quotation marks, and dashes) and edges of letters (such as W and A) hang outside the text
margins, so that the type looks aligned.
Before and after applying Optical Margin Alignment
When a punctuation character is followed by an end quotation mark, both characters
hang. Optical Margin Alignment applies to all frames in the story.
To select Optical Margin Alignment:
1
Select a text frame, or click anywhere in the story.
2
Choose Type > Story.
3
Select Optical Margin Alignment.
4
Select a font size to set the appropriate amount of overhang for the size of type in your
story. For optimal results, use the same size as the text.
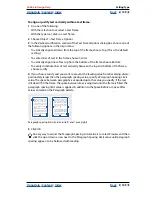
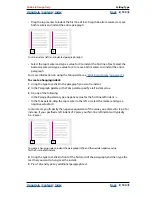
Setting indents
Indents move text inward from the right and left edges of the frame. Use first-line indents,
not spaces or tabs, to indent the first line of a paragraph. A first-line indent is positioned
relative to the left-margin indent. For example, if a paragraph’s left edge is indented one
pica, setting the first-line indent to one pica indents the first line of the paragraph two
picas from the left edge of the frame or inset.
To set an indent using the Paragraph palette:
Adjust the appropriate indent values in the Paragraph palette. For example, typing
1p
in
the Left Indent box
indents the entire paragraph one pica; typing
1p
in the First Line
Left Indent box
indents only the first line of the paragraph.
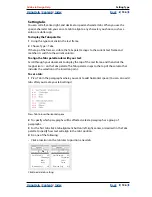
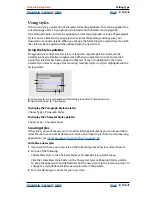
To set an indent using the Tabs palette:
1
Choose Type > Tabs to display the Tabs palette.
2
Do one of the following to the indent markers in the Tabs palette:
“We carry with us
the wonders we
seek without us.”
—
S
ir
T
homas
B
rowne
“We carry with us
the wonders we
seek without us.”
—
S
ir
T
homas
B
rowne


