ZS3 Service Manual
Page 242 of 295
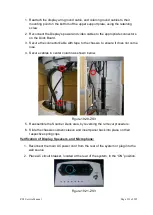
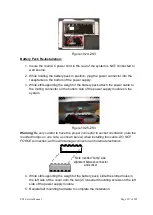
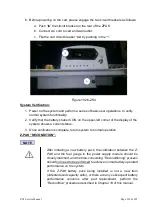
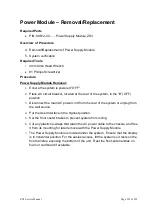
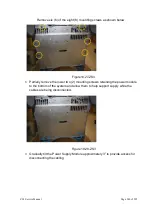
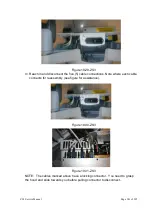
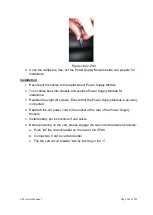
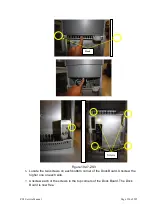
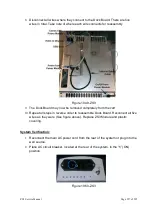
Figure 19.32-ZS3
11.
Once the cables are free, set the Power Supply Module aside and prepare for
installation.
Installation:
1.
Reconnect the cables to the replacement Power Supply Module.
2.
Tuck cables back into chassis and position Power Supply Module for
installation.
3.
Reinstall the eight (8) screws. Ensure that the Power Supply Module is securely
connected.
4.
Reattach the AC power cord to the socket at the rear of the Power Supply
Module.
5.
Install battery per instructions if one exists.
6.
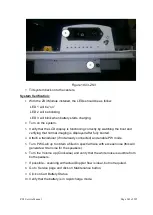
Before powering on the cart, please engage the two circuit breakers as follows:
a.
Push “
in
” the circuit breaker on the rear of the ZPAK
b. Connect AC Cord to cart and outlet
c.
Flip the cart circuit breaker “
on
” by pushing in the “1”.
Summary of Contents for Zonare ZS3
Page 1: ...ZS3 Diagnostic Ultrasound System Service Manual ...
Page 120: ...ZS3 Service Manual Page 120 of 295 FTP Setup Enters Setup Network FTP ...
Page 124: ...ZS3 Service Manual Page 124 of 295 ...
Page 131: ...ZS3 Service Manual Page 131 of 295 13 System Diagrams ...
Page 132: ...ZS3 Service Manual Page 132 of 295 Power Block Diagram Figure 13 1 ZS3 Power Block Diagram ...
Page 133: ...ZS3 Service Manual Page 133 of 295 Cabling Diagram Figure 13 2 ZS3 Cabling Diagram ...
Page 138: ...ZS3 Service Manual Page 138 of 295 Figure 14 6 ZS3 ...
Page 185: ...ZS3 Service Manual Page 185 of 295 17 Preventative Maintenance Forms ...
Page 217: ...ZS3 Service Manual Page 217 of 295 Figure 18 8 ZS3 ...
Page 252: ...ZS3 Service Manual Page 252 of 295 Figure 19 43 ZS3 Power Cable USB Cable ...
Page 295: ...P N 046 014026 00 2 0 ...


