ZS3 Service Manual
Page 236 of 295
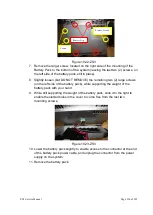
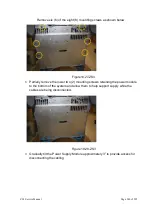
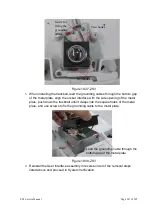
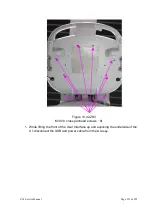
Figure 19.22-ZS3
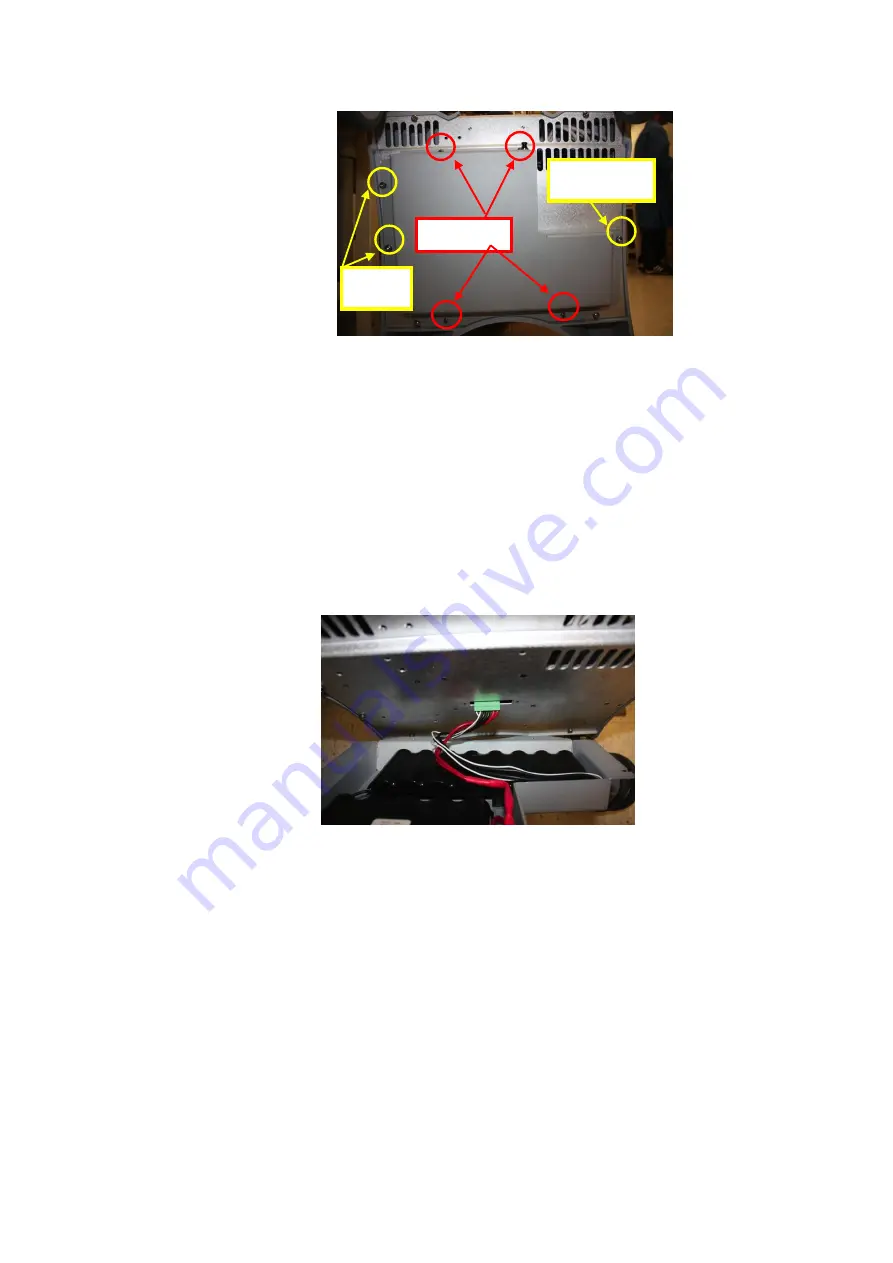
7. Remove the larger screw, located on the right side of the mounting of the
Battery Pack to the bottom of the system (leaving the last two (2) screws, on
the left side of the battery pack, still in place).
8. Slightly loosen (but DO NOT REMOVE) the remaining two (2) large screws
(on the left side of the battery pack), while supporting the weight of the
battery pack with your hand.
9. While still supporting the weight of the battery pack, slide it to the right to
enable the slotted holes in the cover to come free from the last two
mounting screws,
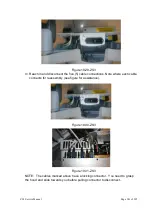
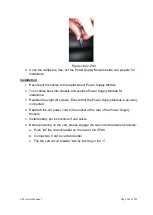
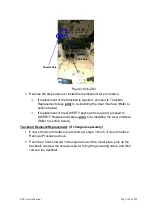
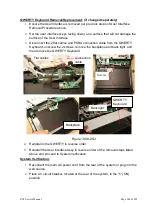
Figure 19.23-ZS3
10. Lower the battery pack slightly to enable access to the connector at the end
of the battery pack power cable, and unplug the connector from the power
supply on the system.
11. Remove the battery pack.
Remove First
Remove Second
Loosen
Summary of Contents for Zonare ZS3
Page 1: ...ZS3 Diagnostic Ultrasound System Service Manual ...
Page 120: ...ZS3 Service Manual Page 120 of 295 FTP Setup Enters Setup Network FTP ...
Page 124: ...ZS3 Service Manual Page 124 of 295 ...
Page 131: ...ZS3 Service Manual Page 131 of 295 13 System Diagrams ...
Page 132: ...ZS3 Service Manual Page 132 of 295 Power Block Diagram Figure 13 1 ZS3 Power Block Diagram ...
Page 133: ...ZS3 Service Manual Page 133 of 295 Cabling Diagram Figure 13 2 ZS3 Cabling Diagram ...
Page 138: ...ZS3 Service Manual Page 138 of 295 Figure 14 6 ZS3 ...
Page 185: ...ZS3 Service Manual Page 185 of 295 17 Preventative Maintenance Forms ...
Page 217: ...ZS3 Service Manual Page 217 of 295 Figure 18 8 ZS3 ...
Page 252: ...ZS3 Service Manual Page 252 of 295 Figure 19 43 ZS3 Power Cable USB Cable ...
Page 295: ...P N 046 014026 00 2 0 ...

