ZS3 Service Manual
Page 52 of 295
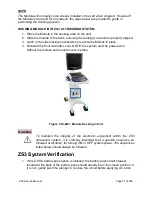
cart.
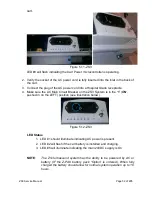
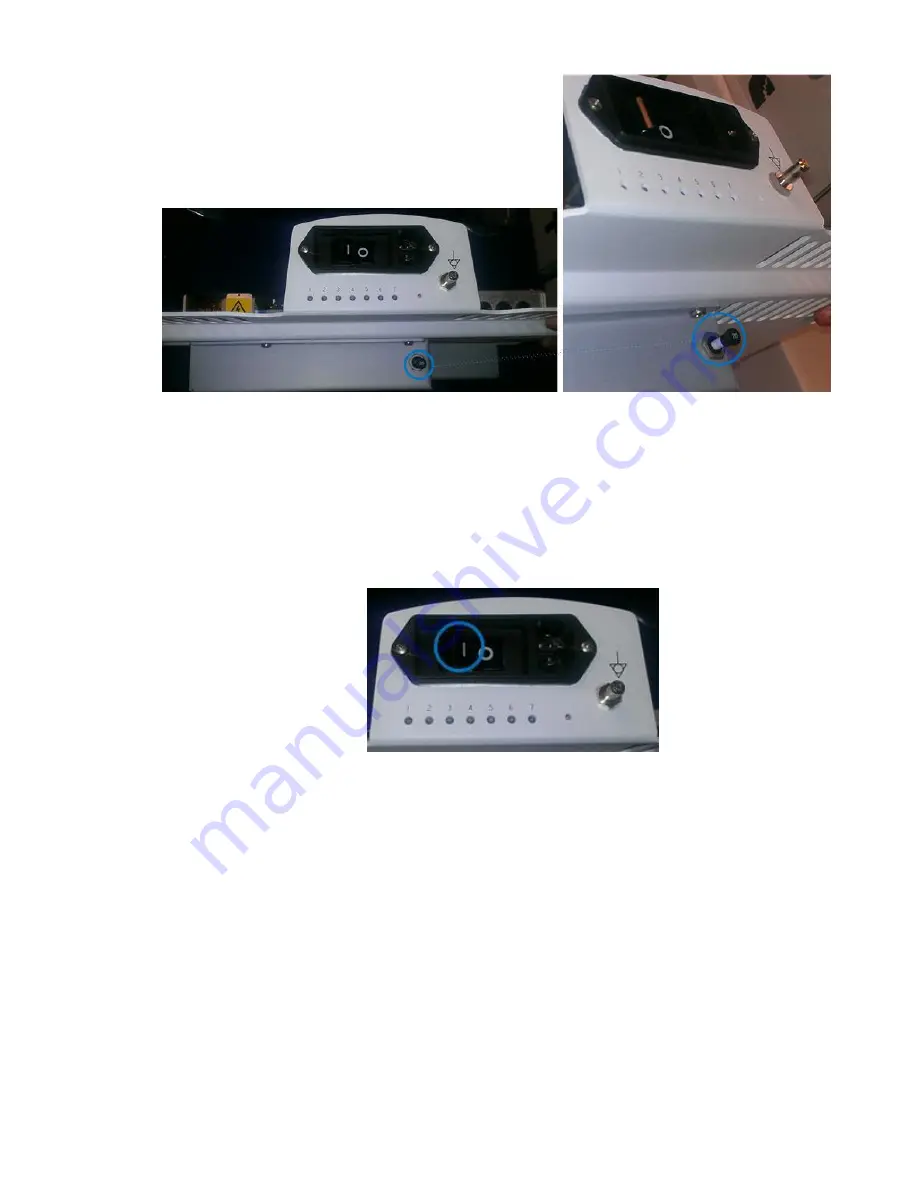
Figure 5.11-ZS3
LED#3 will flash indicating the Cart Power microcontroller is operating.
2. Verify the socket of the AC power cord is fully inserted into the inlet in the back of
the cart.
3. Connect the plug of the AC power cord into a Hospital Grade receptacle.
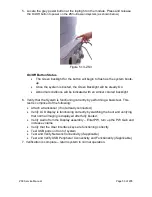
4. Make sure the AC Main Circuit Breaker on the ZS3 System
is in the “
1
” (
ON
,
pushed in on the LEFT) position (see illustration below).
Figure 5.12-ZS3
LED Status
1. LED #1 should illuminate indicating AC power is present.
2. LED #2 will flash if the cart battery is installed and charging.
3. LED #5 will illuminate indicating the main 24VDC supply is On
NOTE
:
The ZS3 ultrasound system has the ability to be powered by AC or
battery (IF the Z-PAK batte
ry pack “Option” is ordered). When fully
charged the battery should allow for normal system operation up to 1.5
hours.
Summary of Contents for Zonare ZS3
Page 1: ...ZS3 Diagnostic Ultrasound System Service Manual ...
Page 120: ...ZS3 Service Manual Page 120 of 295 FTP Setup Enters Setup Network FTP ...
Page 124: ...ZS3 Service Manual Page 124 of 295 ...
Page 131: ...ZS3 Service Manual Page 131 of 295 13 System Diagrams ...
Page 132: ...ZS3 Service Manual Page 132 of 295 Power Block Diagram Figure 13 1 ZS3 Power Block Diagram ...
Page 133: ...ZS3 Service Manual Page 133 of 295 Cabling Diagram Figure 13 2 ZS3 Cabling Diagram ...
Page 138: ...ZS3 Service Manual Page 138 of 295 Figure 14 6 ZS3 ...
Page 185: ...ZS3 Service Manual Page 185 of 295 17 Preventative Maintenance Forms ...
Page 217: ...ZS3 Service Manual Page 217 of 295 Figure 18 8 ZS3 ...
Page 252: ...ZS3 Service Manual Page 252 of 295 Figure 19 43 ZS3 Power Cable USB Cable ...
Page 295: ...P N 046 014026 00 2 0 ...

