ZS3 Service Manual
Page 237 of 295
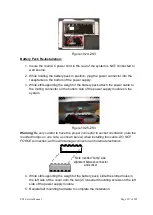
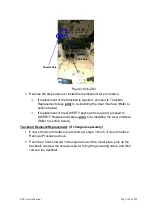
Figure 19.24-ZS3
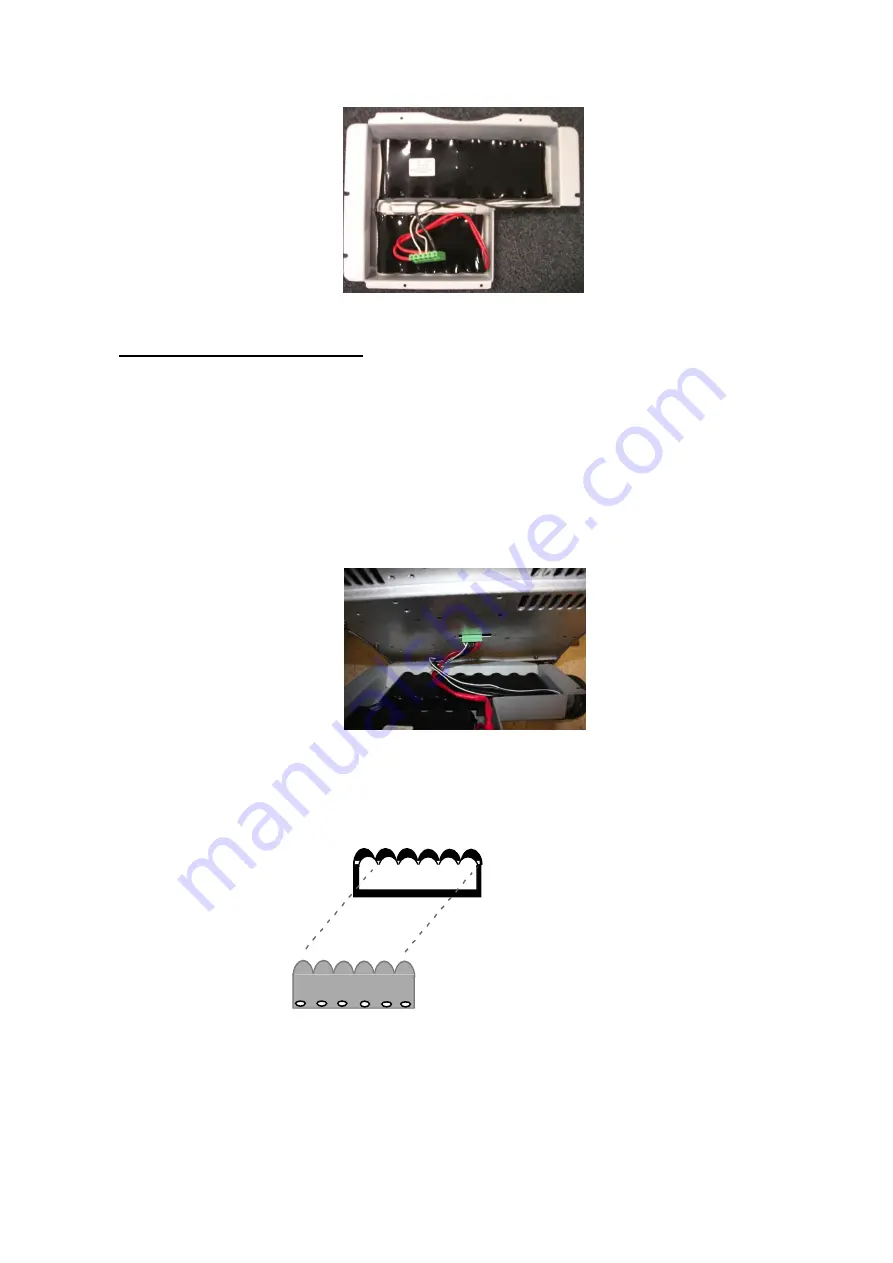
Battery Pack Re-Installation:
1. Insure the main AC power cord to the rear of the system is NOT connected to
wall source.
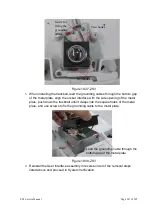
2. While holding the battery pack in position, plug the power connector into the
receptacle on the bottom of the power supply.
3. While still supporting the weight of the battery pack attach the power cable to
the mating connector on the bottom side of the power supply module on the
system.
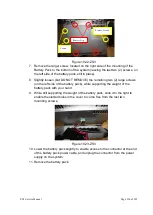
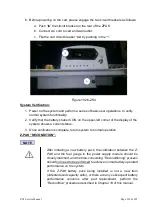
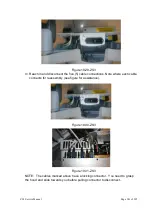
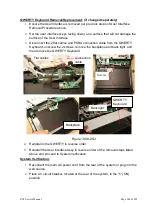
Figure 19.25-ZS3
Warning
: Be very careful to have the proper connector to socket orientation (note the
rounded humps on one side, as shown below) when installing this cable. DO NOT
FORCE connection, as this will damage connector and internal electronics.
4. While still supporting the weight of the battery pack, slide the slotted holes in
the left side of the cover onto the two (2) loosened mounting screws on the left
side of the power supply module.
5. Reinstall all mounting hardware to complete the installation.
Note rounded
“hump” side
alignment between connector
and socket
Summary of Contents for Zonare ZS3
Page 1: ...ZS3 Diagnostic Ultrasound System Service Manual ...
Page 120: ...ZS3 Service Manual Page 120 of 295 FTP Setup Enters Setup Network FTP ...
Page 124: ...ZS3 Service Manual Page 124 of 295 ...
Page 131: ...ZS3 Service Manual Page 131 of 295 13 System Diagrams ...
Page 132: ...ZS3 Service Manual Page 132 of 295 Power Block Diagram Figure 13 1 ZS3 Power Block Diagram ...
Page 133: ...ZS3 Service Manual Page 133 of 295 Cabling Diagram Figure 13 2 ZS3 Cabling Diagram ...
Page 138: ...ZS3 Service Manual Page 138 of 295 Figure 14 6 ZS3 ...
Page 185: ...ZS3 Service Manual Page 185 of 295 17 Preventative Maintenance Forms ...
Page 217: ...ZS3 Service Manual Page 217 of 295 Figure 18 8 ZS3 ...
Page 252: ...ZS3 Service Manual Page 252 of 295 Figure 19 43 ZS3 Power Cable USB Cable ...
Page 295: ...P N 046 014026 00 2 0 ...

