ZS3 Service Manual
Page 221 of 295
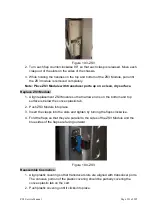
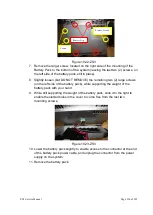
Figure 19.3-ZS3
2. Turn each flap counterclockwise 90° so that each clasp is released. Move each
clasp out of the slots on the sides of the chassis.
3. While holding the handles on the top and bottom of the ZS3 Module, pull until
the ZS3 module is removed completely.
Note: Place ZS3 Module with transducer ports up on a clean, dry surface.
Replace ZS3 Module:
1. Align replacement ZS3 Module so that narrow end is on the bottom and top
surface is below the convex plastic tab.
2. Push ZS3 Module into place.
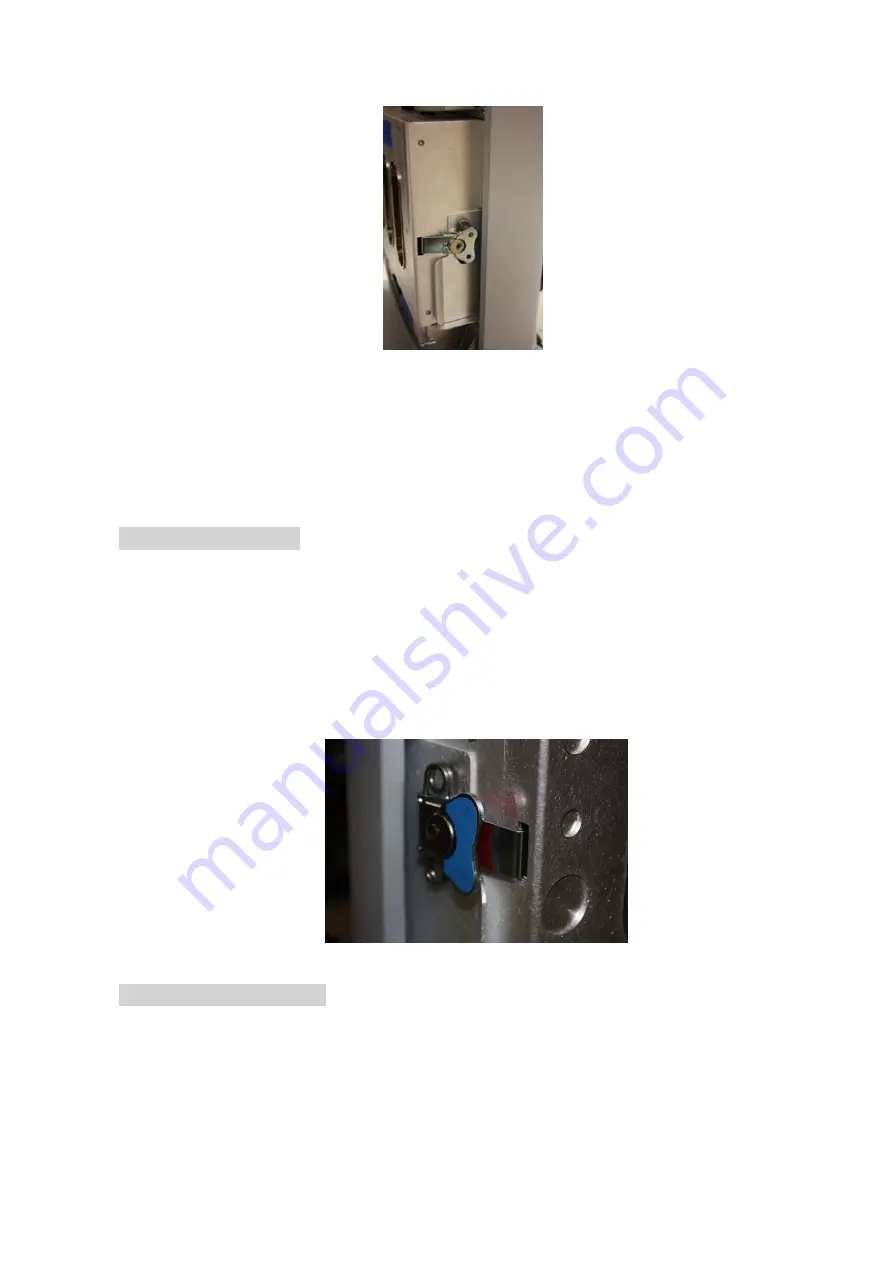
3. Insert the clasps into the slots and tighten by turning the flaps clockwise.
4. Fold the flaps so that they are parallel to the sides of the ZS3 Module and the
blue sides of the flaps are facing outward.
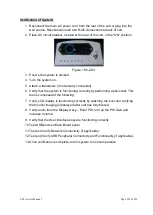
Figure 19.4-ZS3
Reassemble Cosmetics:
1. Align plastic covering so that transducer slots are aligned with transducer ports.
The concave portion of the plastic covering should be partially covering the
convex plastic tab on the cart.
2. Push plastic covering until it clicks into place.
Summary of Contents for Zonare ZS3
Page 1: ...ZS3 Diagnostic Ultrasound System Service Manual ...
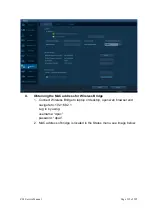
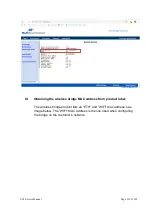
Page 120: ...ZS3 Service Manual Page 120 of 295 FTP Setup Enters Setup Network FTP ...
Page 124: ...ZS3 Service Manual Page 124 of 295 ...
Page 131: ...ZS3 Service Manual Page 131 of 295 13 System Diagrams ...
Page 132: ...ZS3 Service Manual Page 132 of 295 Power Block Diagram Figure 13 1 ZS3 Power Block Diagram ...
Page 133: ...ZS3 Service Manual Page 133 of 295 Cabling Diagram Figure 13 2 ZS3 Cabling Diagram ...
Page 138: ...ZS3 Service Manual Page 138 of 295 Figure 14 6 ZS3 ...
Page 185: ...ZS3 Service Manual Page 185 of 295 17 Preventative Maintenance Forms ...
Page 217: ...ZS3 Service Manual Page 217 of 295 Figure 18 8 ZS3 ...
Page 252: ...ZS3 Service Manual Page 252 of 295 Figure 19 43 ZS3 Power Cable USB Cable ...
Page 295: ...P N 046 014026 00 2 0 ...

