ZS3 Service Manual
Page 235 of 295
Cart Battery
– Removal/Replacement
Required Parts
P/N: 85031-00 Assy, Battery Pack, Gen II Cart
Required Tools/Equipment
#2 Phillips Screwdriver
4mm Hex Key
Overview of Procedure
1. Removal Battery Pack
2. Re-installation of Battery Pack
3. Verification of system operation
Battery Pack Removal:
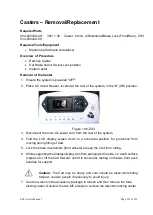
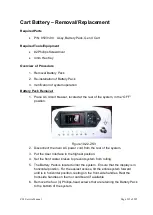
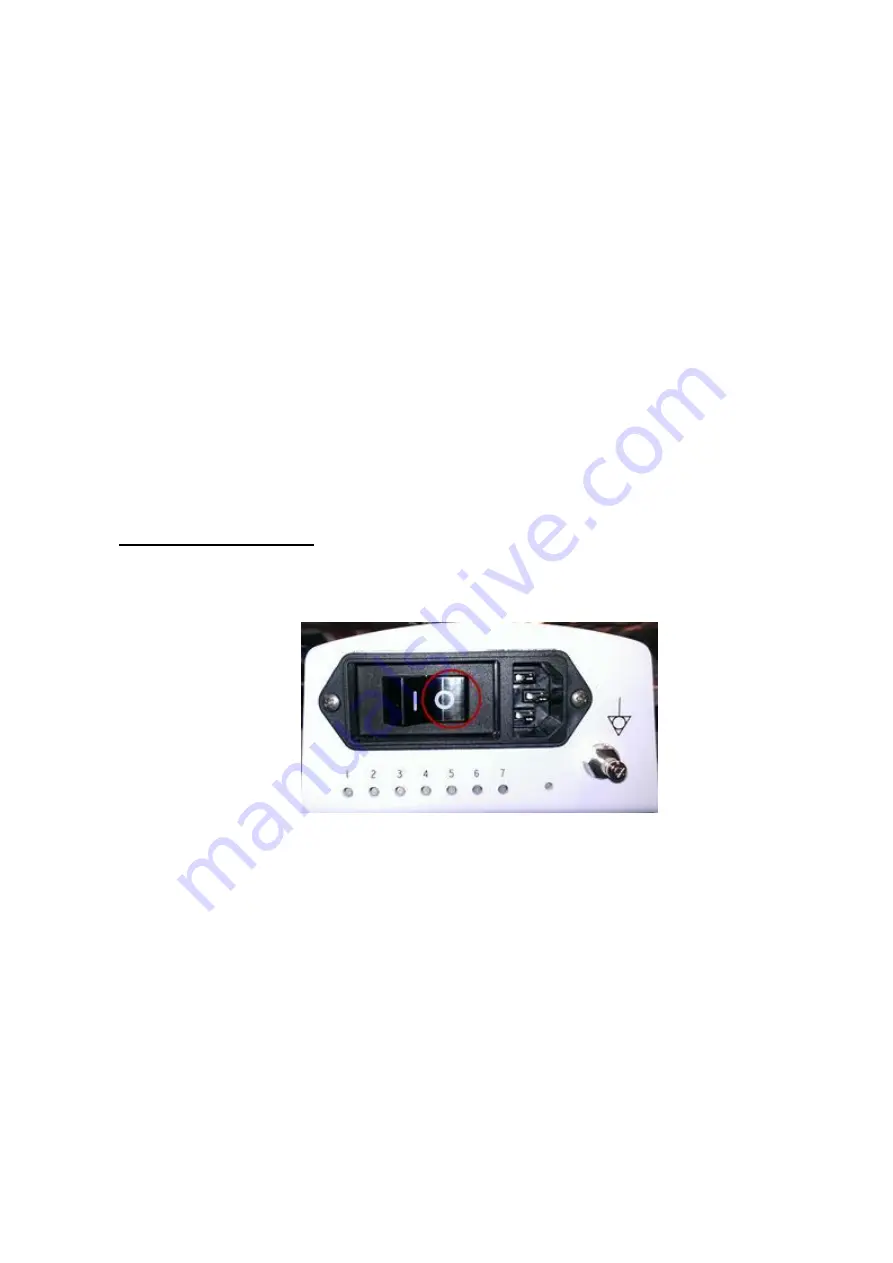
1. Place AC circuit breaker, located at the rear of the system
, in the “OFF”
position.
Figure 19.22-ZS3
2. Disconnect the main AC power cord from the rear of the system.
3. Put the User Interface in the highest position.
4. Set the front caster brakes to prevent system from rolling.
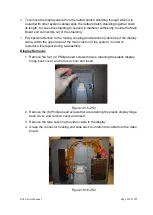
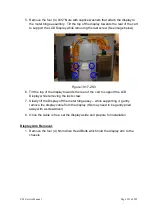
5. The Battery Pack is located under the system. Ensure that the display is in
horizontal position. For the easiest access, tilt the entire system forward
until is in horizontal position, resting on the front-side handles. Rest the
front-side handles on foam or cardboard if available.
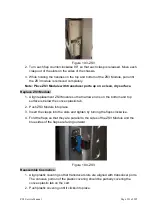
6. Remove the four (4) Phillips-head screws that are retaining the Battery Pack
to the bottom of the system.
Summary of Contents for Zonare ZS3
Page 1: ...ZS3 Diagnostic Ultrasound System Service Manual ...
Page 120: ...ZS3 Service Manual Page 120 of 295 FTP Setup Enters Setup Network FTP ...
Page 124: ...ZS3 Service Manual Page 124 of 295 ...
Page 131: ...ZS3 Service Manual Page 131 of 295 13 System Diagrams ...
Page 132: ...ZS3 Service Manual Page 132 of 295 Power Block Diagram Figure 13 1 ZS3 Power Block Diagram ...
Page 133: ...ZS3 Service Manual Page 133 of 295 Cabling Diagram Figure 13 2 ZS3 Cabling Diagram ...
Page 138: ...ZS3 Service Manual Page 138 of 295 Figure 14 6 ZS3 ...
Page 185: ...ZS3 Service Manual Page 185 of 295 17 Preventative Maintenance Forms ...
Page 217: ...ZS3 Service Manual Page 217 of 295 Figure 18 8 ZS3 ...
Page 252: ...ZS3 Service Manual Page 252 of 295 Figure 19 43 ZS3 Power Cable USB Cable ...
Page 295: ...P N 046 014026 00 2 0 ...

