Paper Jams
681
Paper Jams
When a paper jam occurred, the machine stops and an alarm beeps. A message is also
displayed on the touch screen. Follow the instructions displayed to remove the jammed
paper.
Gently remove the paper to avoid it to be torn. If the paper is torn, remove all the torn pieces,
making sure that none remain inside the machine.
If a paper jam message appears again after you have cleared the paper jam, another paper jam
may be occurred in some other parts of the machine. Clear this by following the message.
When the paper jam is cleared, printing is automatically resumed from the point when the
paper jam occurred.
If you were during copying, press the <Start> button to resume the copying from the point
when the paper jam occurred.
This section describes how to clear a paper jam occurring in the following locations.
The following shows the reference section for the procedures to clear a paper jam in each
location.
Paper Jams in Upper Left Cover A ......................................................................................... 681
Paper Jams in Bottom Left Cover C....................................................................................... 683
Paper Jams in Top Left Cover D ............................................................................................ 683
Paper Jams in Trays 1 to 4....................................................................................................... 684
Paper Jams in Tray 5 (Bypass Tray)........................................................................................ 685
Paper Jams in Tray 6 (HCF B1).............................................................................................. 685
Paper Jams in Duplex Module B............................................................................................. 687
Paper Jams in Finisher-B1....................................................................................................... 688
Note
•
When a paper jam occurred, if you pull out a paper tray without checking the paper jam location, the
jammed paper may be torn and the pieces may remain inside the machine. This may cause machine
malfunctions; therefore, always check where the paper jam occurred first.
•
If any piece of jammed paper remains inside the machine, the paper jam message will not disappear
from the touch screen.
•
Clear the paper jams while the machine is powered on. If you turn off the machine, all data stored on
the memory of the machine will be erased.
•
Do not touch components inside the machine. This may cause print defects.
Paper Jams in Upper Left Cover A
The following describes how to clear paper jams occurring in the upper left cover.
Note
•
Do not touch the black film like Transfer Belt inside the upper left cover when you remove the jammed
paper because images might be shifted on the Transfer Belt. If you touch the belt, the image quality
might be deteriorated or the belt may be damaged and need replacement.
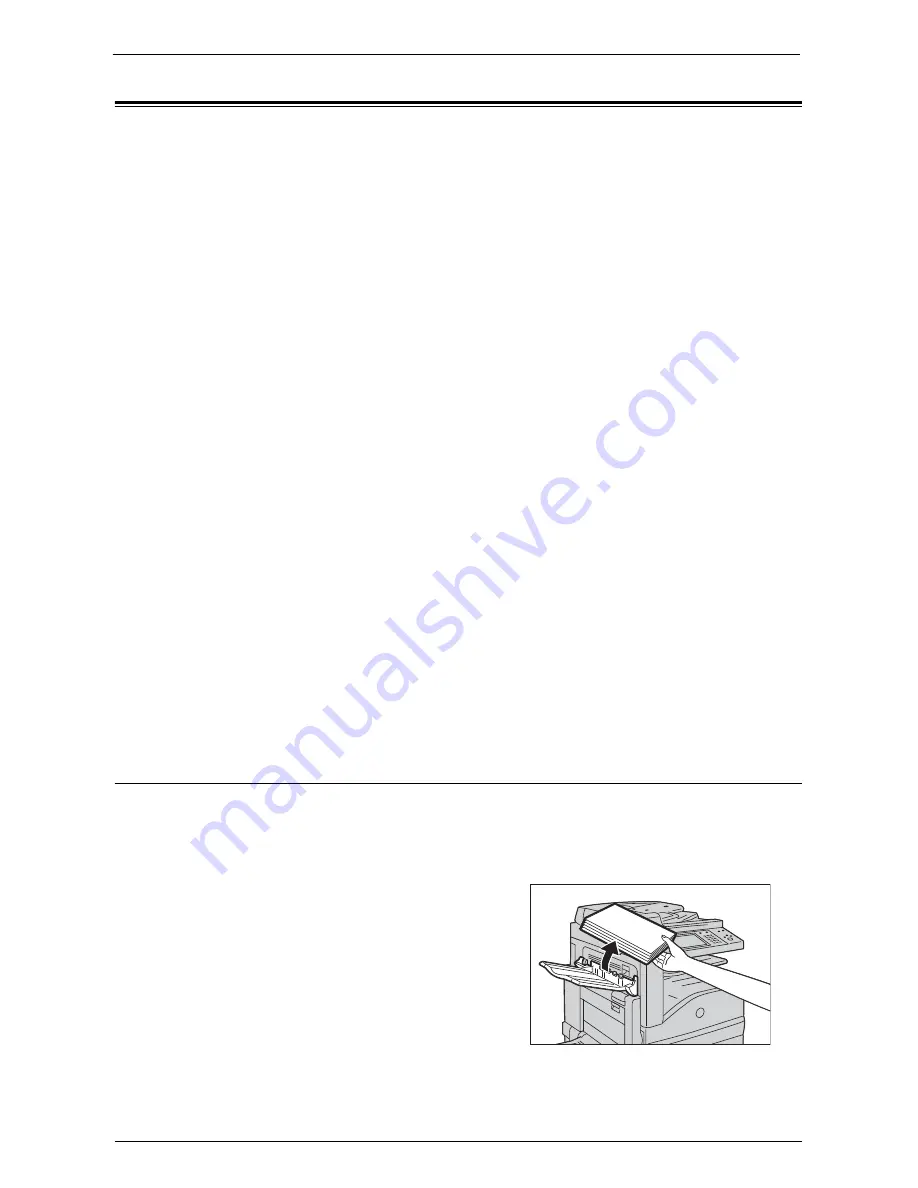
1
Remove paper from the Side Tray.
Summary of Contents for C7765DN
Page 1: ...Dell C7765dn Color Multifunction Printer User s Guide Regulatory Model C7765dn ...
Page 32: ...1 Before Using the Machine 32 ...
Page 144: ...3 Copy 144 ...
Page 156: ...4 Fax 156 ...
Page 168: ...5 Scan 168 ...
Page 272: ...13 Maintenance 272 ...
Page 294: ...14 Machine Status 294 ...
Page 468: ...16 Dell Printer Configuration Web Tool Settings 468 ...
Page 510: ...19 Scanner Environment Settings 510 ...
Page 564: ...22 Authentication and Accounting Features 564 ...
Page 764: ...28 Using Shortcut Menu 764 ...
Page 796: ...29 Using Access Google Drive 796 2 Check the content status 3 Select Close ...
Page 802: ...29 Using Access Google Drive 802 ...
Page 816: ...30 Google Cloud Print 816 ...


