Copying Procedure
63
3
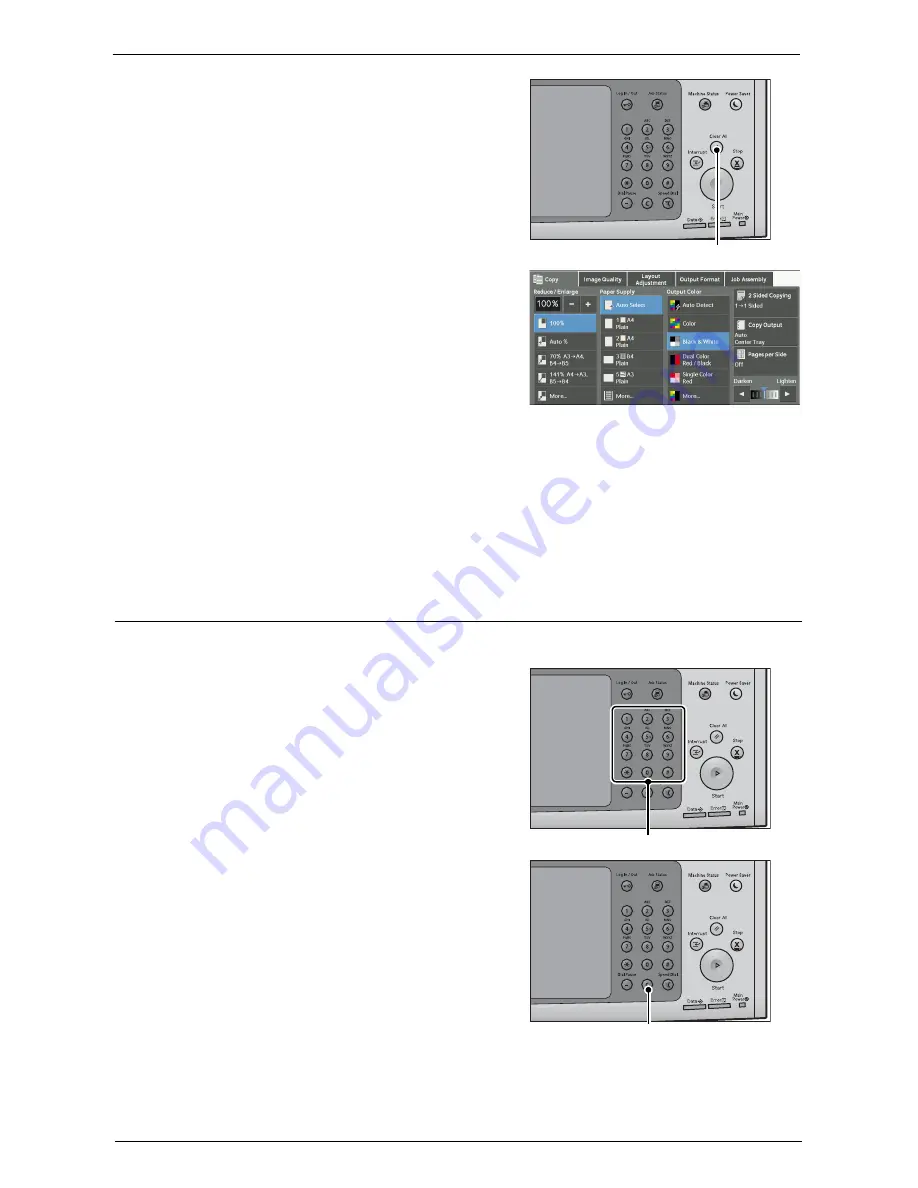
If the previous settings still remain, press the
<Clear All> button.
4
Select each tab, and configure features as
necessary.
The following shows the reference section for each tab.
"Copy" (P.74)
"Image Quality" (P.87)
"Layout Adjustment" (P.94)
"Output Format" (P.109)
"Job Assembly" (P.135)
Step 3 Entering a Quantity
The following describes how to enter the number of copy sets. You can enter up to 999 sets.
1
Enter the number of copies using the numeric
keypad.
The number of copies entered appears on the
upper right of the touch screen.
2
If you have entered an incorrect value, press the
<C (Clear)> button and then enter the correct
value.
<Clear All> button
Numeric keypad
<C (Clear)> button
Summary of Contents for C7765DN
Page 1: ...Dell C7765dn Color Multifunction Printer User s Guide Regulatory Model C7765dn ...
Page 32: ...1 Before Using the Machine 32 ...
Page 144: ...3 Copy 144 ...
Page 156: ...4 Fax 156 ...
Page 168: ...5 Scan 168 ...
Page 272: ...13 Maintenance 272 ...
Page 294: ...14 Machine Status 294 ...
Page 468: ...16 Dell Printer Configuration Web Tool Settings 468 ...
Page 510: ...19 Scanner Environment Settings 510 ...
Page 564: ...22 Authentication and Accounting Features 564 ...
Page 764: ...28 Using Shortcut Menu 764 ...
Page 796: ...29 Using Access Google Drive 796 2 Check the content status 3 Select Close ...
Page 802: ...29 Using Access Google Drive 802 ...
Page 816: ...30 Google Cloud Print 816 ...


