5 Scan
164
5
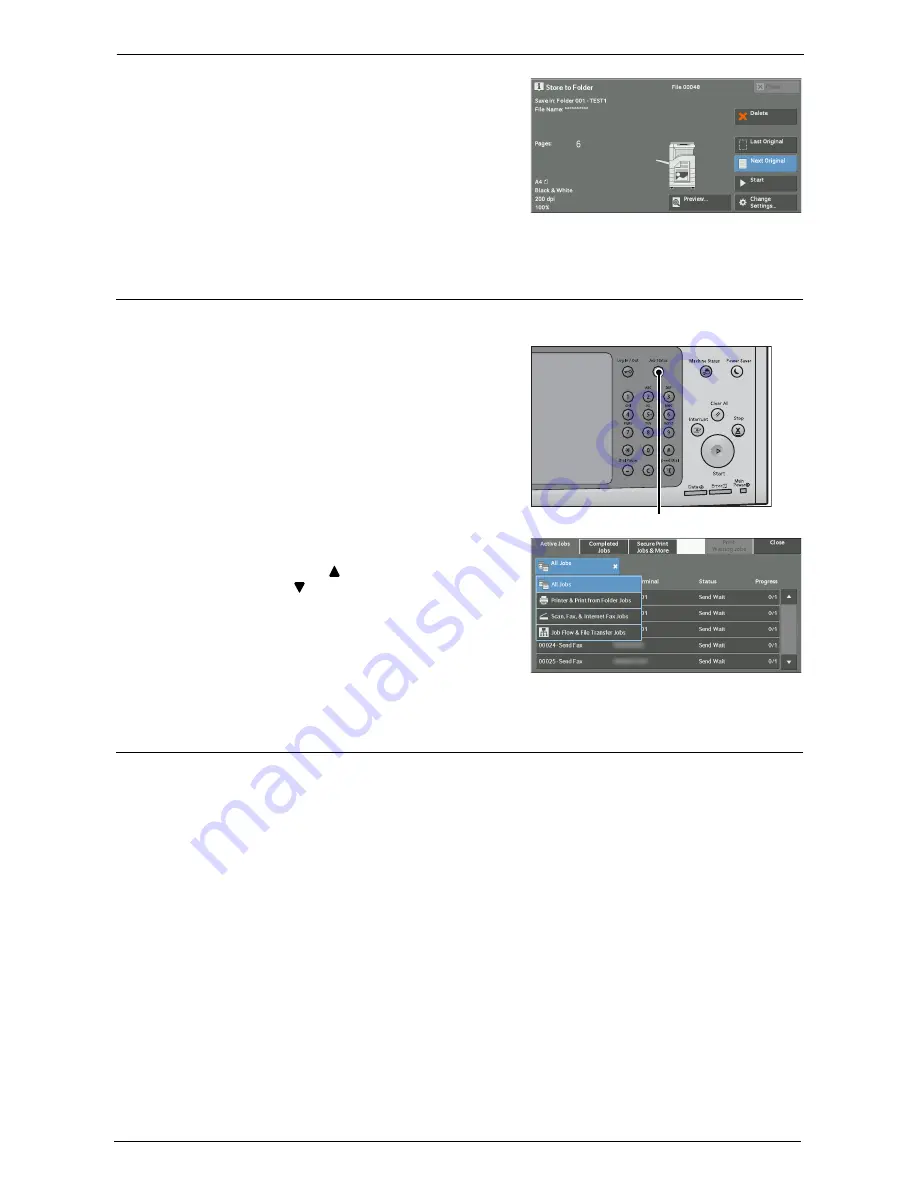
When all documents have been scanned, select
[Last Original].
Step 4 Confirming the Scan Job in Job Status
The following describes how to confirm the status of a scan job.
1
Press the <Job Status> button.
2
Confirm the job status.
Note
•
Select [ ] to return to the previous screen or
[ ] to move to the next screen.
•
From the drop-down menu, you can select
[Scan, Fax, & Internet Fax Jobs] and display
the desired job.
Step 5 Saving the Scanned Data
When you used the Store to Folder service, you can use the following methods to import the
file stored in a folder of the machine to your computer:
Import using an application
Use Network Scanner Driver.
Import using Stored File Manager 3
Use Stored File Manager 3.
Import using Dell Printer Configuration Web Tool
Use Dell Printer Configuration Web Tool.
<Job Status> button
Summary of Contents for C7765DN
Page 1: ...Dell C7765dn Color Multifunction Printer User s Guide Regulatory Model C7765dn ...
Page 32: ...1 Before Using the Machine 32 ...
Page 144: ...3 Copy 144 ...
Page 156: ...4 Fax 156 ...
Page 168: ...5 Scan 168 ...
Page 272: ...13 Maintenance 272 ...
Page 294: ...14 Machine Status 294 ...
Page 468: ...16 Dell Printer Configuration Web Tool Settings 468 ...
Page 510: ...19 Scanner Environment Settings 510 ...
Page 564: ...22 Authentication and Accounting Features 564 ...
Page 764: ...28 Using Shortcut Menu 764 ...
Page 796: ...29 Using Access Google Drive 796 2 Check the content status 3 Select Close ...
Page 802: ...29 Using Access Google Drive 802 ...
Page 816: ...30 Google Cloud Print 816 ...


