10 Job Status
216
Private Charge Print
This feature allows you to temporarily store print data in the machine for each
authentication user ID, and request on the machine's control panel to print the data. As the
feature enables you to select and print only necessary jobs, you can avoid printing
unnecessary jobs. Furthermore, the machine displays only the jobs of authenticated users
and their associated sub users to securely protect the privacy of the users. The Private Print
feature is suitable for authenticating and managing specific users managed by the system
administrator.
If received print jobs are set to be saved with Private Charge Print, the jobs are saved for each
authentication user ID.
Note
•
[Private Charge Print] is displayed when [Receive Control] in [Charge / Private Print Settings] is set to
either of the following:
- Select [According to Print Accounting] in [Receive Control], and then select [Save as Private Charge
Print Job] in [Job Login Success].
- Select [Save as Private Charge Print Job] in [Receive Control].
•
When the Private Charge Print feature is selected, you cannot specify normal print, Secure Print,
Sample Set, Delayed Print on the print driver.
The Private Charge Print feature restricts the use of the machine through either user ID
authentication or card authentication, or the combination of both. For information of the types
of authentication, refer to "Types of Authentication" (P.536).
To delete a print job instructed with an invalid user ID, display the list of print jobs after logging
in as a system administrator, and then select the job to be deleted. For more information, refer to
"Deleting a Private Charge Print Job with an Invalid User ID" (P.270). For information on how to
set a User ID, refer to "Charge/Private Print Settings" (P.456).
The following describes how to print or delete a job stored with the Private Charge Print
feature.
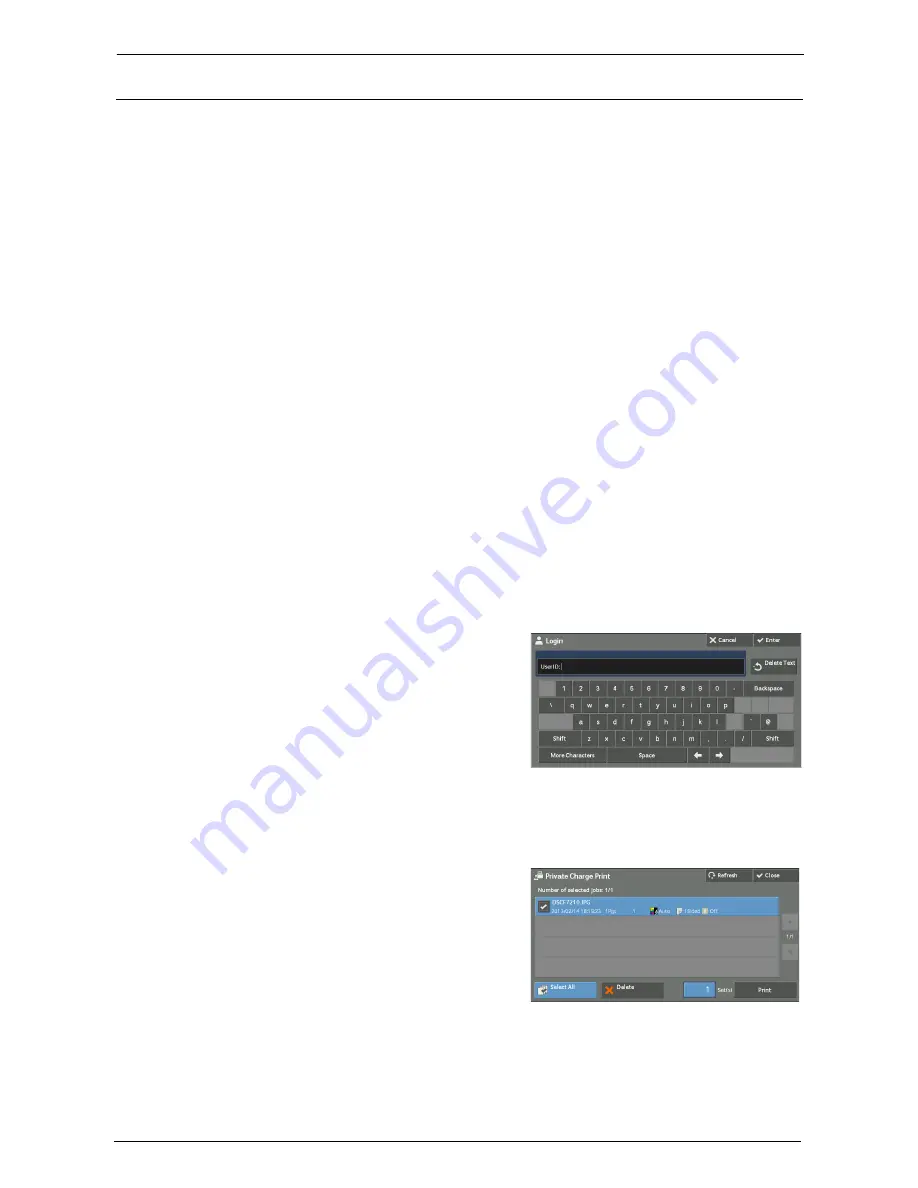
1
Press the <Log In/Out> button on the control panel, or select the login information field
on the touch screen.
2
Enter the user ID, and select [Enter].
Note
•
When the passcode is set, enter the user ID
and select [Next]. Then, enter the passcode
and select [Enter].
•
While the user is authenticated, the <Log In/
Out> button lights up on the control panel.
•
To log out of the machine, press the <Log In/
Out> button on the control panel.
3
Select [Private Charge Print].
Note
•
If you are authenticated as a system administrator, selecting [Private Charge Print] will display a list of
authentication user IDs. Select a user ID from the list, and then select [Job List] to display a list of jobs
stored for the selected user.
4
Select the job to be printed or deleted.
Note
•
You can select up to 100 files simultaneously
to print or delete the files. If you select
multiple files, they are printed in the selected
order.
5
Select any option.
6
When printing, specify the number of print sets using the numeric keypad.
Summary of Contents for C7765DN
Page 1: ...Dell C7765dn Color Multifunction Printer User s Guide Regulatory Model C7765dn ...
Page 32: ...1 Before Using the Machine 32 ...
Page 144: ...3 Copy 144 ...
Page 156: ...4 Fax 156 ...
Page 168: ...5 Scan 168 ...
Page 272: ...13 Maintenance 272 ...
Page 294: ...14 Machine Status 294 ...
Page 468: ...16 Dell Printer Configuration Web Tool Settings 468 ...
Page 510: ...19 Scanner Environment Settings 510 ...
Page 564: ...22 Authentication and Accounting Features 564 ...
Page 764: ...28 Using Shortcut Menu 764 ...
Page 796: ...29 Using Access Google Drive 796 2 Check the content status 3 Select Close ...
Page 802: ...29 Using Access Google Drive 802 ...
Page 816: ...30 Google Cloud Print 816 ...


