3 Copy
124
Start & End Page Numbers
Allows you to specify the start and end pages to add prefix text and page numbers, in the
range from 1 to 999.
Note
•
Use [+] and [-], or the numeric keypad to enter the start and end page numbers.
Include Covers / Separators
This option is available when you select [All Pages]. Select this check box to include covers
and separators.
Starting Number
You can specify a starting page number in the range from 1 to 999999999 when you do not
set [Number of Digits], or can specify a starting page number of up to the allowable number
of digits specified in [Number of Digits].
Note
•
Use [+] and [-], or the numeric keypad to enter the starting page number.
•
If the page number exceeds the specified value (999999999 when [Number of Digits] is not set) during
copying, the copy job will be canceled.
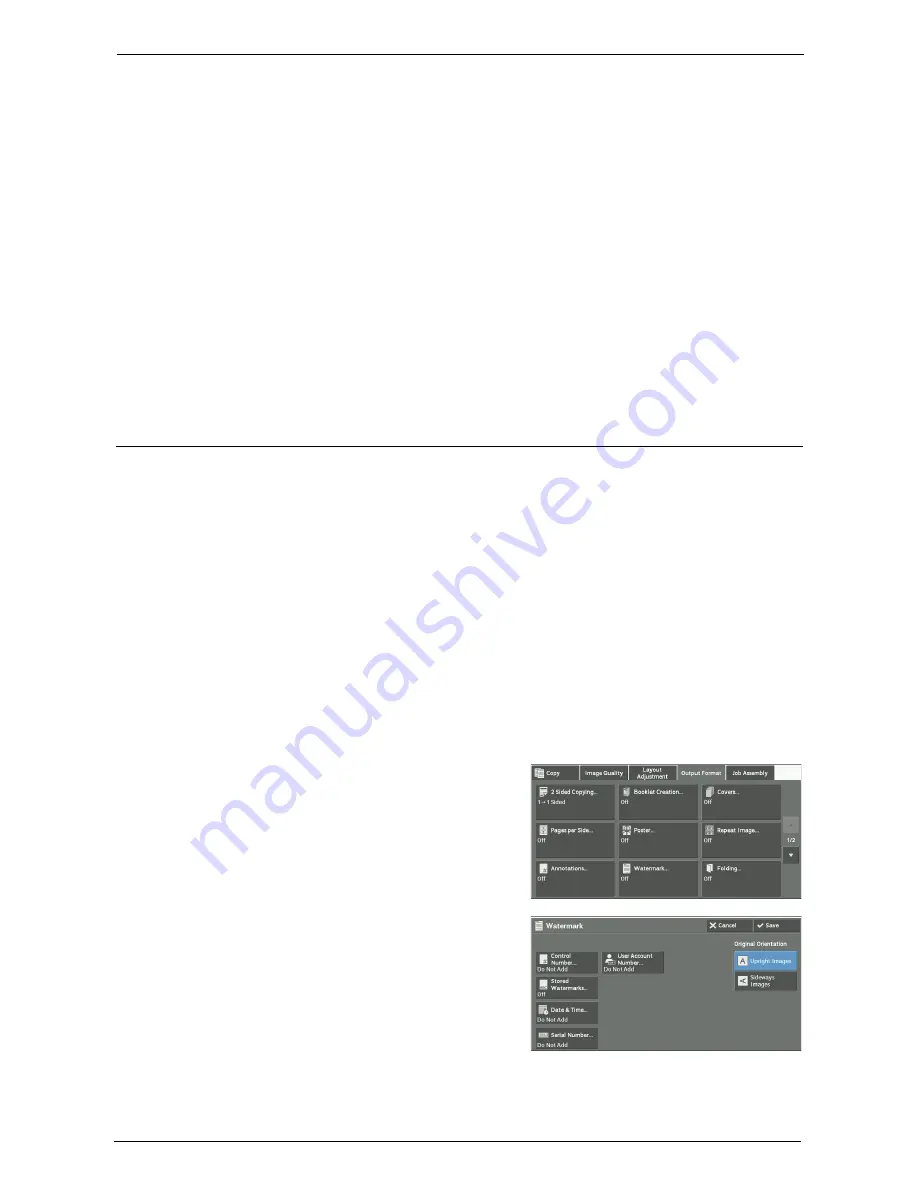
Watermark (Printing Control Numbers on the Background of Copies)
This feature allows you to faintly print a sequential control number in the background of
each copy page.
If you set "1" as the starting number, "1" is printed on each page of the first copy set and "2"
is printed on each page of the second set.
To prevent, for instance, the duplication of confidential documents that are to be distributed
at a conference, you can use this feature to add sequential numbers to the copies, and
associate the numbers with the conference members.
Note
•
When the number of already scanned pages of the Watermark job reaches the maximum number of
pages that can be scanned per job, which is 999, a message appears, and even the already scanned
pages will not be printed. Follow the instructions displayed on the screen and cancel the job.
•
If a layout template is specified in [Apply Layout Template to Copy/Print Jobs] under [Force
Annotation] in the System Administration mode, the watermark specified here is overlapped with the
text on the layout template when printed. For information on [Force Annotation], refer to "Force
Annotation" (P.332).
•
When [Force Watermark - Copy] is set to [On], [Watermark] is fixed to [On], which cannot be changed.
For more information on Watermark, refer to "Watermark" (P.330).
1
Select [Watermark].
2
Select any option.
Summary of Contents for C7765DN
Page 1: ...Dell C7765dn Color Multifunction Printer User s Guide Regulatory Model C7765dn ...
Page 32: ...1 Before Using the Machine 32 ...
Page 144: ...3 Copy 144 ...
Page 156: ...4 Fax 156 ...
Page 168: ...5 Scan 168 ...
Page 272: ...13 Maintenance 272 ...
Page 294: ...14 Machine Status 294 ...
Page 468: ...16 Dell Printer Configuration Web Tool Settings 468 ...
Page 510: ...19 Scanner Environment Settings 510 ...
Page 564: ...22 Authentication and Accounting Features 564 ...
Page 764: ...28 Using Shortcut Menu 764 ...
Page 796: ...29 Using Access Google Drive 796 2 Check the content status 3 Select Close ...
Page 802: ...29 Using Access Google Drive 802 ...
Page 816: ...30 Google Cloud Print 816 ...


