Inserting USB Memory Device
195
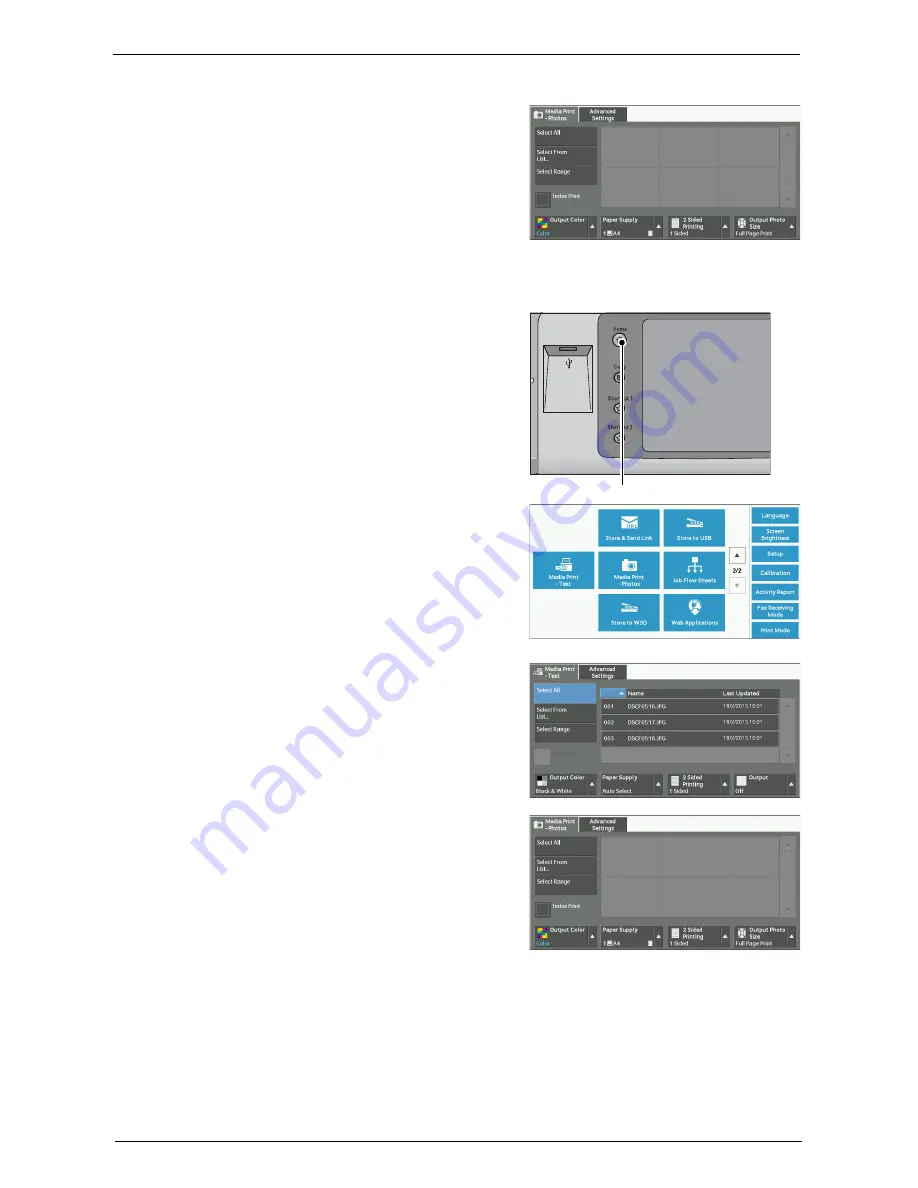
When the [Media Print - Photos] Screen Appears
Select a feature on the [Media Print - Photos]
screen.
When the Screen Display Does Not Change
1
If a screen other than the [Home] screen is
displayed, press the <Home> button.
2
Select [Media Print - Text] or [Media Print -
Photos] on the [Home] screen.
3
The [Media Print - Text] screen or the [Media
Print - Photos] screen appears.
Note
•
Data stored in a USB memory device may be
lost or damaged in the following cases. Make
sure to back up the data in the device before
use.
- When disconnecting/connecting the USB
memory device by methods other than
described in this guide
- When receiving the effect of electrical
noise or an electrical discharge
- When a fault or failure occurs during operation
- If the USB memory device receives mechanical damage
•
We assume no responsibility for any direct and indirect damages arising from or caused by such data
loss.
•
If you do not specify the file storage location, the scanned data is saved in the root directory.
<Home> button
* WSD stands for Web Services on Devices.
Summary of Contents for C7765DN
Page 1: ...Dell C7765dn Color Multifunction Printer User s Guide Regulatory Model C7765dn ...
Page 32: ...1 Before Using the Machine 32 ...
Page 144: ...3 Copy 144 ...
Page 156: ...4 Fax 156 ...
Page 168: ...5 Scan 168 ...
Page 272: ...13 Maintenance 272 ...
Page 294: ...14 Machine Status 294 ...
Page 468: ...16 Dell Printer Configuration Web Tool Settings 468 ...
Page 510: ...19 Scanner Environment Settings 510 ...
Page 564: ...22 Authentication and Accounting Features 564 ...
Page 764: ...28 Using Shortcut Menu 764 ...
Page 796: ...29 Using Access Google Drive 796 2 Check the content status 3 Select Close ...
Page 802: ...29 Using Access Google Drive 802 ...
Page 816: ...30 Google Cloud Print 816 ...


