Fax Service Settings
399
Tray Mode
Specify the paper tray for printing the received fax document. Only the specified paper tray
will be used for printing the received document. Multiple paper trays can be specified except
for Tray 5. If the fax document cannot be printed on the paper loaded in the specified paper
trays, the machine displays a message stating that it will be printed on the paper loaded in
Tray 5. Load paper in Tray 5 and press the <Start> button to print the document. To cancel
printing, press the <Clear All> button.
User Mode
Specify the paper sizes to use for printing received fax documents. Regardless of whether the
paper is loaded in the trays, only the specified size paper is used for printing. When you select
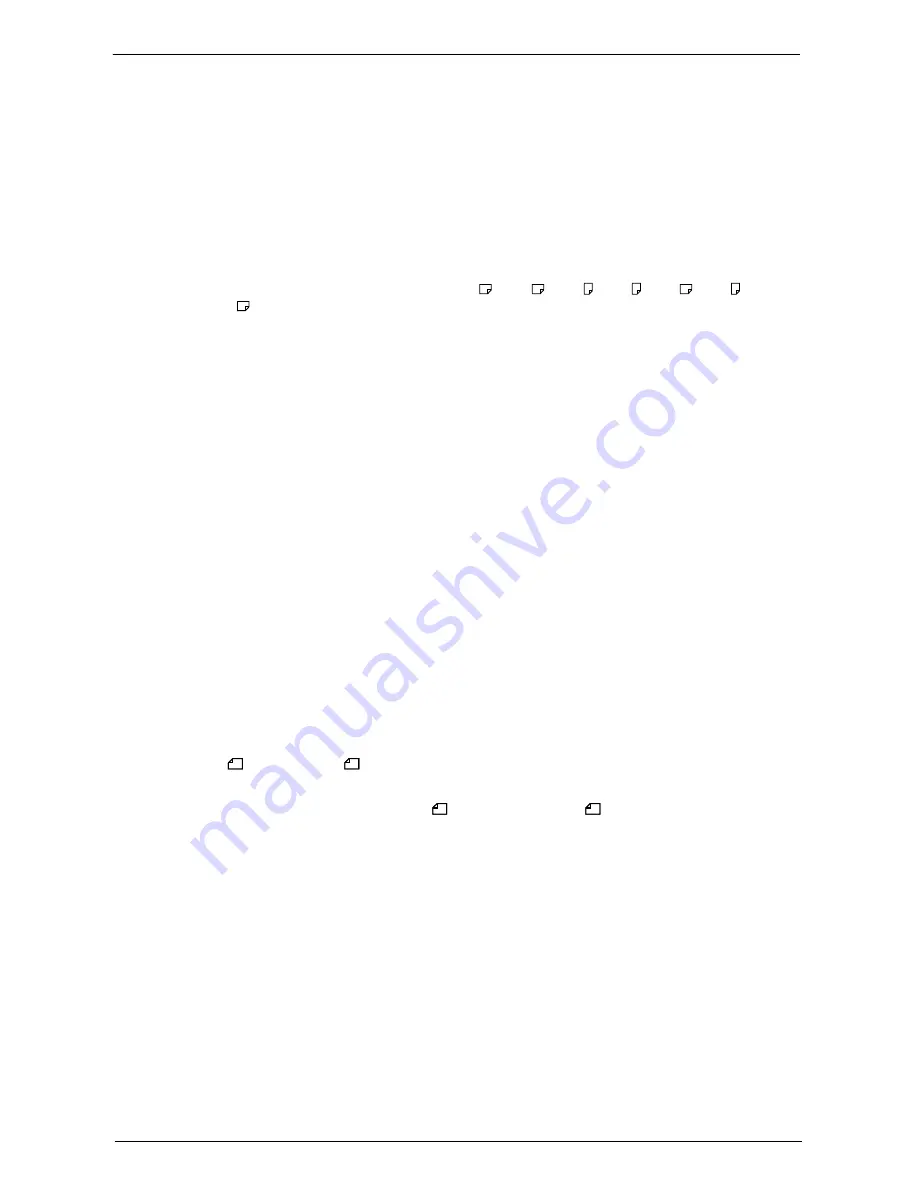
[User Mode], select paper sizes from [A3 ], [A4 ], [A4 ], [A5 ], [B4 ], [B5 ], [8.5 x
11" ], and [Select All]. You can select one or more paper sizes.
2 Pages Up On Receipt
Set whether or not to print two pages of a fax document on one side of a sheet. This is
convenient for saving paper.
For example, when two A5 pages are received, they are printed on a single A4 sheet. However,
if paper of the same paper size as the received document is specified in [Receiving Paper
Size], it is printed on the specified size of paper. Depending on the sizes of the received
document, multiple-up printing may not be possible.
2 Sided Printing
Set whether or not to print received fax documents (including the Internet fax received
documents) as 2 sided. This is convenient for saving paper.
Note
•
Even if you select [On], depending on the data, 2 sided printing may not always be possible.
Edge Erase - Top & Bottom Edges
Specify the amount of edges erased from the document in the top and bottom directions.
Specify a value from 0 to 20 mm in 1 mm increments.
Edge Erase - Left & Right Edges
Specify the amount of edges erased from the document in the left and right directions.
Specify a value from 0 to 20 mm in 1 mm increments.
Reduce 8.5 x 11" Original to A4
When [Reduce/Enlarge] in the [Layout Adjustment] screen is set to [Auto %], you can set
whether or not to reduce 8.5 x 11" size document to A4 , while scanning the document.
Pseudo-Photo Gradation Mode
You can select a gradation expression mode. Selecting this mode enables the machine to
change the processing method for gray part (halftone) to achieve near-photo quality. Select
either [Error Diffusion] or [Dither].
Changing this setting also changes the photo gradation mode for Color Scanning (Black &
White).
Folder Selector Setup
Select whether or not to use the Folder Selector Setup feature.
The Folder Selector Setup feature allows you to classify received faxes by line type and store
them in folders specified.
Summary of Contents for C7765DN
Page 1: ...Dell C7765dn Color Multifunction Printer User s Guide Regulatory Model C7765dn ...
Page 32: ...1 Before Using the Machine 32 ...
Page 144: ...3 Copy 144 ...
Page 156: ...4 Fax 156 ...
Page 168: ...5 Scan 168 ...
Page 272: ...13 Maintenance 272 ...
Page 294: ...14 Machine Status 294 ...
Page 468: ...16 Dell Printer Configuration Web Tool Settings 468 ...
Page 510: ...19 Scanner Environment Settings 510 ...
Page 564: ...22 Authentication and Accounting Features 564 ...
Page 764: ...28 Using Shortcut Menu 764 ...
Page 796: ...29 Using Access Google Drive 796 2 Check the content status 3 Select Close ...
Page 802: ...29 Using Access Google Drive 802 ...
Page 816: ...30 Google Cloud Print 816 ...


