Before Installation
699
6
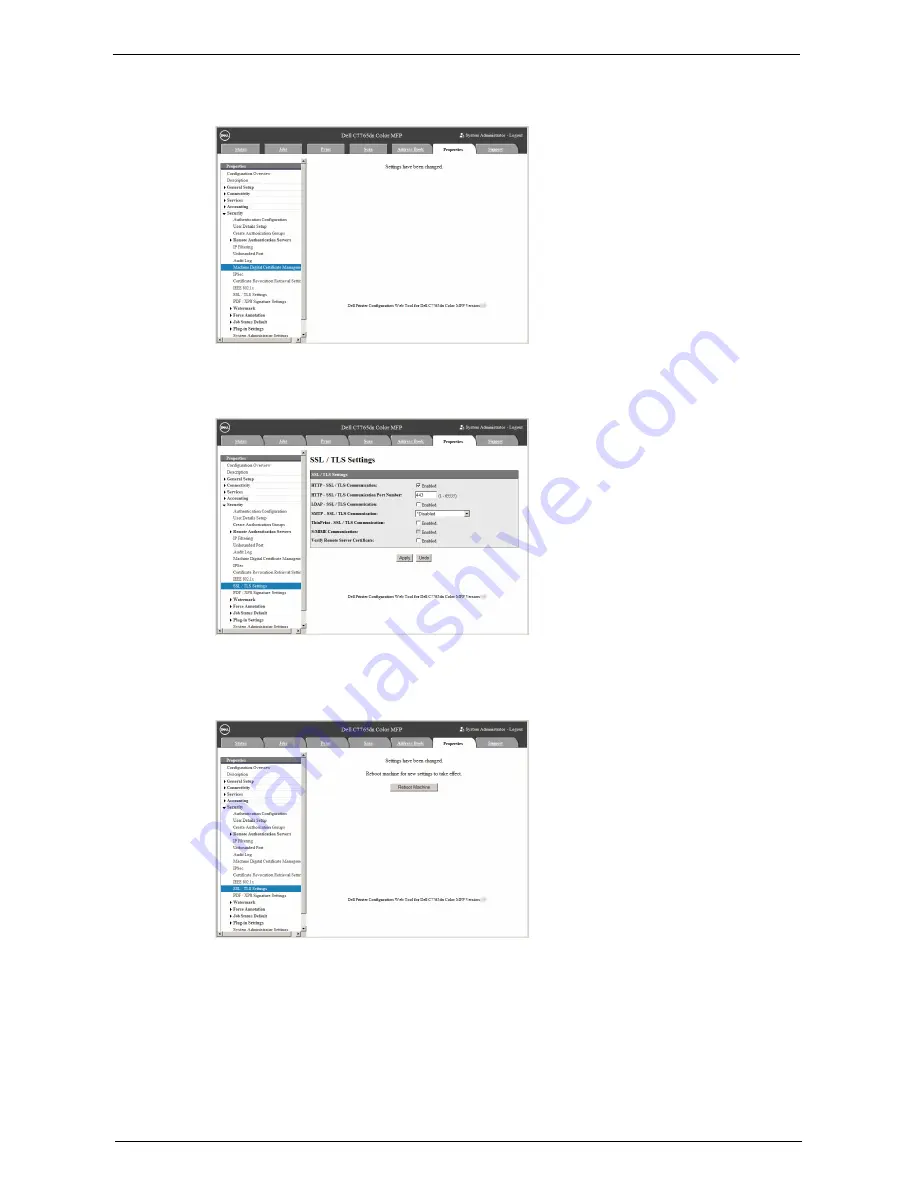
When the settings are updated and the following screen is displayed, refresh the web
browser.
7
Select the [Properties] tab to click [Security] > [SSL / TLS Settings], and then select the
[Enabled] check box for [HTTP - SSL / TLS Communication].
8
Click [Apply].
9
When the web browser shows the machine reboot message, click [Reboot Machine].
10
Click [OK] on the confirmation pop-up.
The machine reboots and the settings are enabled.
Summary of Contents for C7765DN
Page 1: ...Dell C7765dn Color Multifunction Printer User s Guide Regulatory Model C7765dn ...
Page 32: ...1 Before Using the Machine 32 ...
Page 144: ...3 Copy 144 ...
Page 156: ...4 Fax 156 ...
Page 168: ...5 Scan 168 ...
Page 272: ...13 Maintenance 272 ...
Page 294: ...14 Machine Status 294 ...
Page 468: ...16 Dell Printer Configuration Web Tool Settings 468 ...
Page 510: ...19 Scanner Environment Settings 510 ...
Page 564: ...22 Authentication and Accounting Features 564 ...
Page 764: ...28 Using Shortcut Menu 764 ...
Page 796: ...29 Using Access Google Drive 796 2 Check the content status 3 Select Close ...
Page 802: ...29 Using Access Google Drive 802 ...
Page 816: ...30 Google Cloud Print 816 ...


