Enable the Receiving System to Receive Exported Data for Data Analysis
E-10
Data Export - Installation on the Database Server
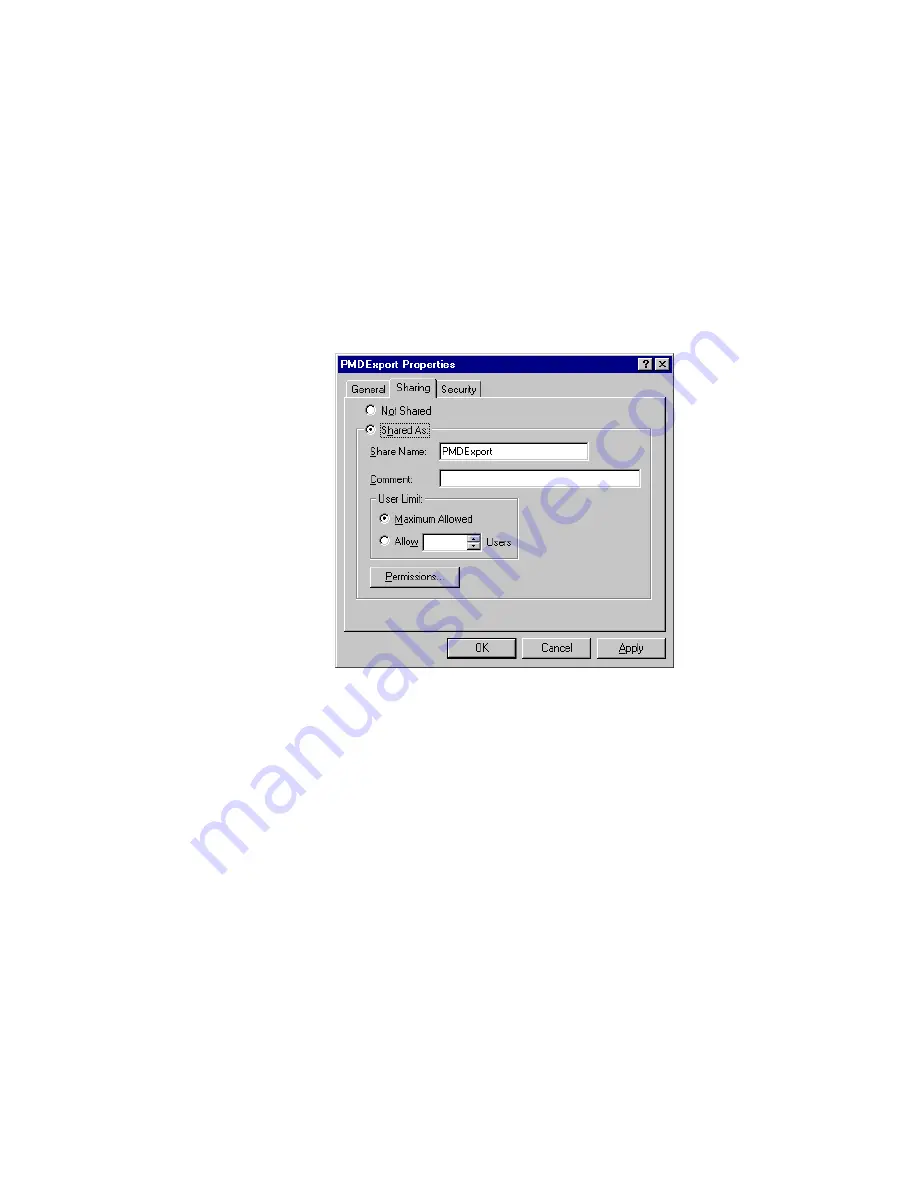
Step 3.
Create an
PMDExport
folder, and make it sharable.
a. Click on the
[My Computer]
icon on your desktop.\
b. Double -click on the
<C:>
drive.
c. Under the
<File>
menu, choose
New
>
Folder
d. Name the folder
PMDExport
.
e. Right mouse click on the
PMDExport
folder, and select
Sharing
.
f. Select the
<Share this folder>
control.
g. Type
PMDExport
in the
Share name
h. Press
OK
Windows
2000
Step 1.
Configure the receiving system with a Computer Name and an IP Address.
a. Right mouse click on the “
My Computer
” icon on your desktop.
b. Select the “
Network Identification
” tab.
c. Click on the “
Properties
” button.
d. Verify that you have a computer name. This is the name that will be used during
the Information Center network device configuration as the
“Host Name”.
e. Verify that your computer has a network interface card and that it has an IP
address. Either static IP or DHCP can be used.
Step 2.
Add “PMDExport” user with “PMDExport” password.
a. From the Start Menu, choose
“Settings”
>
“Taskbar & Start Menu …”
.
b. Select the
“Advanced”
tab.
c. Check
“Display Administrative Tools”
under
“Start Menu Settings”
.
Summary of Contents for IntelliVue Series
Page 152: ...IntelliVue Information Center Application Software 3 22 Software Description ...
Page 442: ...Troubleshooting 7 156 Maintenance Troubleshooting and Repair ...
Page 488: ...Procedure B 12 Web Installation on the Database Server ...
Page 492: ...Procedure C 4 External Modem Installation ...
Page 500: ...Using RAS D 8 Dial In Procedure for Remote Access to Information Center Systems ...


