Chapter 7: Using the Web Interface
355
▪
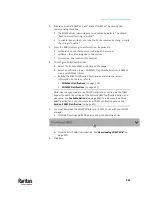
Make changes to the selected rule, and then click Save. For
information on each field, see
Creating Role Based Access Control
Rules
(on page 353).
▪
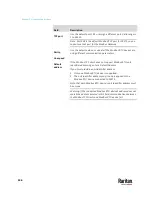
Click
to remove it.
▪
To resort its order, click
or
.
5.
Click Save.
▪
IPv4 rules:
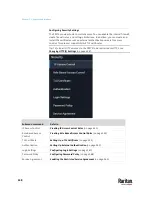
Make sure you click the Save button in the IPv4 section
, or
the changes made to IPv4 rules are not saved.
▪
IPv6 rules:
Make sure you click the Save button in the IPv6 section
, or
the changes made to IPv6 rules are not saved.
Setting Up a TLS Certificate
Important: Raritan uses TLS instead of SSL 3.0 due to published security
vulnerabilities in SSL 3.0. Make sure your network infrastructure, such as
LDAP and mail services, uses TLS rather than SSL 3.0.
Having an X.509 digital certificate ensures that both parties in a TLS connection
are who they say they are.
Besides, you can create or apply for a multi-domain certificate with subject
alternative names.
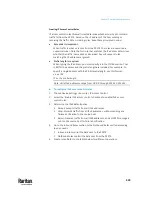
To obtain a CA-signed certificate:
1.
Create a Certificate Signing Request (CSR) on the PX3TS. See
Creating a
CSR
(on page 356).
2.
Submit it to a certificate authority (CA). After the CA processes the
information in the CSR, it provides you with a certificate.
3.
Import the CA-signed certificate onto the PX3TS. See
Installing a
CA-Signed Certificate
(on page 357).
Note: If you are using a certificate that is part of a chain of certificates, each
part of the chain is signed during the validation process.
A CSR is not required in either scenario below:
•
Make the PX3TS create a
self-signed
certificate. See
Creating a Self-Signed
Certificate
(on page 358).
•
Appropriate, valid certificate and key files are already available, and you
only need to import them. See
Installing or Downloading Existing
Certificate and Key
(on page 359).
Summary of Contents for Raritan PX3TS
Page 4: ......
Page 6: ......
Page 20: ......
Page 80: ...Chapter 4 Connecting External Equipment Optional 60...
Page 109: ...Chapter 5 PDU Linking 89...
Page 117: ...Chapter 5 PDU Linking 97...
Page 441: ...Chapter 7 Using the Web Interface 421...
Page 464: ...Chapter 7 Using the Web Interface 444...
Page 465: ...Chapter 7 Using the Web Interface 445 Continued...
Page 746: ...Appendix A Specifications 726...
Page 823: ...Appendix I RADIUS Configuration Illustration 803 Note If your PX3TS uses PAP then select PAP...
Page 828: ...Appendix I RADIUS Configuration Illustration 808 14 The new attribute is added Click OK...
Page 829: ...Appendix I RADIUS Configuration Illustration 809 15 Click Next to continue...
Page 860: ...Appendix J Additional PX3TS Information 840...
Page 890: ...Appendix K Integration 870 3 Click OK...
Page 900: ......

